I did it! I completed my first re-upholstery project! And boy, was it a dozy.
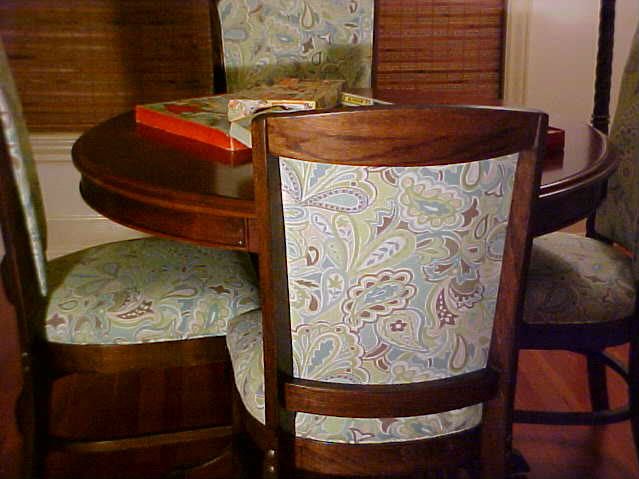
I had always wanted a dedicated game table. A place to put puzzles together (especially in the winter), that wouldn't leave my dining room table a mess. We bought this table new, several years ago, at a furniture store but I didn't like any of the chairs available so I waited. Kind of a mistake, because later I didn't really have the money to go out and buy what I wanted new.
Well I got it in my head that I was going to find some chairs and just paint them some fun, funky colors and call it a day. You can imagine my excitement when I found these a few days later. I knew if I striped them down I could come close to staining them the same color. And I think I did it. What do you think?
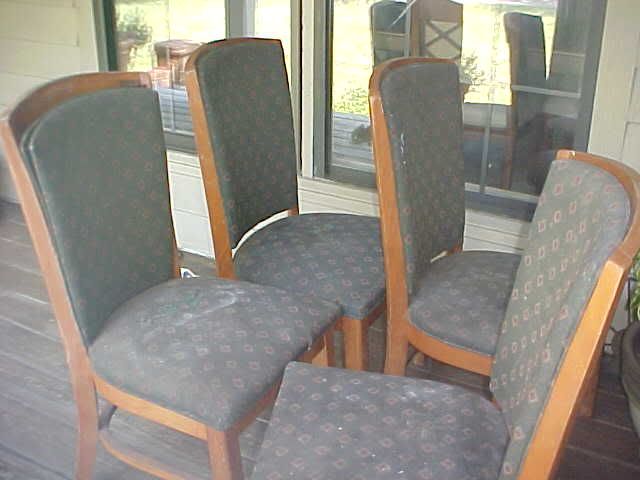
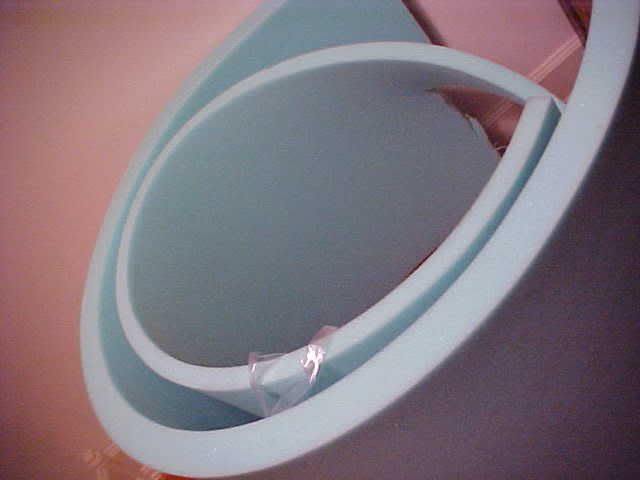
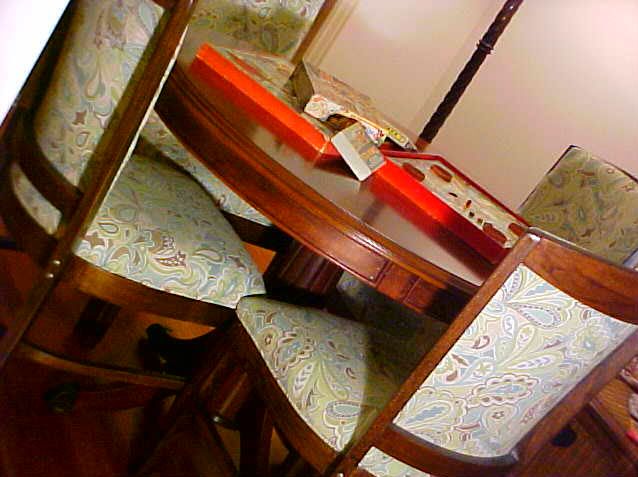
Can you believe that my game table chairs started out like this (see below)?
Eeeekkkk! How nasty and horrible are those? Smelly too. Believe me, more than once did I think I'd made a mistake and should just get rid of them.
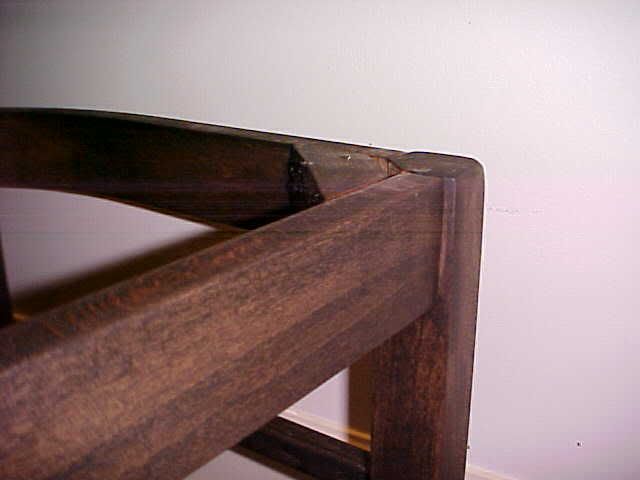
I love the modern curves of the chairs. It's so unlike me (and Neil)to like a mid-century style. But the more I looked at these the more I fell in love with them. Can you see the lovely crayon marks on the wood, in the picture above?
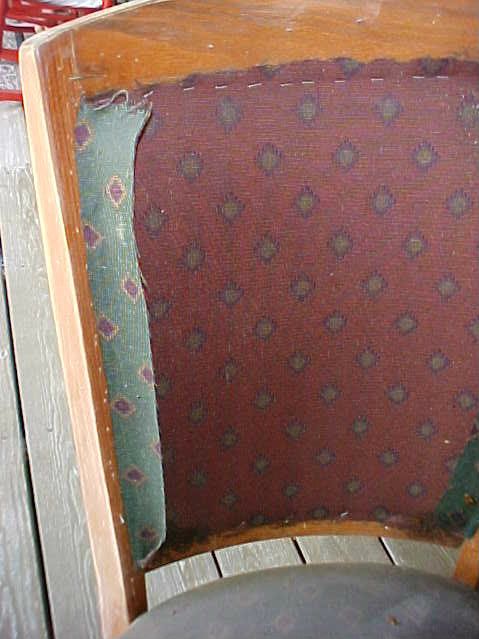
Staples, staples and more staples. I think it took me at least a day to remove the staples alone. Man, I couldn't stand touching that stinky, dirty fabric. Luckily it was night time when I picked them up or I may have changed my mind. I thought it was a good idea to wear gloves while removing the fabric. But believe me after all the sanding, staining, sealing, new padding, fabric and foot pads, there is NOTHING OLD about these chairs.
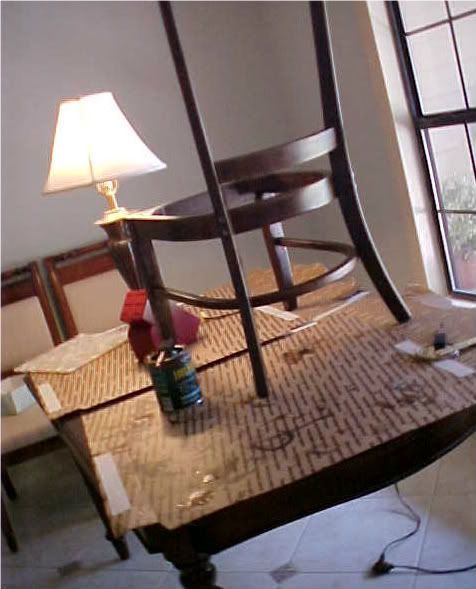
The heat was so bad outside. I keep saying if only it were fall instead of 100 degrees. By the time I did the sealer coat I brought them inside to work on. So not only was my kitchen/dining room in the middle of a remodel but I added my game table chairs to the mix.
I went through a pile of sandpaper on these to get them down to raw wood. Then after I stained them I put on one coat of clear and sanded them again, let them dry, repeat 2 more times. I'm such an impatient person, days of this drying and doing coat after coat was really tough for me. The padding was the most expensive part of the makeover. But that was where my my patience came in handy. The foam was on sale for 50% off at Joanns the next week.
So with fabric and tools in hand I attempted my first ever re-upholstery project.
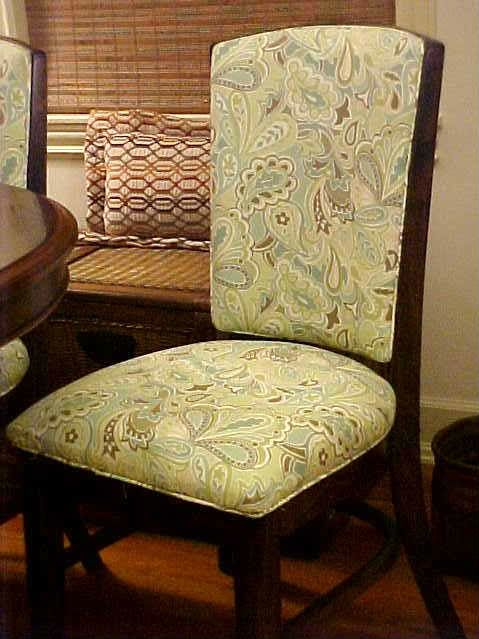
I was looking for a way to coordinate with my green/brown couch and yet add blue to the room for a light, beachier look.
So are you ready to see the completed project? It's huge for me and I'm giddy with excitement. Over the moon, crazy about the way they turned out. It was all the new inspiration I needed.
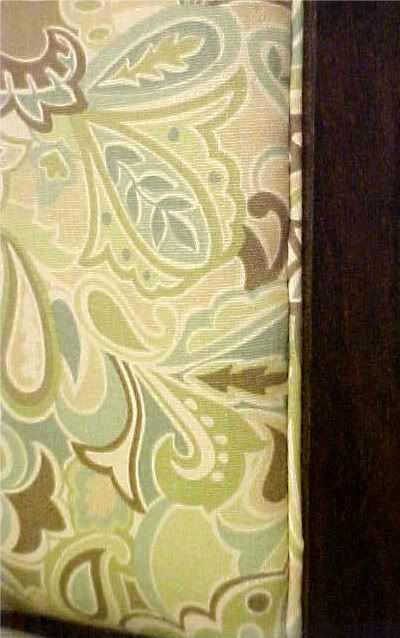
I love the way the fabric shows on the back side of the chairs. Just the look I wanted.
I even made the trim to edge them out with. To be honest with you the sanding was the worst for me. Hate it but it was so worth it.
Oh' and I found a great tip to share with you. I absolutely hate to wear gloves when doing projects like staining. But whats worse is having stain on your hands for a week afterward. But guess what? That doesn't ever have to happen again.
My tip of the year (which I found searching the Internet), is vegetable oil. Yep, that's the one, plain old kitchen vegetable oil. Once you've finish staining (for the day) just pour a good bit of vegetable oil in your hands and rub it in. I then wiped it off with a few paper towels, then added some soap and washed really good. That's it. Clean hands! Why am I just finding out about this?
Here's a breakdown on what the project cost me:
4 Chairs - Roadside Kill = Free
Sandpaper = approximately $10.00
Stain, already had from another project = $0.00
Sealer, already had = $0.0
Foam for bottoms and backs = $47.96 (after 50% off)
Fabric = 2.5 yds @ $10.98 per yard = $27.45
Cable Cord for Trim 2 packs @ $5.99 = $11.98
More Staples (already had some) $2.50
Pads for the bottom of chairs = approximately $5.00
That's a grand total of $104.89 for 4 chairs. Not exactly free but not bad for 4 chairs that you could say are brand new from inside out now. That's $26.23 per chair. Where else would I find upholstered chairs for that price?
Well that's it. My very first upholstery project. I don't know what 'start out slow' means. I hope you enjoyed it. I think they look perfect with my new diy starfish/map art, don't you? You can read more about that here.
Now, I'm on the hunt for a credenza, dresser, buffet piece of furniture to redo for my bedroom.
Wish me luck, because it's got to be free too.
I selected this post to be featured on
Blogs for Women. Please visit the site and vote for my blog!


Awesome job, Tracy! What a breath of fresh air in your space-- not to mention the satisfaction of knowing that YOU gave these new life.
ReplyDeleteHappy weekend. :)
Heidi @ Show Some Decor
Gorgeous! You did a fantastic job; can't believe this is your first attempt. You need to find something else to reupholster!
ReplyDeleteYou did a beautiful job. The fabric is gorgeous!
ReplyDeleteYou did a wonderful job on those chairs! They look totally fresh and modern now (love that fabric)!
ReplyDeleteManuela
What a great job...And good fabric choice.
ReplyDeleteI think I hate removing the staples more than sanding ( because the sanding is my husband favorite hobby lol and since Im a very good wife I can't stop my husband from practising his favorite hobby lol)
A visit from french countrey cottage
If you have time plz check out my new blog thx
You did a great job, can't believe it's your first attempt ! The fabric is gorgeous.
ReplyDeleteGreat day gurlfriend...you sure know what you are doing,these look amazing.
ReplyDeleteHey do you have a blog-button for my sidebar?
~JO
Such a beautiful job. Love the fabric you chose for this redo!
ReplyDeleteThank you for linking to Potpourri Friday. You are an asset to making the party a success. I appreciate you and I hope you will make this a weekly stop.
Holy smokes! I absolutely LOVE how your chairs turned out! Great choice in material and stain.
ReplyDeleteWowzers for the first day you sure did a wonderful job. Looks very nice W.T.G.
ReplyDeleteHugs,
Ellen
You're kidding this was your first re-upholstery project? That's amazing, good work!
ReplyDeleteOh wow....those chairs look amazing! Really cute pattern too.
ReplyDeleteThese look amazing! Great Job. I love that light fabric with the dark stain...perfect! I'm on the same hunt for a dresser/buffet to refinish! Good Luck.
ReplyDeleteI don't know what I was doing, that I mised this. I am simply blown away. You did a professional job. The stain was perfect and that is not always easy to accomplish. You choice of fabric was great.
ReplyDeleteI thought I was the only one who waited for coupons to finish out projects. You saved a bundle on that padding.
Your featured position was well deserved. Congratulations.
Have a great week. Ginger
One word. GORGEOUS! You first time??!!!! Give yourself a big ole pat on the back for that one girl!! You are talented! Thank you for stopping by to visit me!
ReplyDeletexoxo
Jeri
Those are exquisite. I was wondering how you added the cording... glue? staples? I'm working on my first reupholstery job...slow going at my house, I can only work on it when the kiddos are sleeping.
ReplyDeleteFabulous job! They are G O R G E O U S. Will you post on how you added in the piping around the edges?
ReplyDeleteThe set looks spectabulous! :) The fabric choice is very nice as well. Piping makes all the difference it really takes it to another level.
ReplyDeleteWOW! I would never have guessed this was your first reupholster!! You did an awesome job. I would love it if you would stop by and share this at my linky party!
ReplyDeletehttp://everything-underthemoon.blogspot.com/2011/09/bedazzle-me-monday-1.html
Hi Tracy. What an amazing job! How did you do the piping around the edges? I've also did an upholster-from-scratch with no experience kind of job, turned out really gorgeous as well. Love the blog.
ReplyDeleteWow! What a sweet project! Please consider sharing with my readers at http://sassafrassalvation.blogspot.com/2011/12/sasss-sunday-salvation-show-4.html
ReplyDeleteChristmas blessings!
YOUR first!! Looks fantastic!!!!!
ReplyDeletegood tip on the veggie oil sometimes its the only thing that works to get stuff off...I remember my Dad always poured a little oil on his hands to clean them up..that was before go joe or lava soap ha!
Your chairs are beautiful! You did a wonderful job and you will get a lot of enjoyment out of them!
ReplyDeletewow!!!You did an amazing job! I know what it feels like to do a project that takes so long and have it come out great and get to look at it and enjoy using it in your own home! It makes you so proud! I love it! I have begun my first chair reupholstry (just one chair), and it is already hard! Talking about A LOT OF STAPLES! O my! but you inspired me!
ReplyDeleteThanks for linking up to Naturally-Nifty Linky Party #1!! I would love it if you put our button on your blog!
thanks so much!
BTW I'm your newest follower!
ReplyDeleteHey we love your chair reupholstery job so much that we featured you on our favorites for this week! Come by and check it out and link up again! O and grab a button while you are there!
ReplyDeletehttp://natural-nester.blogspot.com/2012/02/naturally-nifty-linky-party-2-features.html
These turned out amazing! Oh so satisfying :) I love taking on a project an then thinking, "I really don't think this was a good idea, " and then proving myself wrong! I think most DIYers can relate to that situation. I adore the fabric you chose!
ReplyDelete