Discription

Everything Southern & So Cotton Pickin Cute
Showing posts with label Design on a Dime Makeover. Show all posts

Saturday, December 21, 2013

DIY Christmas Pallet Art Craft

Do you need one more project for last minute Christmas decorating.  I have one or two here.
You probably have just enough time to knock this baby out, all with things you can find right around your home.
Look around your house and see what you have that can spark your creativity.

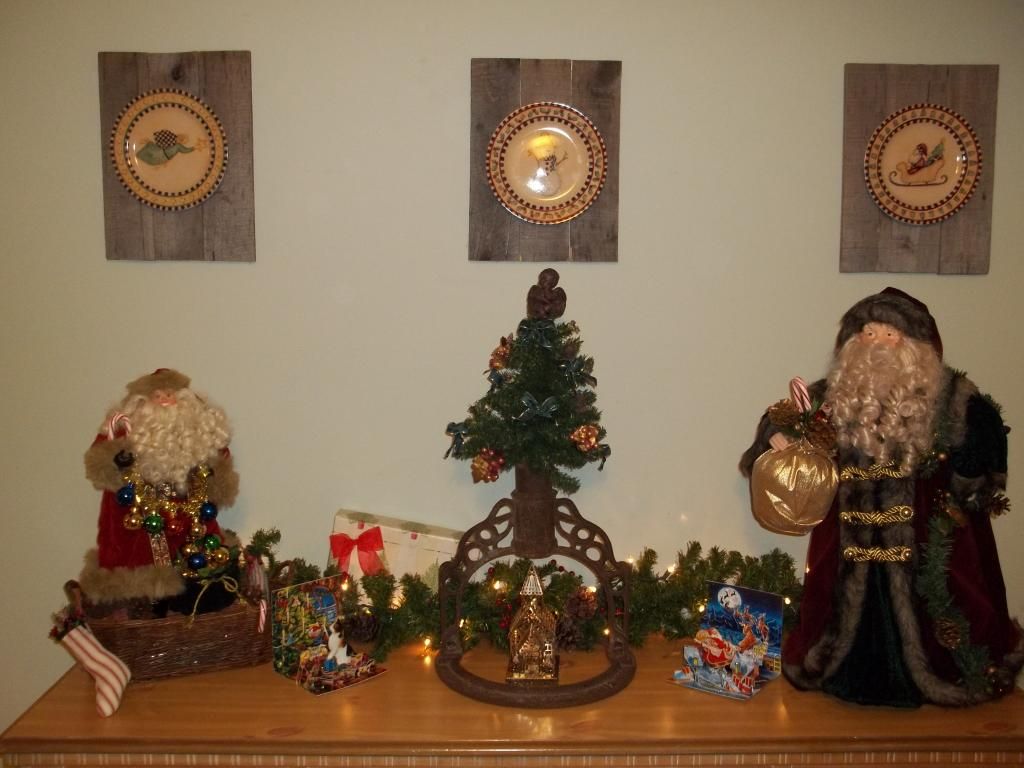
After sitting my Santas out I need something in the middle with some height.  What to do, what to do?  I found one of these tacky little christmas trees in a plastic bucket sitting around.  I wasn't about to sit out untouched, as is.  I tore it out of the foam and looked at it like "what the heck am I gonna do with a wire post".  Inspiration struck when I went digging in Neil's room of weird treasures.
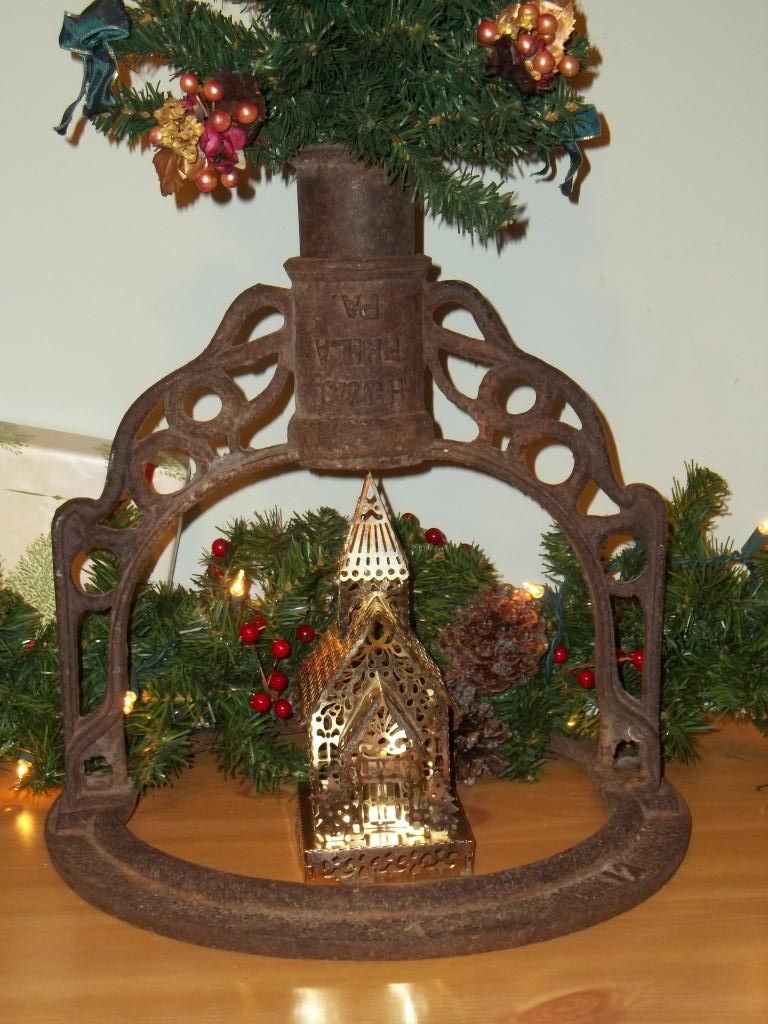
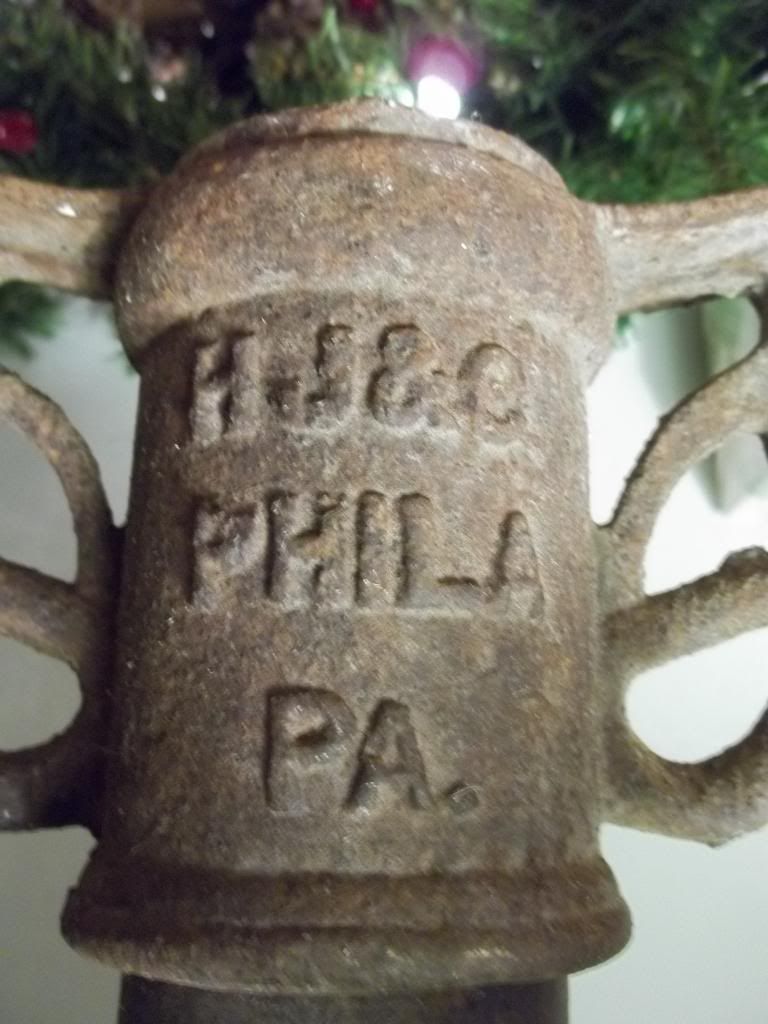
That's were I found this vintage cast iron bell holder. I love that it's stamped PHILA. PA and that it has that lovely scroll work!!  Upside down the hole was perfect for holding my tree. I just stuck a couple of styrofoam balls in to hold it up right.  I love it!!!
Remember when decorating balance is important.  Using lifts is a great way to achieve height.  One of my Santas was much smaller than the other.  They don't need to be the same size but more in scale than these really are.  By sitting the one Santa on a block of foam covered with a piece of scrap gingham fabric and sitting it in a basket basket, it's now more in scale.
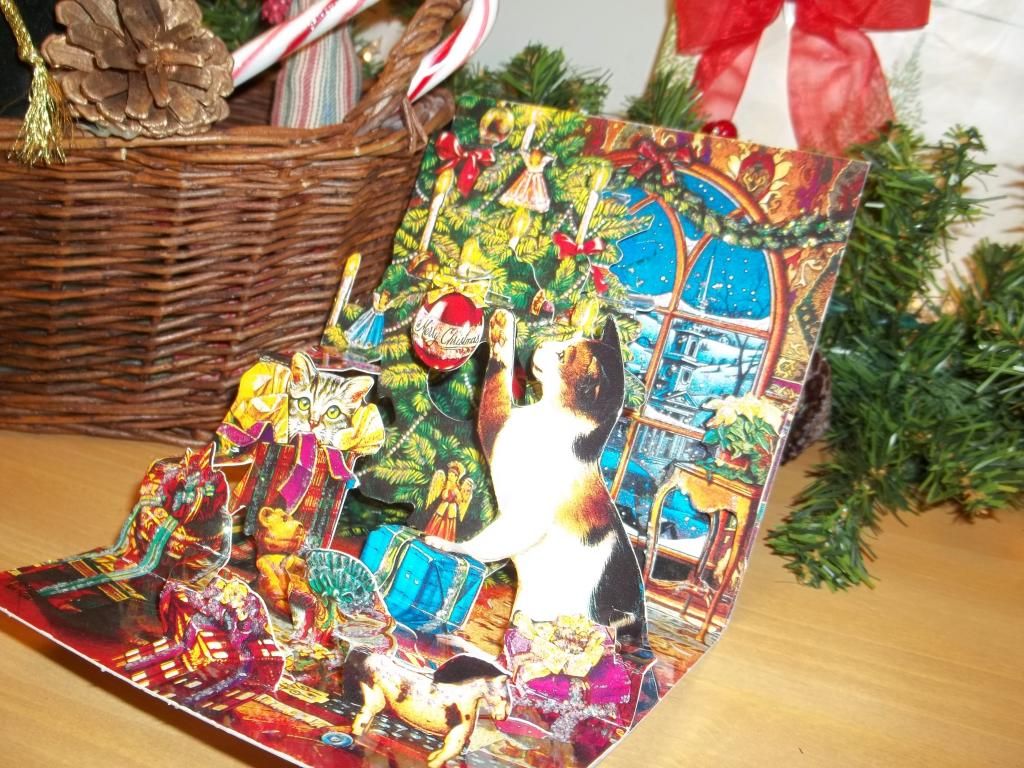
Remember to just play with what you have and you'll be surprised how things come together.  I added a wrapped gift and these adorable pop-up cards to fill empty space.
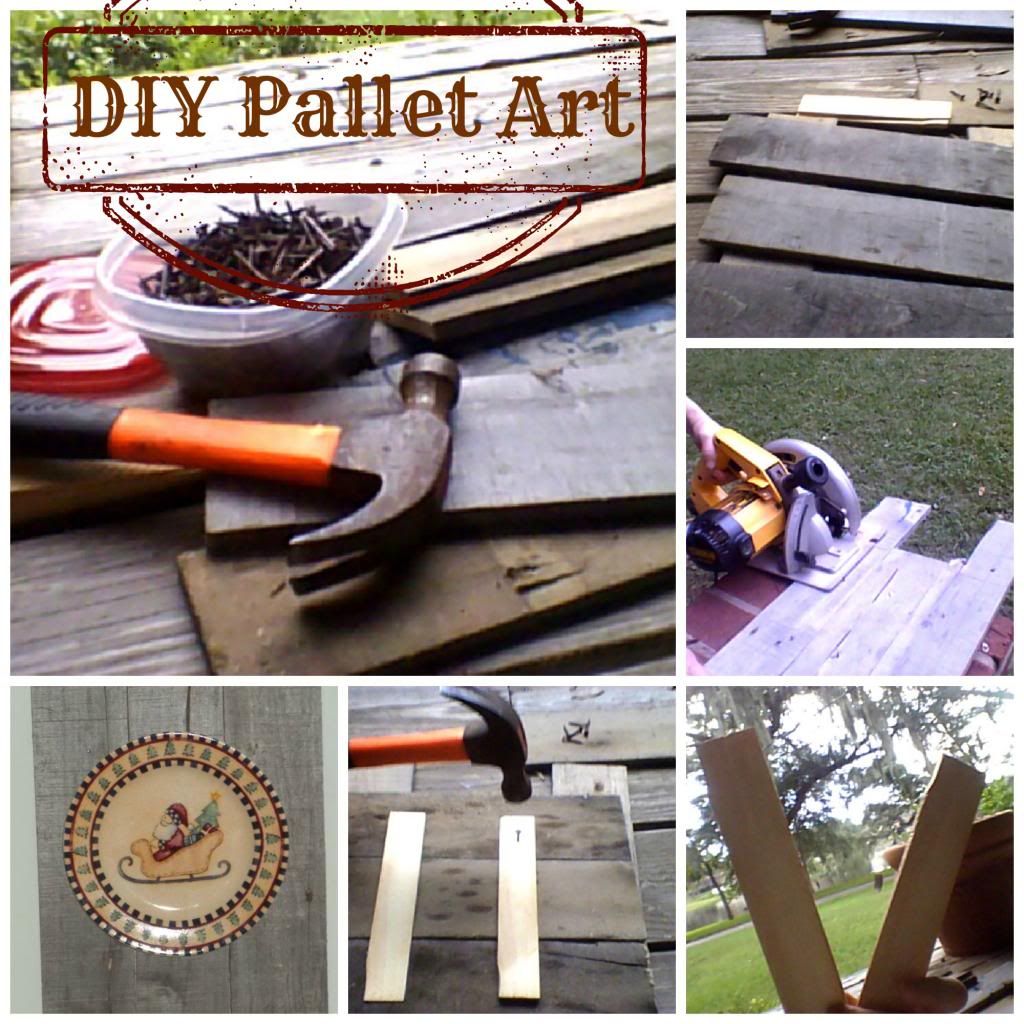
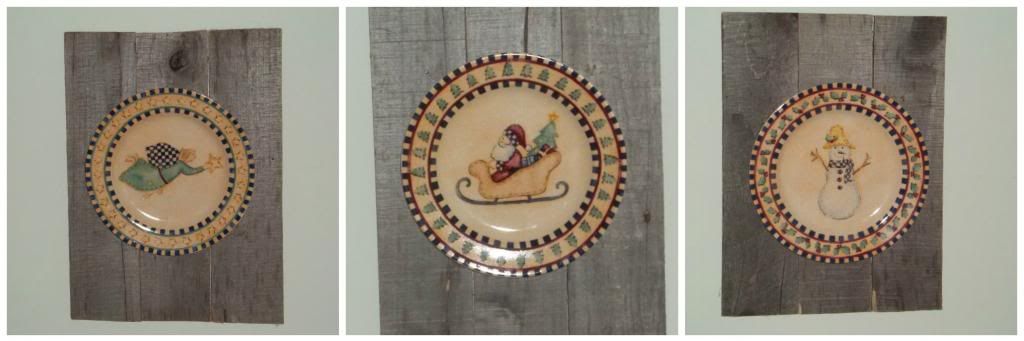
Here's a simple tutorial to make your own pallet plaques.
The steps to making the pallet plaques, if that's what you call it, couldn't be more simple.
  1. Grab a some old fence boards, saw, hammer, nails, clamps and gorilla glue.
  2. Decide how big your plaques should be.  I used the bread size Christmas plates, so I made my plaques about 10"x14".
  3. I didn't have any glue at the times so I layed 3 boards side by side face down.  On the back I used 2 paint paddles and nailed each board.  You know my motto - "Get 'er done" with whatever you have, do or die.  The nails were too long, so once I turned the plaque over I just snipped off the tips of the nails. **If you have gorilla glue just skip this step and glue the planks together side-by-side and clamp till dry.  I did come back and add glue later.
  4. To make the hanger on the back I added 2 tiny tacks and wrapped floral wire between them.
  5. I didn't want my plates attached permanently because I'd like to change them out later for a summer feel.  To solve that issue I made homemade hangers by snipping paper clips in half and then attached them to the plate with a combination of gorilla glue and hot glue to hold in place and then cover them with a bit of felt.
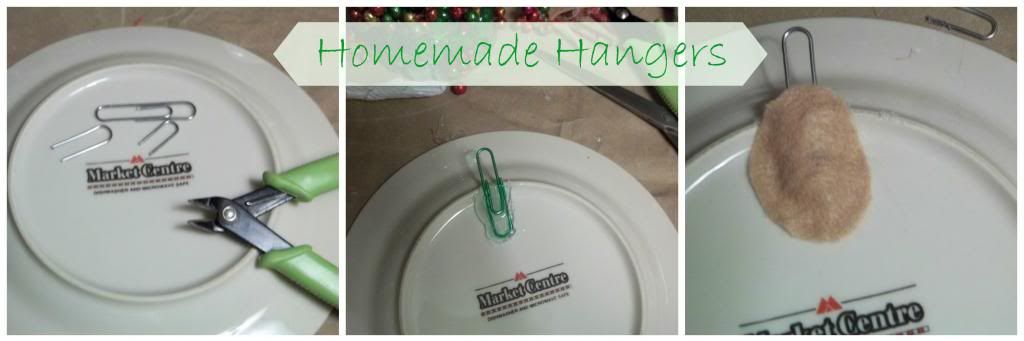
And that's how you create pallet art work on a zero budget.
I have to admit the pallet and plate art wasn't my idea but I think I made it my own for Christmas.  I got the idea from April at House By Hoff.  She's one super creative gal, be sure to stop by and see for yourself.  You can see her pallet art tutorial that I pinned HERE.  

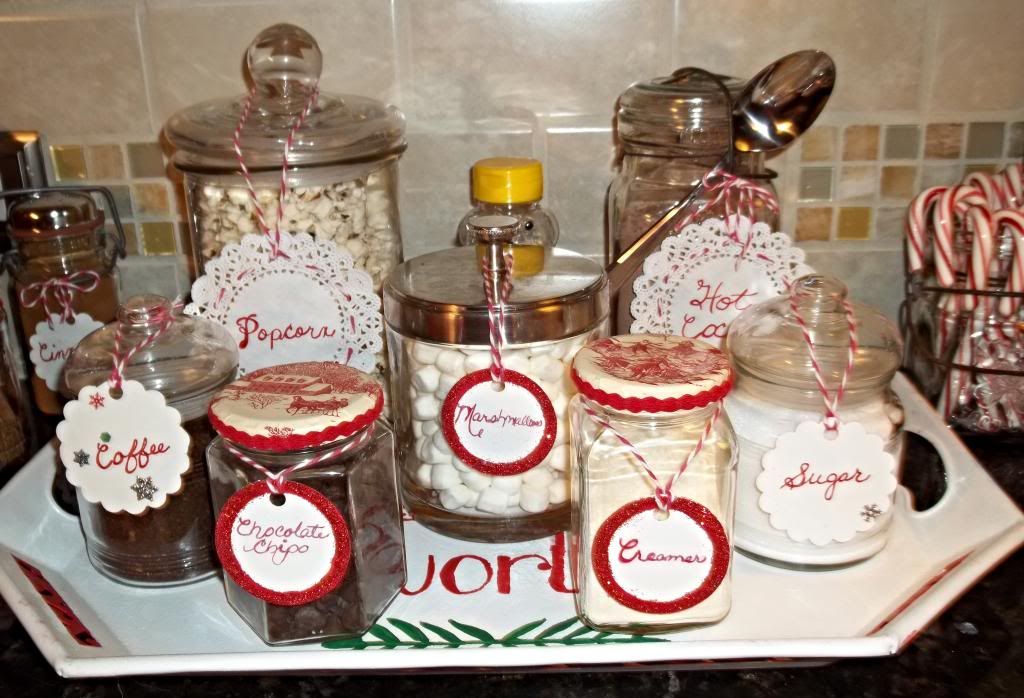
Hey, don't leave yet.  If you enjoy that DIY project, click HERE to checkout my Hot Cocoa Beverage Bar. 
Be sure to enter my Swiss Colony - Make entertaining easy giveaway HERE.

Merry Christmas Y'all...
The name of the Lord is a strong tower; the righteous run to it and are safe.
                  ~ Proverbs 18:10 

Friday, September 16, 2011

Trash to Treasure - Literally! My first re-upholstery - Love It

I did it!  I completed my first re-upholstery project!  And boy, was it a dozy. 

I had always wanted a dedicated game table.  A place to put puzzles together (especially in the winter), that wouldn't leave my dining room table a mess.  We bought this table new, several years ago, at a furniture store but I didn't like any of the chairs available so I waited.  Kind of a mistake, because later I didn't really have the money to go out and buy what I wanted new. 

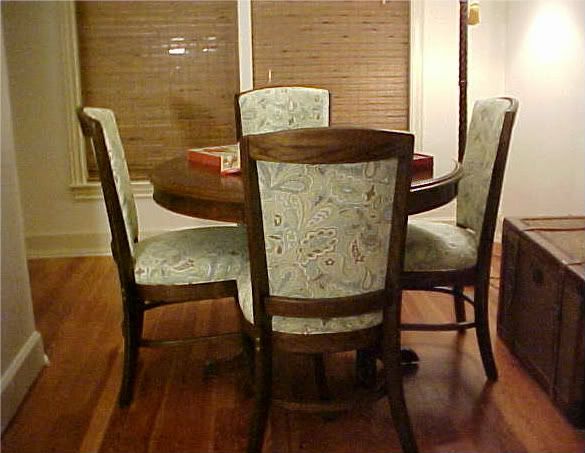
Well  I got it in my head that I was going to find some chairs and just paint them some fun, funky colors and call it a day.  You can imagine my excitement when I found these a few days later.  I knew if I striped them down I could come close to staining them the same color.  And I think I did it.  What do you think? 

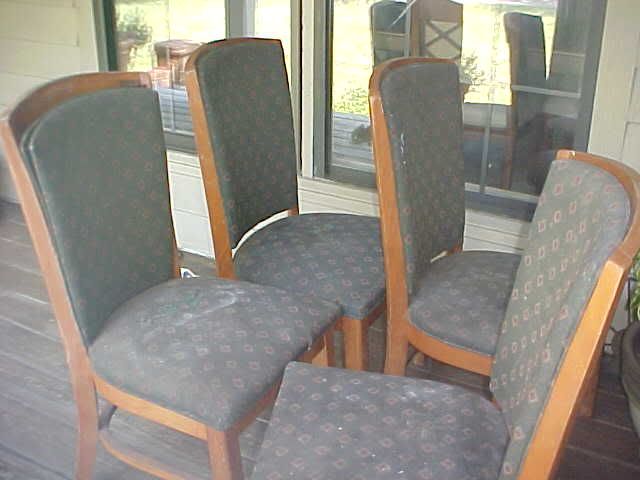
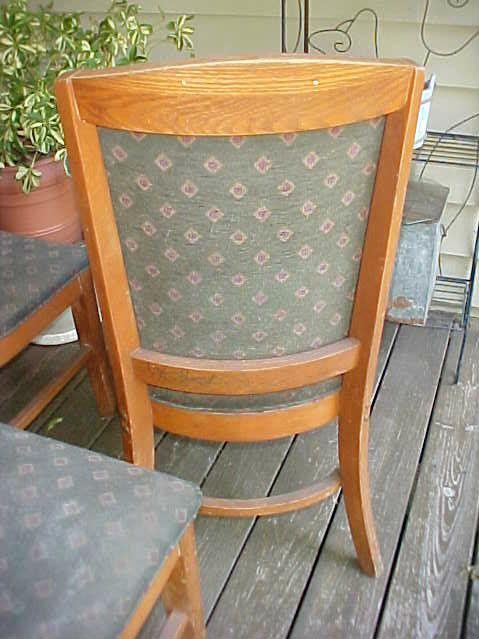
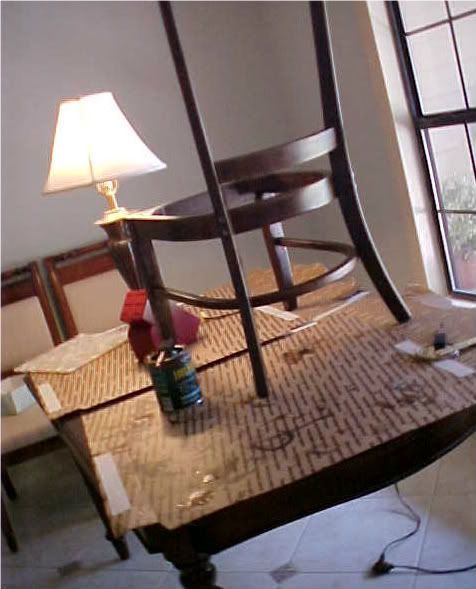
Can you believe that my game table chairs started out like this (see below)?

Eeeekkkk!  How nasty and horrible are those?  Smelly too.  Believe me, more than once did I think I'd made a mistake and should just get rid of them.
I love the modern curves of the chairs.  It's so unlike me (and Neil)to like a mid-century style.  But the more I looked at these the more I fell in love with them.  Can you see the lovely crayon marks on the wood, in the picture above?

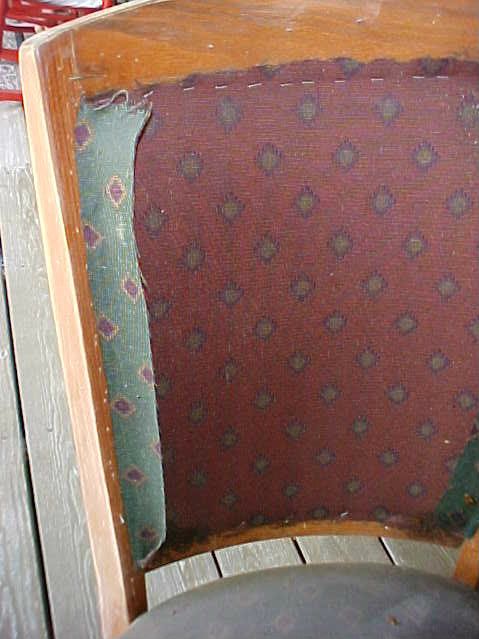
Staples, staples and more staples.  I think it took me at least a day to remove the staples alone.  Man, I couldn't stand touching that stinky, dirty fabric.  Luckily it was night time when I picked them up or I may have changed my mind.  I thought it was a good idea to wear gloves while removing the fabric. But believe me after all the sanding, staining, sealing, new padding, fabric and foot pads, there is NOTHING OLD about these chairs.
The heat was so bad outside.  I keep saying if only it were fall instead of 100 degrees.  By the time I did the sealer coat I brought them inside to work on.  So not only was my kitchen/dining room in the middle of a remodel but I added my game table chairs to the mix.
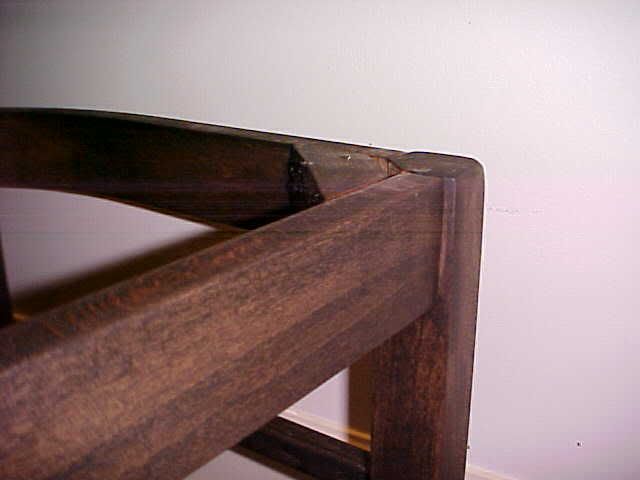
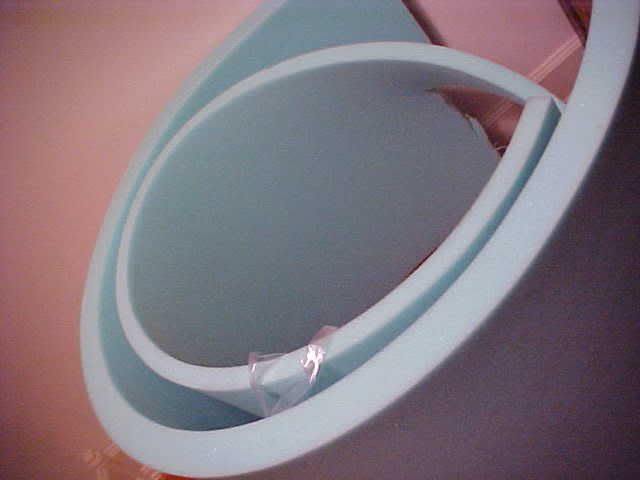
I went through a pile of sandpaper on these to get them down to raw wood.  Then after I stained them I put on one coat of clear and sanded them again, let them dry, repeat 2 more times.  I'm such an impatient person, days of this drying and doing coat after coat was really tough for me.  The padding was the most expensive part of the makeover.  But that was where my my patience came in handy.  The foam was on sale for 50% off at Joanns the next week.
So with fabric and tools in hand I attempted my first ever re-upholstery project.
I was looking for a way to coordinate with my green/brown couch and yet add blue to the room for a light, beachier look.


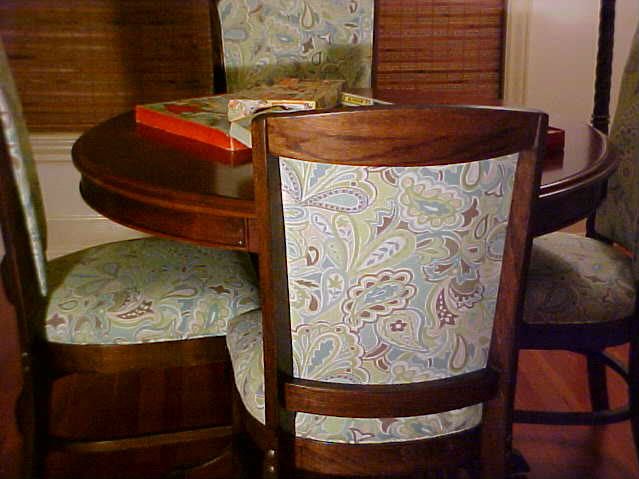
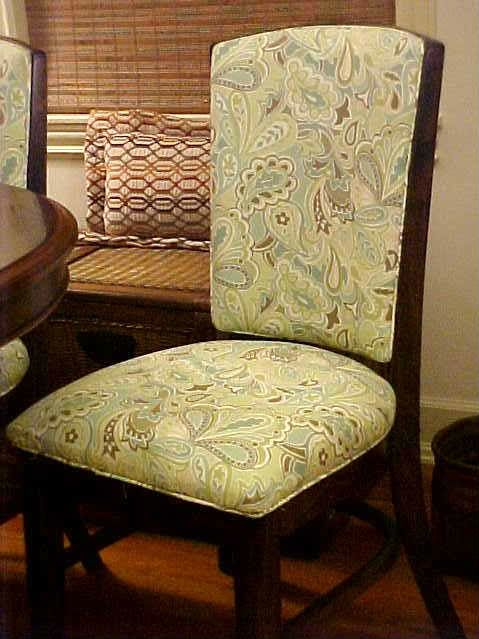
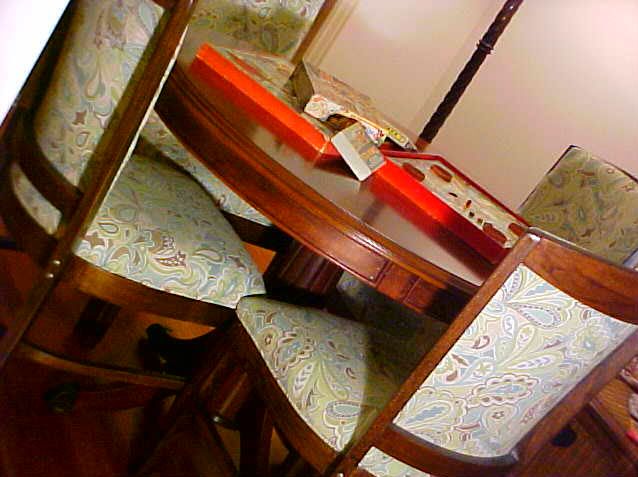
So are you ready to see the completed project?  It's huge for me and I'm giddy with excitement.  Over the moon, crazy about the way they turned out.  It was all the new inspiration I needed.
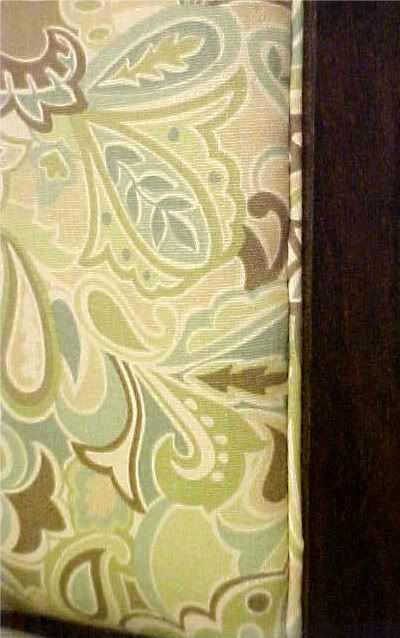
 I love the way the fabric shows on the back side of the chairs.  Just the look I wanted.
I even made the trim to edge them out with.  To be honest with you the sanding was the worst for me.  Hate it but it was so worth it.
Oh' and I found a great tip to share with you.  I absolutely hate to wear gloves when doing projects like staining.  But whats worse is having stain on your hands for a week afterward.  But guess what?  That doesn't ever have to happen again. 

My tip of the year (which I found searching the Internet), is vegetable oil.  Yep, that's the one, plain old kitchen vegetable oil.  Once you've finish staining (for the day) just pour a good bit of vegetable oil in your hands and rub it in.  I then wiped it off with a few paper towels, then added some soap and washed really good.  That's it.  Clean hands!  Why am I just finding out about this?
Here's a breakdown on what the project cost me:
  • 4 Chairs - Roadside Kill = Free
  • Sandpaper = approximately $10.00
  • Stain, already had from another project = $0.00
  • Sealer, already had = $0.0
  • Foam for bottoms and backs = $47.96 (after 50% off)
  • Fabric = 2.5 yds @ $10.98 per yard = $27.45
  • Cable Cord for Trim 2 packs @ $5.99 = $11.98
  • More Staples (already had some) $2.50
  • Pads for the bottom of chairs = approximately $5.00
That's a grand total of $104.89 for 4 chairs.  Not exactly free but not bad for 4 chairs that you could say are brand new from inside out now.  That's $26.23 per chair.  Where else would I find upholstered chairs for that price?

Well that's it.  My very first upholstery project.  I don't know what 'start out slow' means.  I hope you enjoyed it.  I think they look perfect with my new diy starfish/map art, don't you?  You can read more about that here
Now, I'm on the hunt for a credenza, dresser, buffet piece of furniture to redo for my bedroom.

Wish me luck, because it's got to be free too.

I selected this post to be featured on Blogs for Women. Please visit the site and vote for my blog!

I've linked up to Sunday Showcase blog hop here:

UndertheTableandDreaming