Discription

Everything Southern & So Cotton Pickin Cute
Showing posts with label recycle. Show all posts

Saturday, December 21, 2013

DIY Christmas Pallet Art Craft

Do you need one more project for last minute Christmas decorating.  I have one or two here.
You probably have just enough time to knock this baby out, all with things you can find right around your home.
Look around your house and see what you have that can spark your creativity.

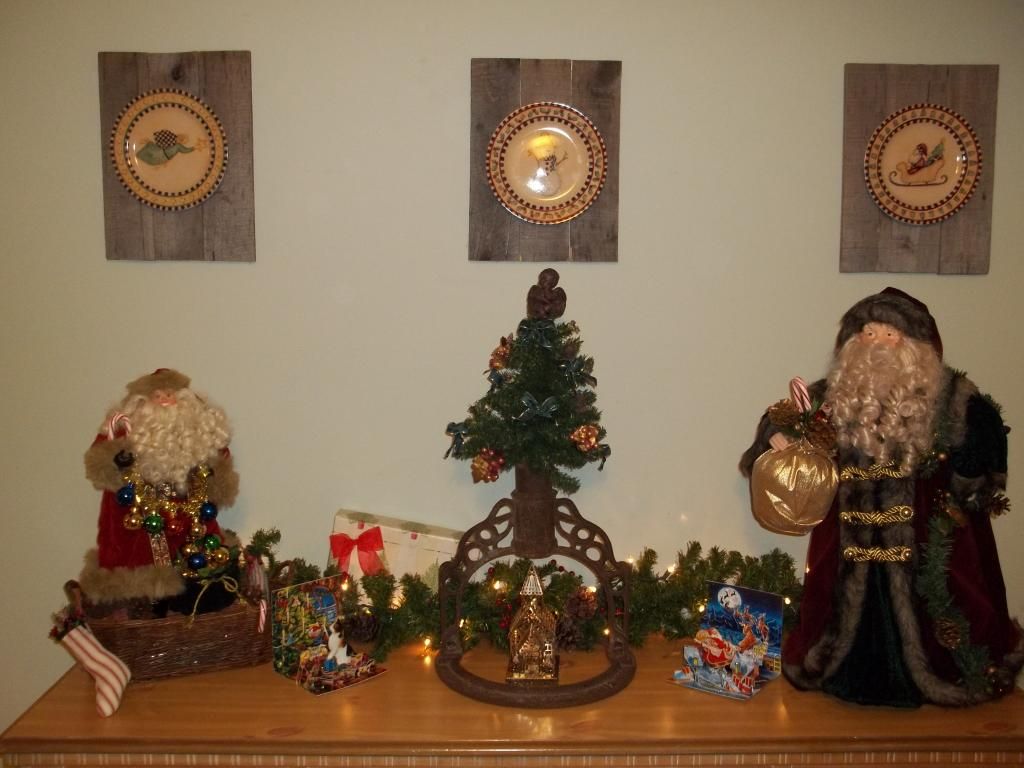
After sitting my Santas out I need something in the middle with some height.  What to do, what to do?  I found one of these tacky little christmas trees in a plastic bucket sitting around.  I wasn't about to sit out untouched, as is.  I tore it out of the foam and looked at it like "what the heck am I gonna do with a wire post".  Inspiration struck when I went digging in Neil's room of weird treasures.
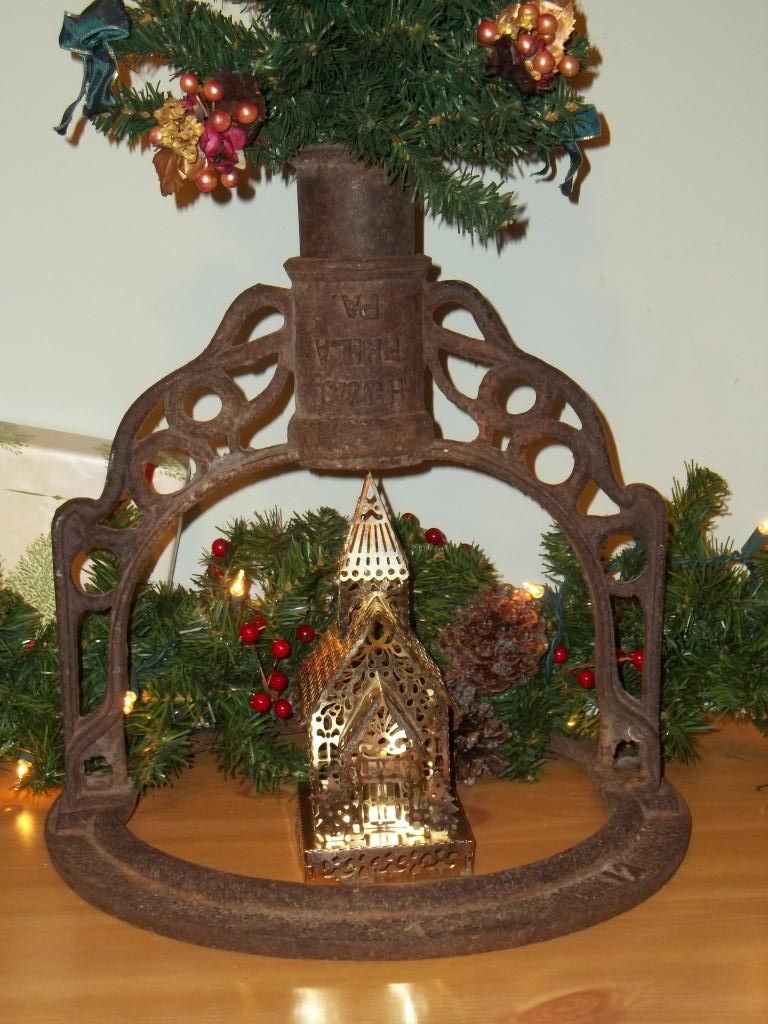
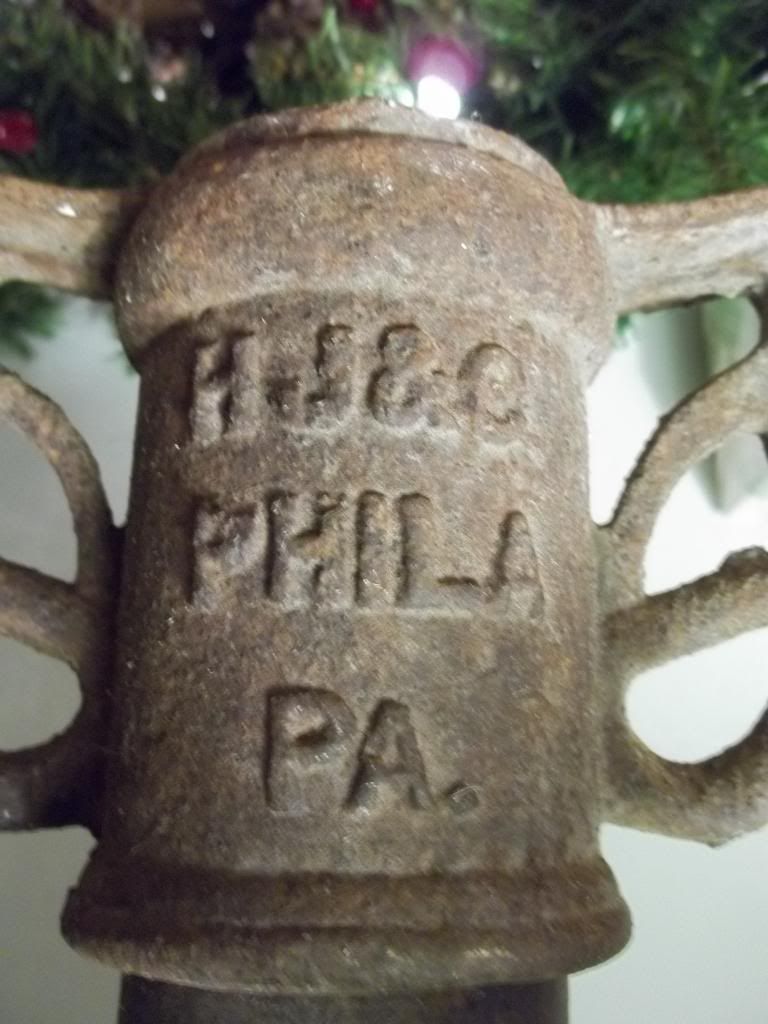
That's were I found this vintage cast iron bell holder. I love that it's stamped PHILA. PA and that it has that lovely scroll work!!  Upside down the hole was perfect for holding my tree. I just stuck a couple of styrofoam balls in to hold it up right.  I love it!!!
Remember when decorating balance is important.  Using lifts is a great way to achieve height.  One of my Santas was much smaller than the other.  They don't need to be the same size but more in scale than these really are.  By sitting the one Santa on a block of foam covered with a piece of scrap gingham fabric and sitting it in a basket basket, it's now more in scale.
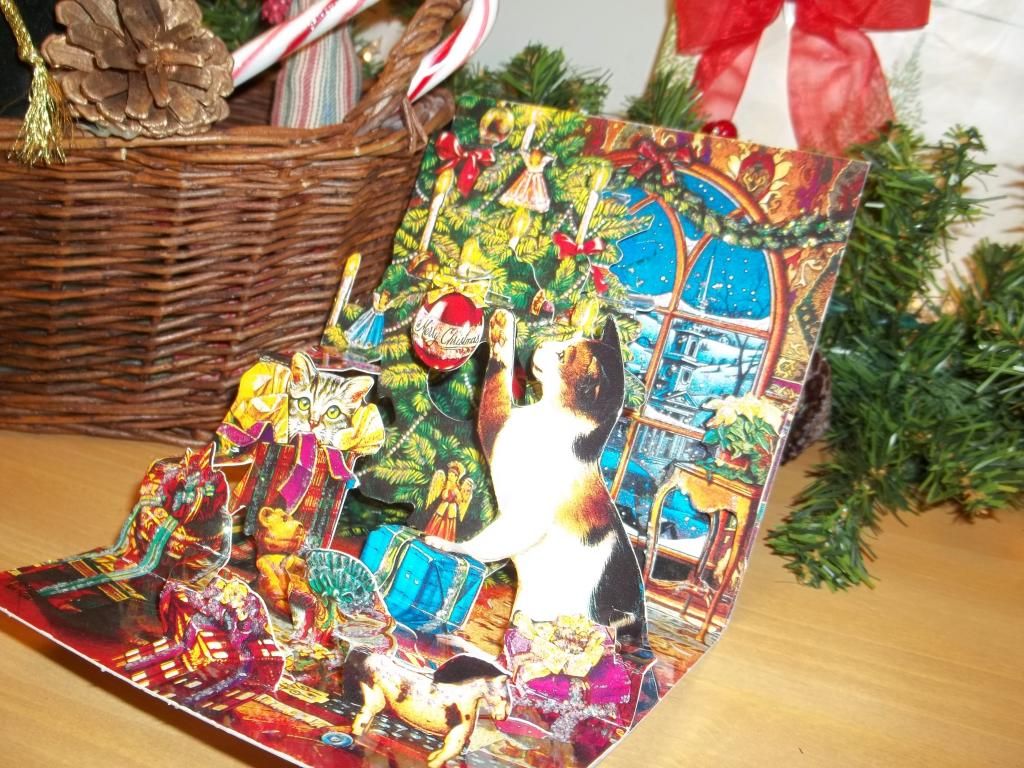
Remember to just play with what you have and you'll be surprised how things come together.  I added a wrapped gift and these adorable pop-up cards to fill empty space.
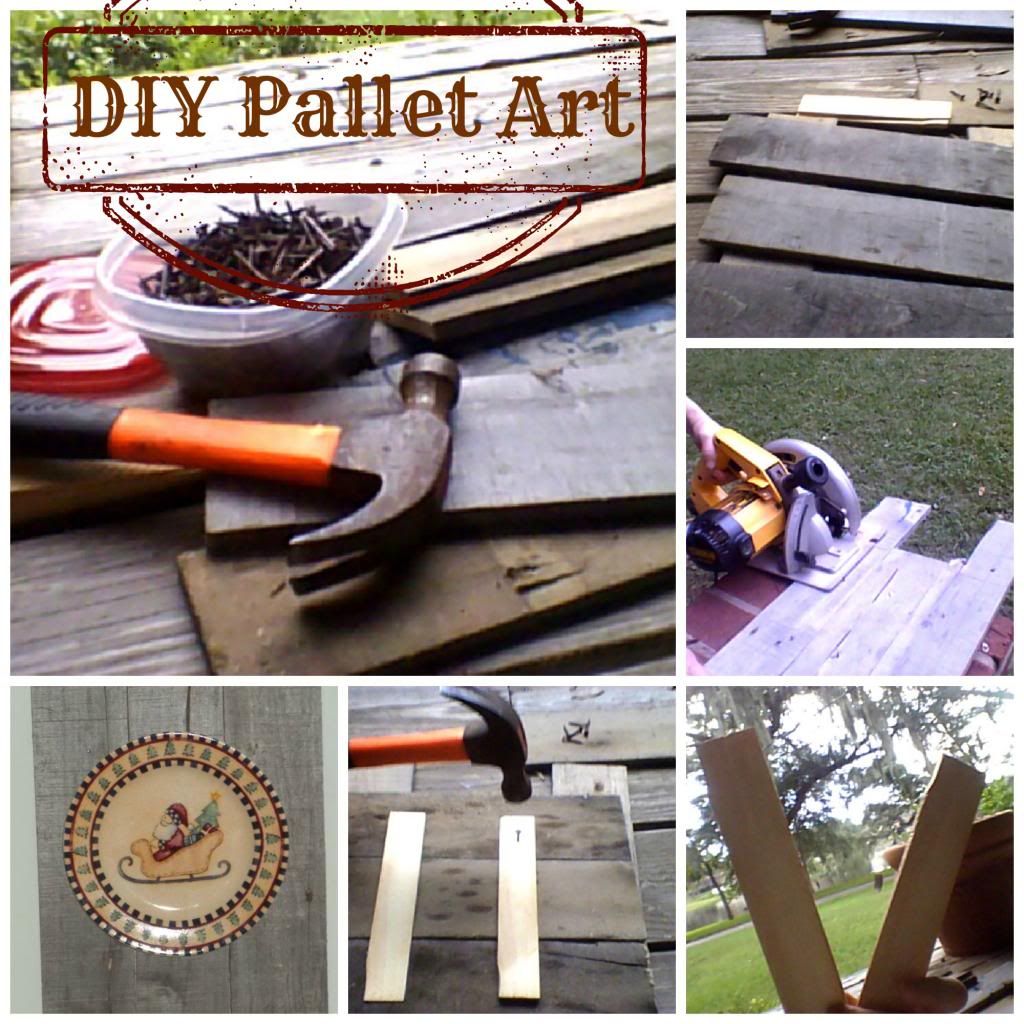
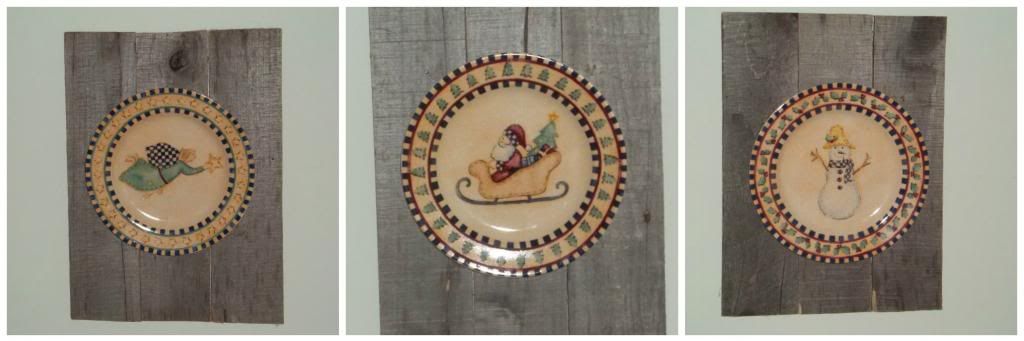
Here's a simple tutorial to make your own pallet plaques.
The steps to making the pallet plaques, if that's what you call it, couldn't be more simple.
  1. Grab a some old fence boards, saw, hammer, nails, clamps and gorilla glue.
  2. Decide how big your plaques should be.  I used the bread size Christmas plates, so I made my plaques about 10"x14".
  3. I didn't have any glue at the times so I layed 3 boards side by side face down.  On the back I used 2 paint paddles and nailed each board.  You know my motto - "Get 'er done" with whatever you have, do or die.  The nails were too long, so once I turned the plaque over I just snipped off the tips of the nails. **If you have gorilla glue just skip this step and glue the planks together side-by-side and clamp till dry.  I did come back and add glue later.
  4. To make the hanger on the back I added 2 tiny tacks and wrapped floral wire between them.
  5. I didn't want my plates attached permanently because I'd like to change them out later for a summer feel.  To solve that issue I made homemade hangers by snipping paper clips in half and then attached them to the plate with a combination of gorilla glue and hot glue to hold in place and then cover them with a bit of felt.
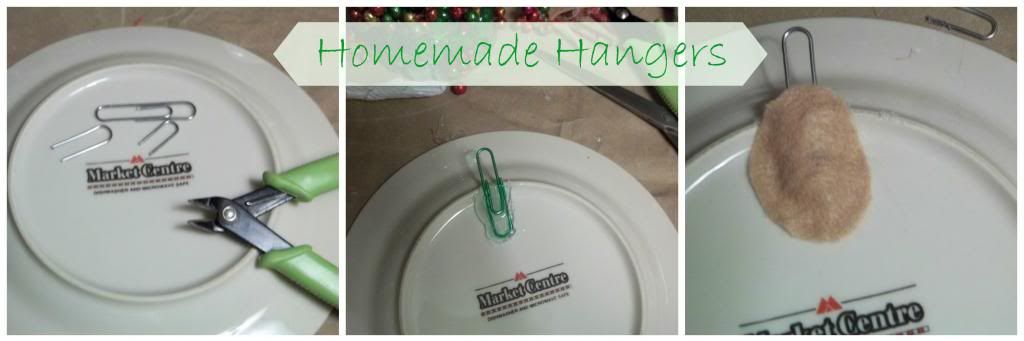
And that's how you create pallet art work on a zero budget.
I have to admit the pallet and plate art wasn't my idea but I think I made it my own for Christmas.  I got the idea from April at House By Hoff.  She's one super creative gal, be sure to stop by and see for yourself.  You can see her pallet art tutorial that I pinned HERE.  

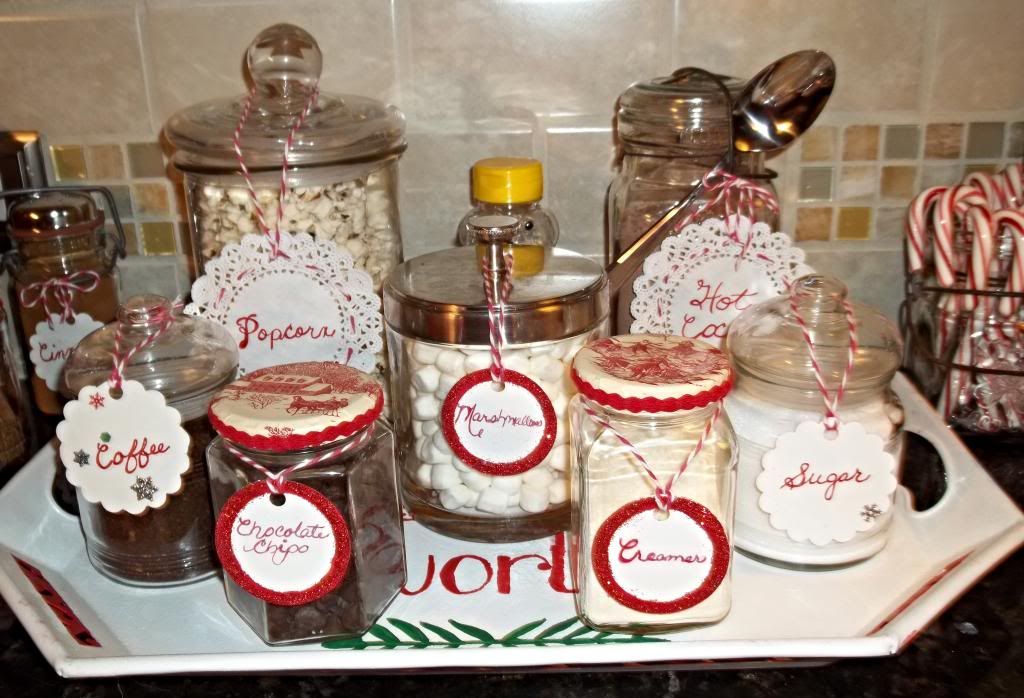
Hey, don't leave yet.  If you enjoy that DIY project, click HERE to checkout my Hot Cocoa Beverage Bar. 
Be sure to enter my Swiss Colony - Make entertaining easy giveaway HERE.

Merry Christmas Y'all...
The name of the Lord is a strong tower; the righteous run to it and are safe.
                  ~ Proverbs 18:10 

Tuesday, November 20, 2012

Table Centerpiece DIY AS Easy As Pie

Are you looking for last minute ideas for your Thanksgiving table?  I have an easy one that quick to make.
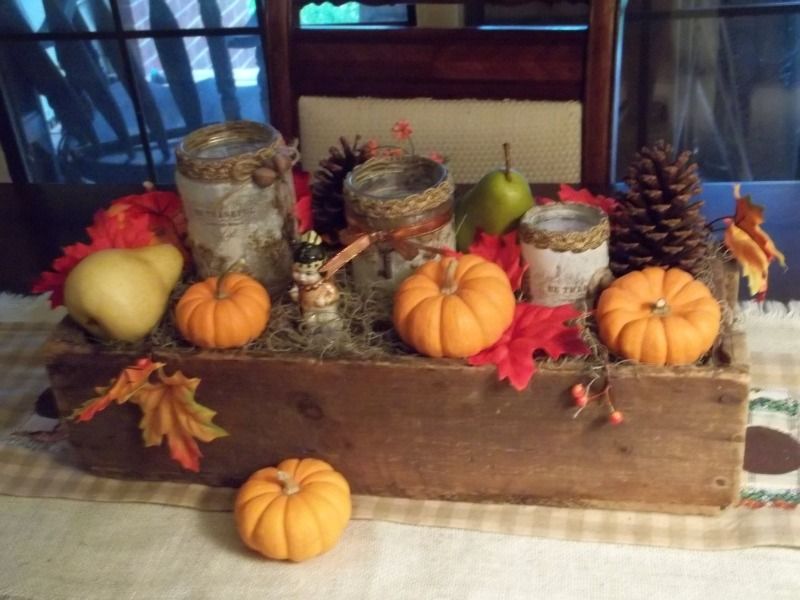
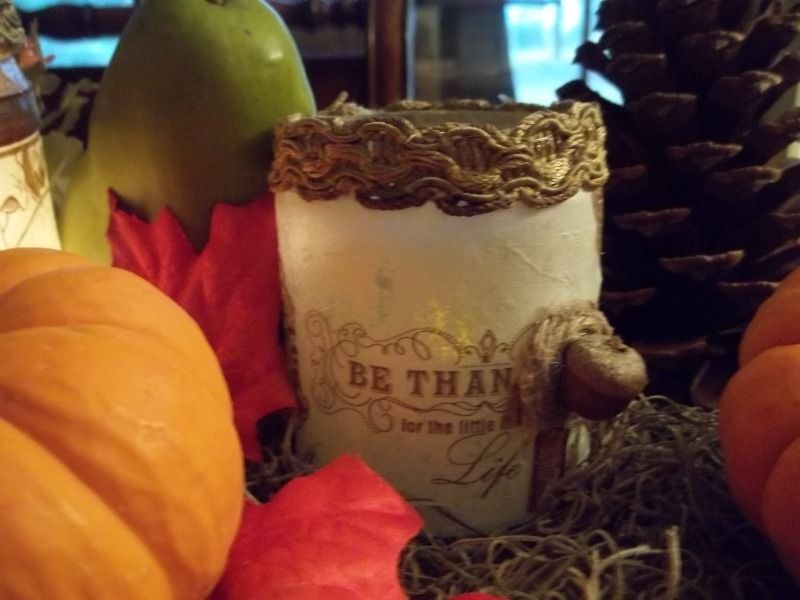
This is a DIY project using what you have.  I started with an old wooden crate.  I used the mini pumpkins still left from Thanksgiving.  Pinecones and Spanish moss from the yard.  Faux Pears and faux fall leaves from my stash.  

TIP:  When you use things like moss and pinecones from the yard put then in the oven at 200 degrees to kill any little pesty critters that are in them.  Let bake for about an hour.  Even though the oven's very low, keep your eyes on it, I've never had a problem, but better safe than sorry.
For the candle holders I used old mason or pickle jars or whatever.  These were so easy to make and turned out so pretty.  In the photo above you can see how pretty the candle lit glows through the print.  I ran out of candles and used a little electric votive in the small one.  Note: Must get more candles before Thanksgiving.

I used 2 ply Thankful napkins I got at Micheals.  Separate the plys and set them aside.  With a sponge brush I applied decoupage glue to the outside of the jar.  Then just apply the printed (pretty) piece of napkin face up, wrapping it around the jar.  Once it's on, apply more decoupage glue over it smoothing all the edges.Trim any extra.  I used a braided trim, you could use jute, to wrap around the top where the lid screws on.
On one I glued a jute bow and some acorns.  I also added a vintage key. On another I glued a gossamer ribbon with a vintage key.  
 The smallest one I glued a circle of just an an acorn.  Easy as pie!
Now just sit back and enjoy!  I love it!  What do you think?  Do you like to upcycle everyday items to save them from the landfill?

Have a blessed day ya'll.....
Tracy  


Tuesday, August 4, 2009

FROM BED TO STREET CRED


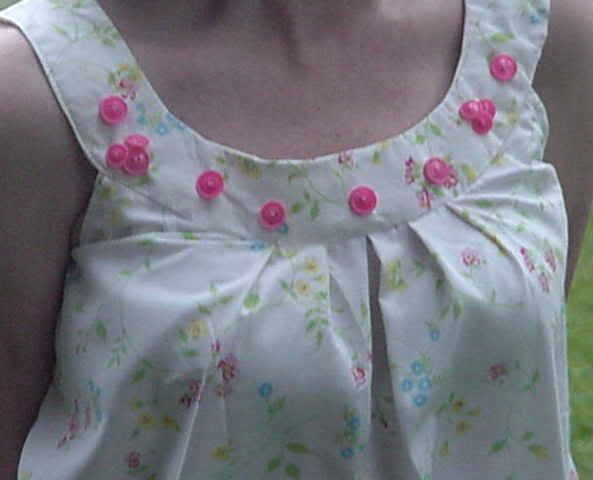
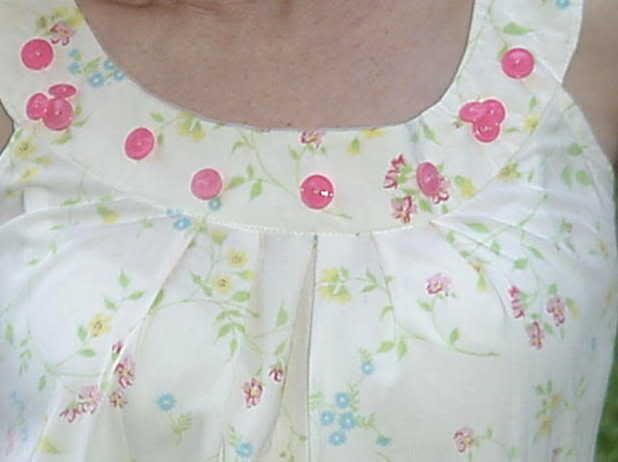
Poor Neil was outside mowing the yard today and look what fun I was having stealing the sheets off the bed. Just kidding. I found this sheet and some others a few weeks ago and finally got a chance to make a top. I went out looking for pretty sheets that would be summery and cool after seeing all the cute ones that everybody else was creating. What a great upcycle project that's easy. Talk about stretching the budget. This sheet was probably a queen so there's a ton of fabric left. And it was very easy too. If you plan it right you don't even have to hem it. I cut it out so that the hem at the top of the sheet was the hem of the blouse. I used the seam reaper to undo the hem at the side seams, sewed up the sides and then re hemmed those little sections on the machine.


After it was finished I noticed 2 little stain marks on the yoke. Where did those come from? I looked that sheet over really good. But a bad thing turned out okay. I just used some buttons I found around the house to hide them. I added a few extra just for balance. At first I thought ol' flip! Of all places to have 2 little stains they had to be on the front most noticeable place. But that's where the cup half empty or half full comes in. If the stains had been any place else I would have had a hard if not impossible time hiding them. Can you picture buttons just a little lower - Ha-Ha!!! I would look like a stripper (one that doesn't make a very good living at that, ha).


This top is perfect for me 8 months out of the year here in Florida. It is so hot and so humid, you feel like your chocking with anything more on. I had been looking everywhere for some tops with this thin cotton feel and I didn't have any luck. Now I know... just check the bedding dept.