Discription

Everything Southern & So Cotton Pickin Cute
Showing posts with label DIY project. Show all posts

Tuesday, April 1, 2014

Easter Egg Wreath For Under $10.

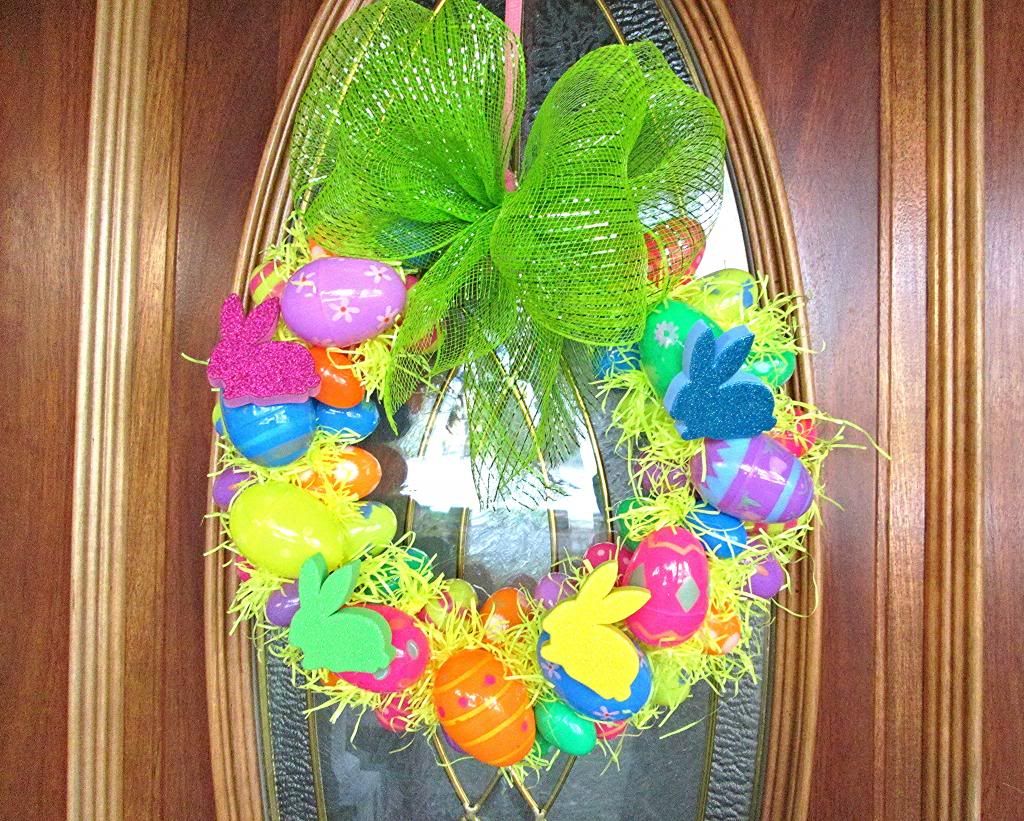
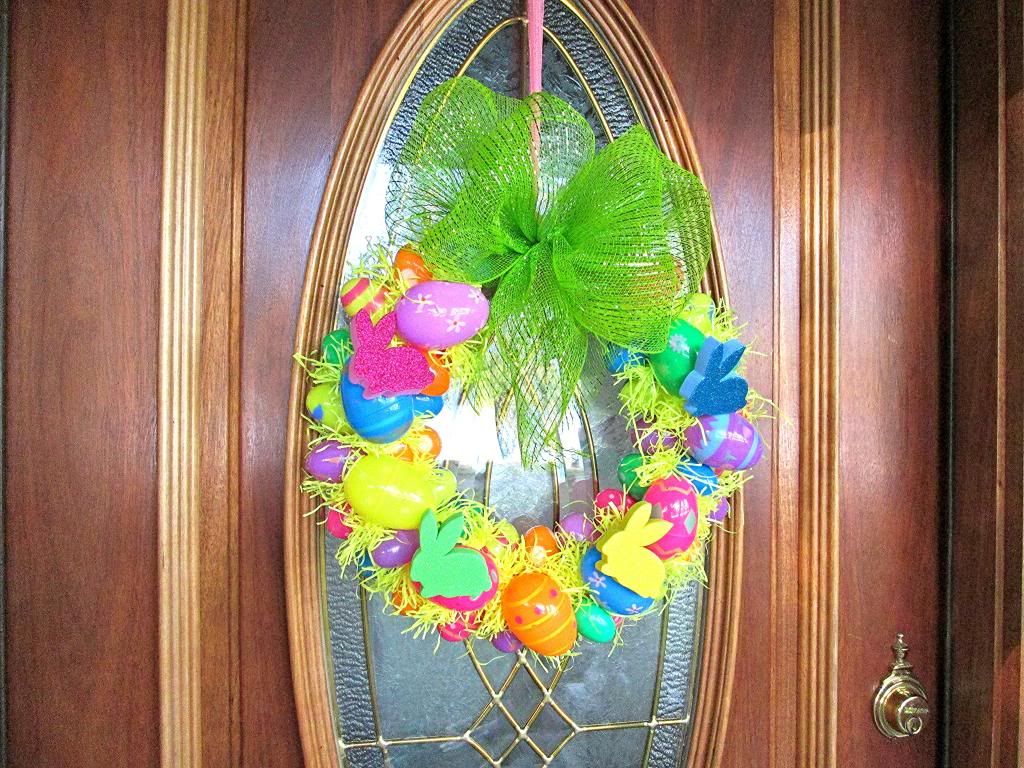
We've got less than 2 week left before Easter, so I'd say it's time for some diy.  Today I'm sharing how I made my Easter egg wreath.
I usually go with pastel colors for Easter, but this year I decided to be bold and go with bright fun colors.  My porch is set back from the road and I wanted it to be bright enough to see.  So far I'm liking my neon wreath!

Pinterest, Pinterest, Pinterest...what would I do without you. Searching for Easter wreaths, I came across Debbie's wreath over at Kennedy Klan News.  Thanks for sharing the tutorial Debbie!

It looked quick, easy, inexpensive and most of all CUTE!  Just what I wanted.  So here's how I did mine, which is pretty much the same as Debbies.
Step 1
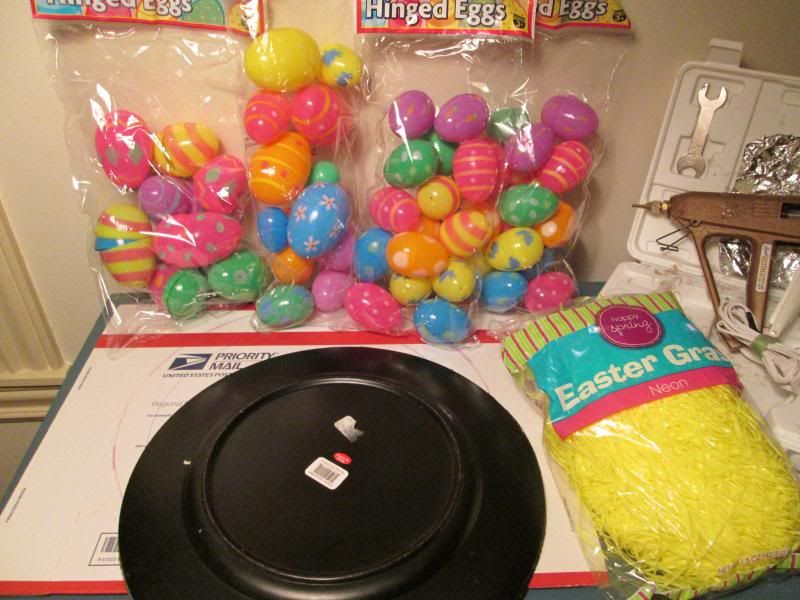
Gather your supplies. You'll need:
  • Cardboard
  • Plastic Eggs - I used about 40-45
  • Easter Grass
  •  Deco Mesh Ribbon
  • Hot Glue Gun and Glue Sticks
  • Floral Wire or Pipe Cleaners/Chenille Stems
  • Pen
  • Razor Blade
  • Scissors 

Step 2
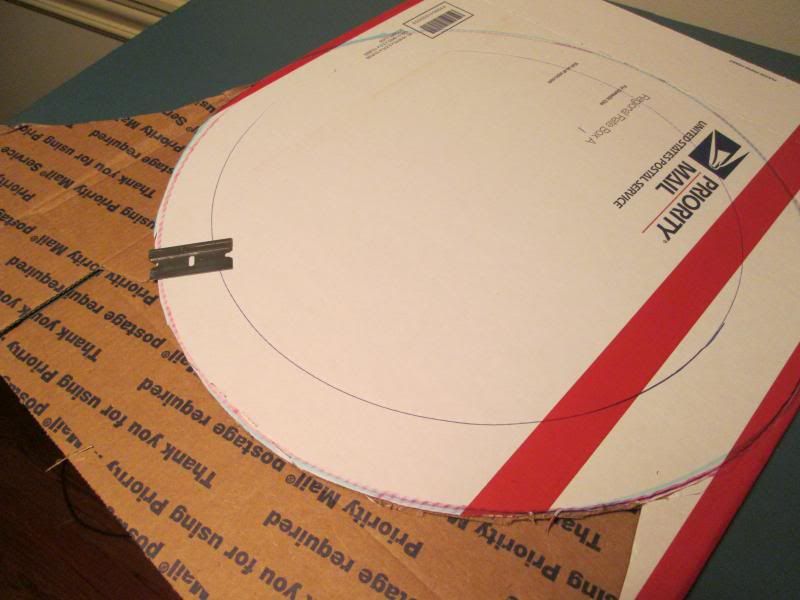
Use a plate or charger to trace a large circle on your cardboard. I used a priority shipping box.  Draw a smaller circle inside the larger one.  You want your ring at least 2" wide or more so you have room to glue your eggs.  I used a razor blade to cut mine out but you could use a knife or scissors.
Step 3
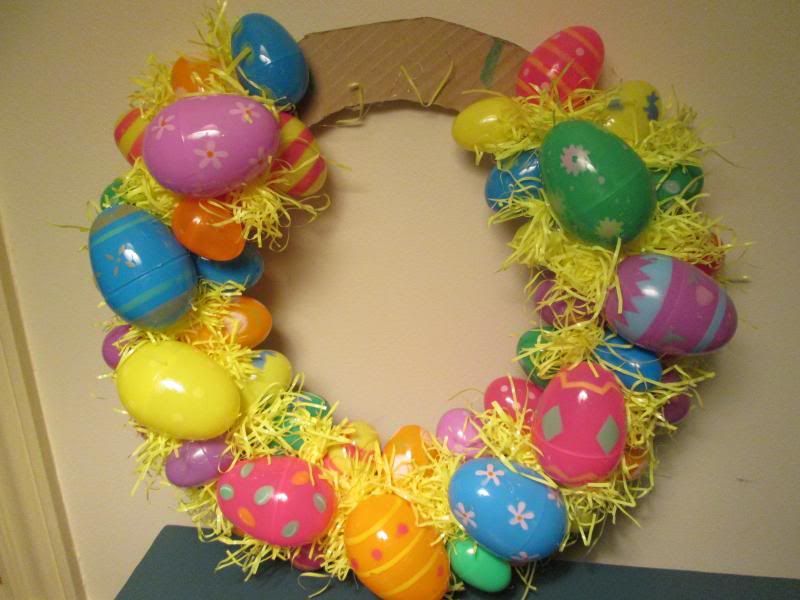
Get busy gluing your eggs, butt to butt like I've done in the photo above.  My ring could have been a little bigger (how many times have you said that girls)? I was barely able to glue those suckers on there.  I ended up using the medium and small eggs because the big ones just wouldn't fit. *Be sure to leave an empty spot at the top of the wreath, egg free so you can add your bow.
Step 4
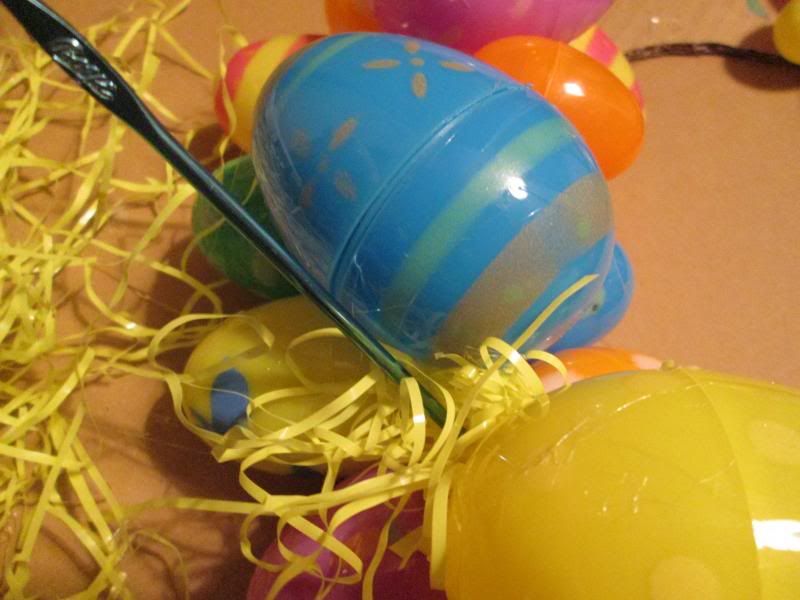
You want to fill the spaces between the eggs and anywhere you can see cardboard, with the grass.  I started out using a crochet hook to shove the grass in while trying (keyword is trying) not to burn myself.
*Tip
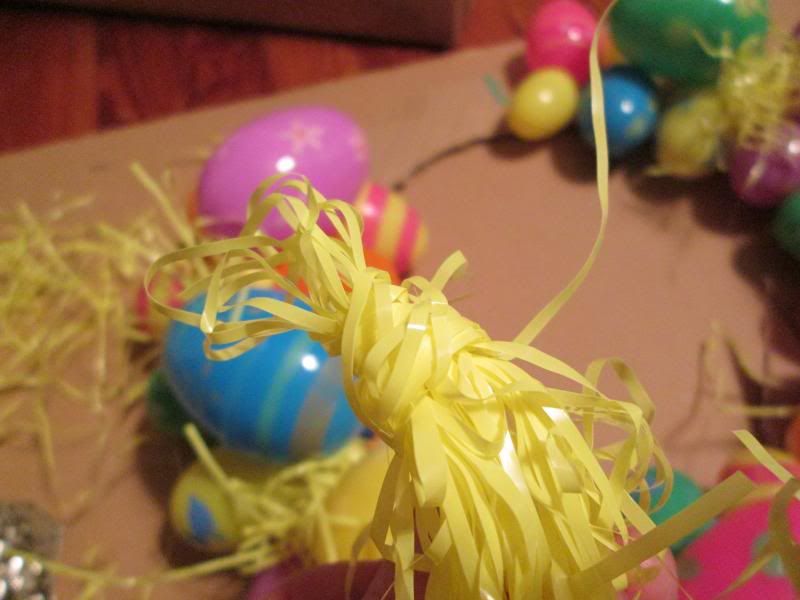
I found that best way to insert the grass was to grab a little wad and fold it back and forth so you have a short, thick little - well wad for lack of a better word, using a strand from your wad, wrap it around the end to hold it.  Add glue to the wrapped end and shove it in between the eggs.
Step 5
We're almost done.  It's time for the bow.  I wasn't quite sure how to handle the big deco mesh ribbon so I found this a site called Mardi Gras Outlet.  It has wonderful ideas and inspiration.  It explains how to tie a bow, so rather than me trying to explain it, I'm including the link because they have pics too. It also shows you how to make a deco mesh butterfly which is so cute. Just click on the link above.
Well there you go Peeps (get it), one "easy to create Easter project just for y'all, coz I love my Peeps. (I just can't stop).

The how much and where at:

I found the eggs and grass on sale at Walgreens, I bought 4 packages but only used 3.  What a deal. The cute foam bunnies were at Family Dollar.  Hobby Lobby had 40% off of the ribbon.
  • Deco Mesh Ribbon = $4.79  (Plenty left for another project)
  • Three bags of 15 eggs @ .49 cents each = $1.47
  • One bag of grass @ .99 cents = .99
  • One pkg of foam bunnies $1.00
  • Misc items I had on hand such as pink ribbon, hot glue and cardboard. 
Total Moolah spent = $8.83 including taxes
Total Time spent = less than 2 hours
Gotta love dollar stores!

Always remember it's nice to have money to buy whatever you want, but never let a lack of money stop you from creating.  Sometimes the best things come from making do with what you have.  Anyone can do this craft or something similar.  Stop stressing and just have fun.  See where your mind takes you.

Hugs Y'all...
Praise be to the God and Father of our Lord Jesus Christ!  In his great mercy he has given us new birth into a living hope through the resurrection of Jesus Christ from the dead.
~ 1 Peter 1:3

Fun Is a Relative Term + Giveaway Reminder

Boy did I have a great weekend.  It was beautiful weather here, and I was outside both days.  You would have thought I was just a few weeks away from delivering a baby.  It was like I was in major nesting mode.  Plus we got some really fantastic news that I'm a little cautious about, sorry I can't share, but lets just say things are looking up, and that feels good.
On Friday I headed outdoors to trim up some bushes.  I didn't even make a dent, but hey I was out there for a couple of hours and it was a start.
I got up on Saturday and made an Easter wreath for the front door, which I'll be sharing later today, so come back for that. Then we went out to eat, did a lot of walking and a little shopping, mostly window shopping, but still a little of both.
*Update:  You can see my Easter wreath tutorial here.

I couldn't help but take a few photos in Pier 1 Imports. It was like an explosion of my favorite colors.  Loving it!!  Neil practically had to pull me out of there. FYI - this isn't a sponsored post, I'm just sharing things that make me happy.
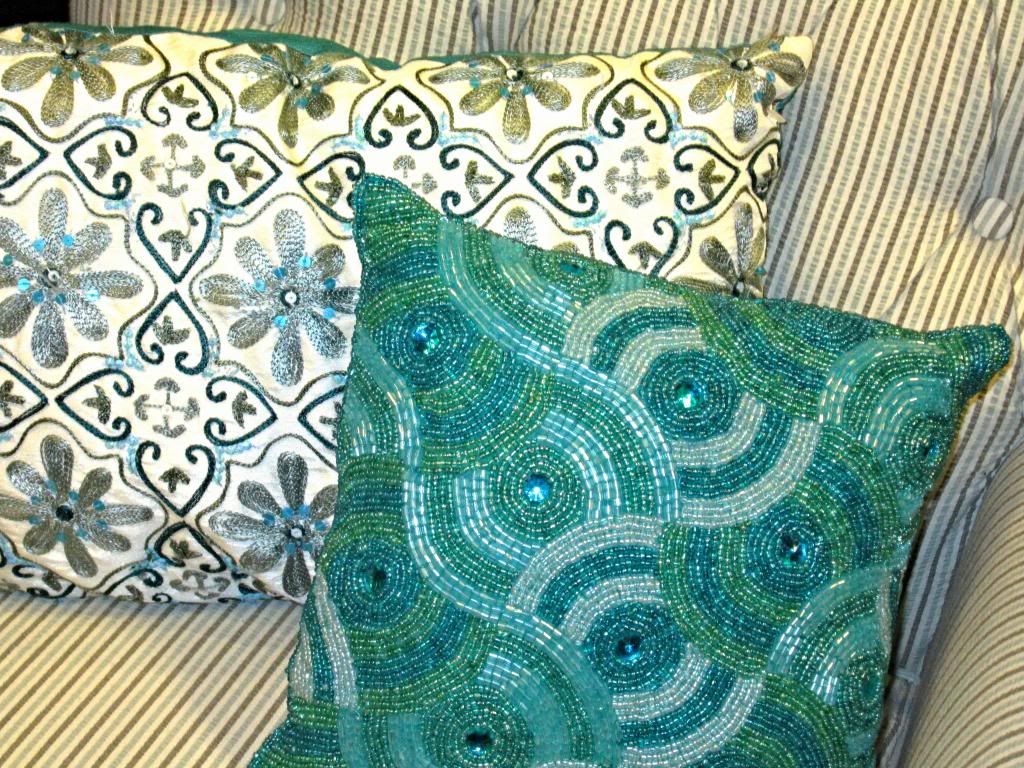
They have so many gorgeous pillows to choose from.  Here are two that I just want to wallow in.
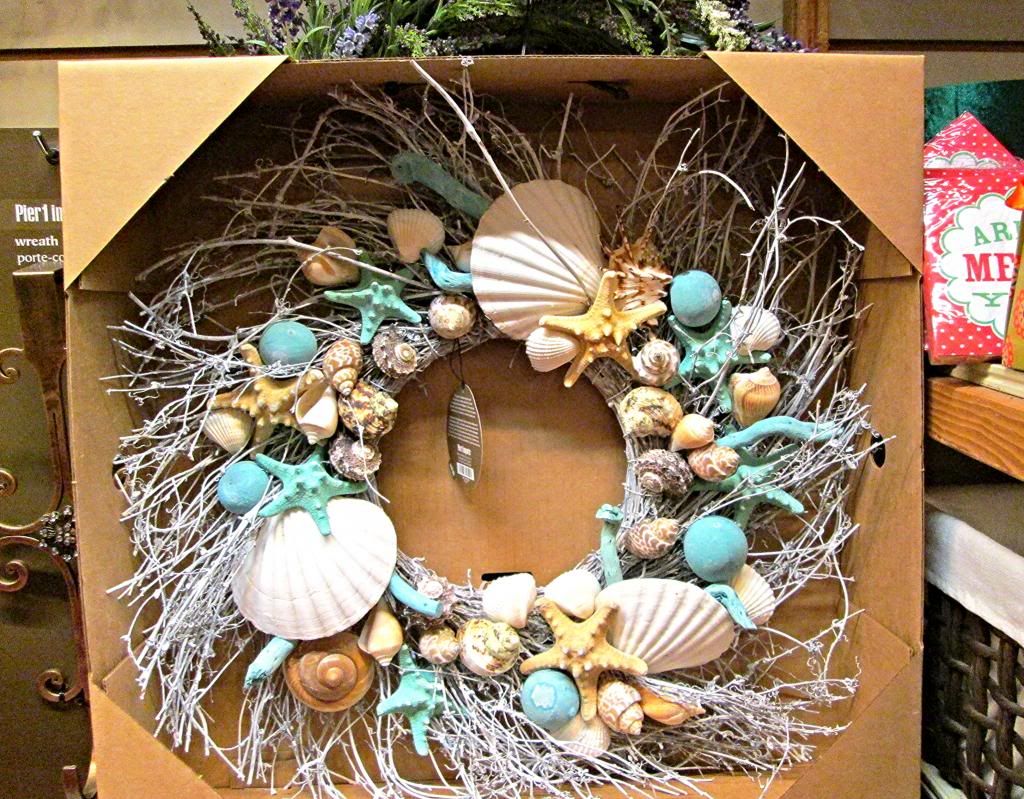
How pretty is this shell wreath?  My biggest problem with it, would be deciding on which room to hang it in.
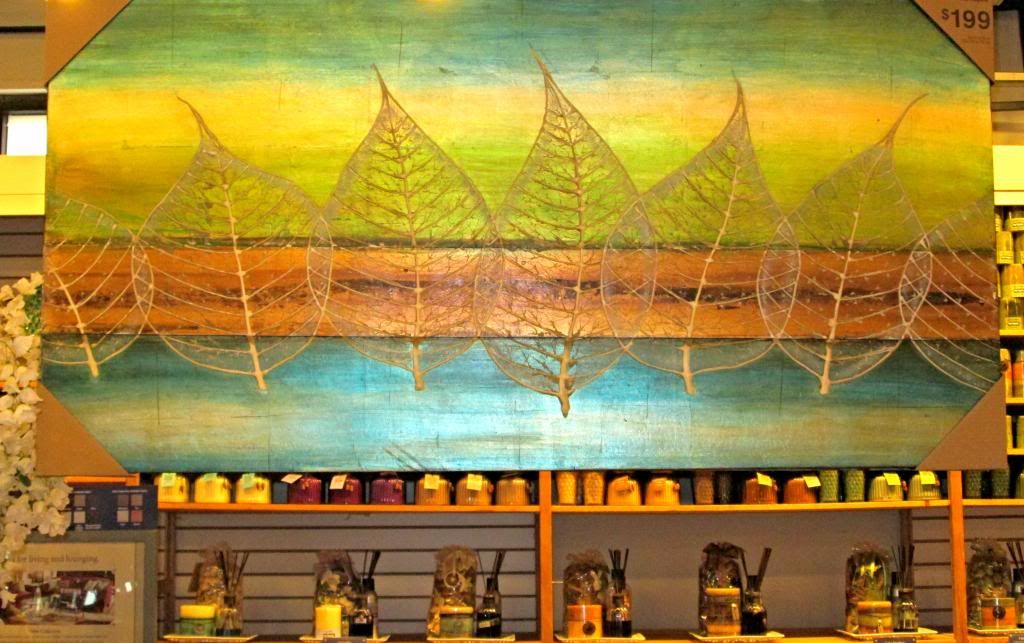
My store didn't have as big an art selection as I would have expected, but I can totally see this hanging in my dining room or above my sofa.
Wouldn't these glass platters make a dramatic statement?
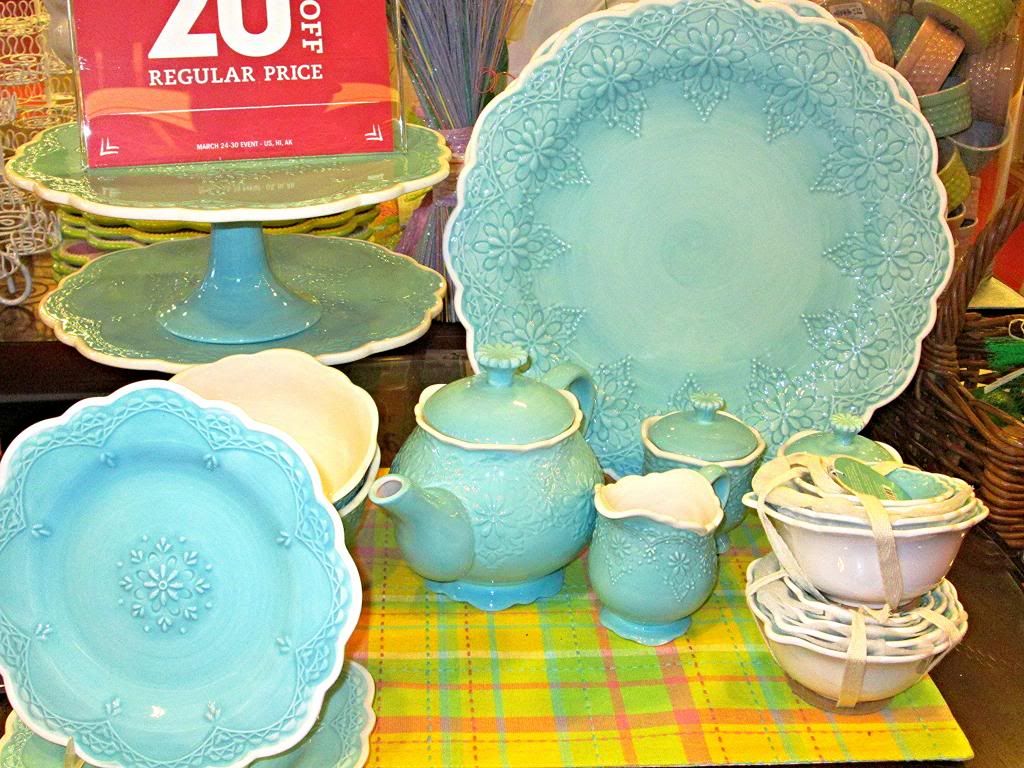
Who wouldn't want to set their Easter table using this dinnerware.  When I look at them I can just see using them for Easter and then using all summer long because of that beautiful beachy blue.
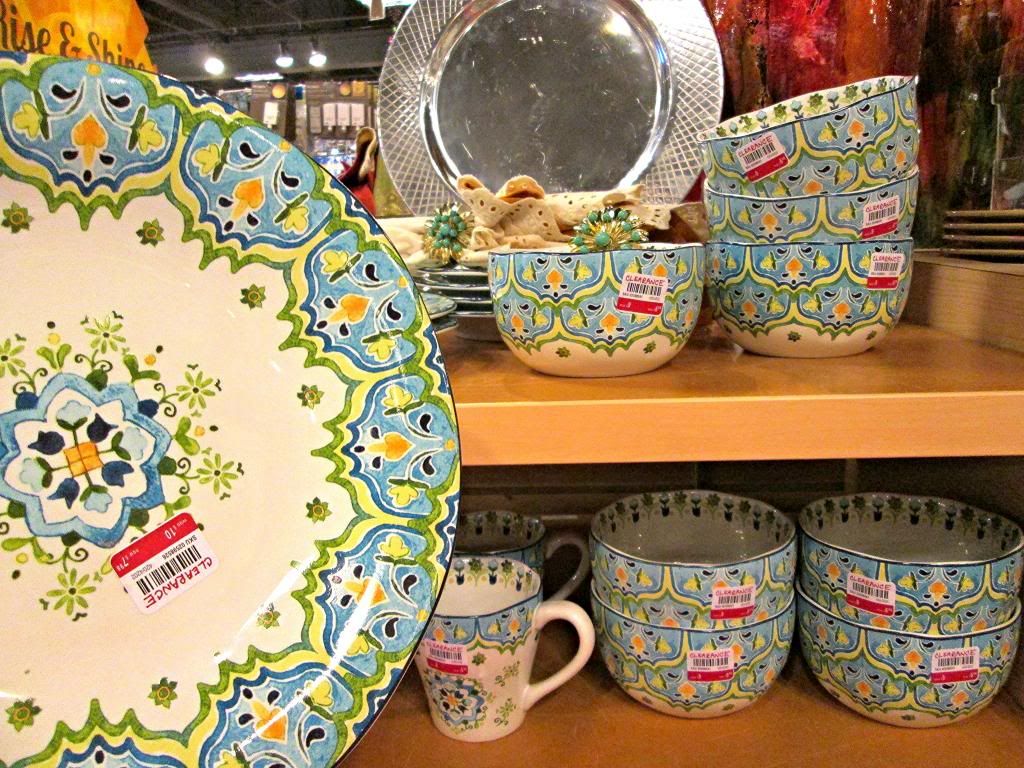
But oh' how much do I want this bolder looking set?  Anyone in the mood to dine alfresco?  And they're red tagged too! Ekkk!!
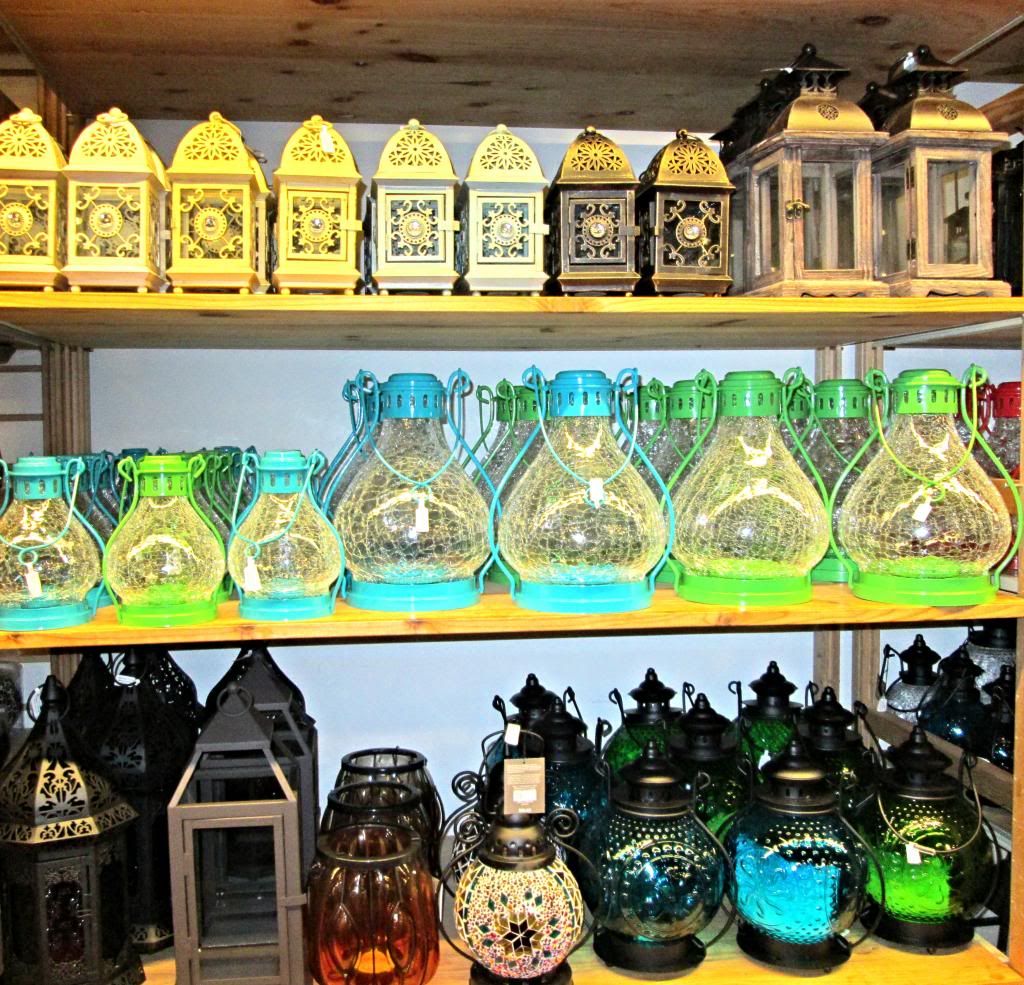
While we're dreaming of those summer alfresco nights, let's not forget mood lighting.  Don't you love these colorful lanterns?
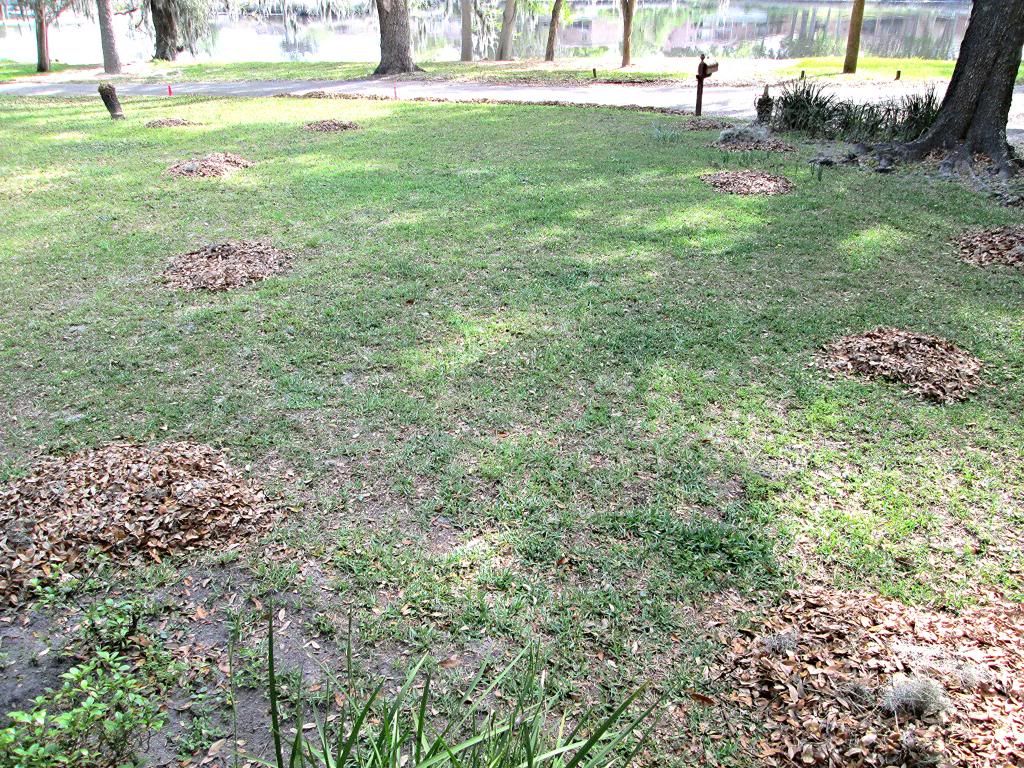
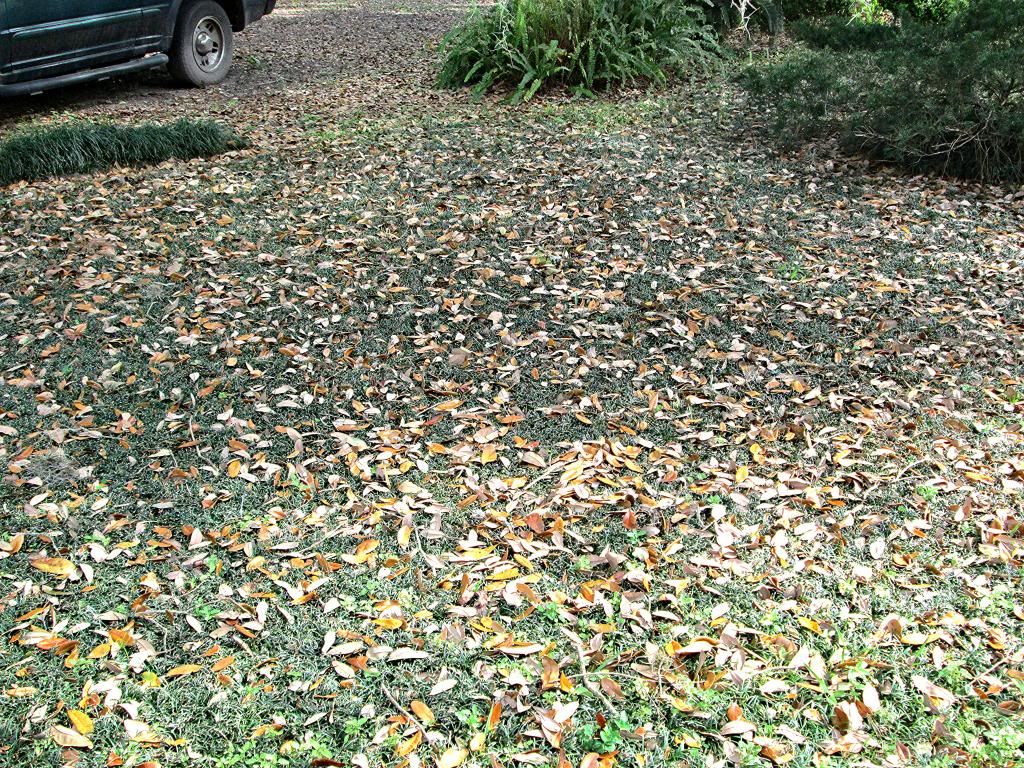
So with window shopping done and a good nights sleep I was full of energy on Sunday.  I started by blowing all the leaves off the porch.  Remember, spring here is like fall everywhere else, except we have warmer temperatures.  Lots of falling leaves everywhere here.  They aren't the beautifully colored, fluffy fall leaves most of you have during your fall.  These are the tiny little oak leaves that burrow down and make you fight to get them raked up.
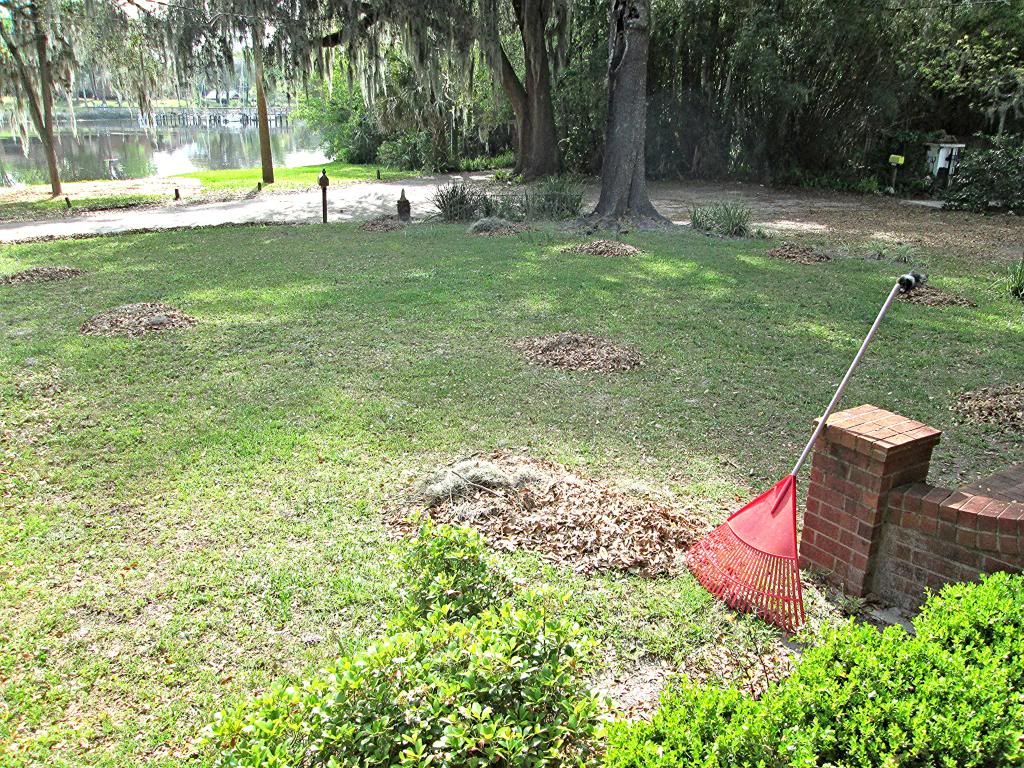
Next I put away the piles of junk that seem to accumulate over the winter months.  Just doing that little bit made everything look better. After that I continued on with my frenzy and started raking the yard.  I spent HOURS doing that, and only got probably less than a quarter raked and still have to bag all those leaves tomorrow.  Whew, is this yard big and man do we have a pile of leaves.
At this point you should probably be picturing me looking something like this except in shorts.  Ahh...It was such a relaxing experience.  Not!
I came in and cleaned ALL my hardwood floors (entryway, living room and the kitchen) on my hands and knees using my new Scott's Liquid Gold Wood Wash Concentrate. I don't always clean my floors on my hands and knees but they really needed a good scrubbing, and I got in every single crevice and corner.  I'm giving away a 4 pack of Scott's Liquid Gold products to one lucky Cotton Pickin Cute winner too.  I've extended the giveaway entry time until April 5th at midnight. You can enter here.

But I didn't stop there, I ate a quick bite of supper, fyi...dinner is lunch here in the South, and then I scrubbed the tile dining room floors, again on my hands and knees.  I kid you not, I had a big 'ole raw spot on my knee where I rubbed the skin off.  My house is smelling clean and that makes me feel so good. Emoji  What's up with me?
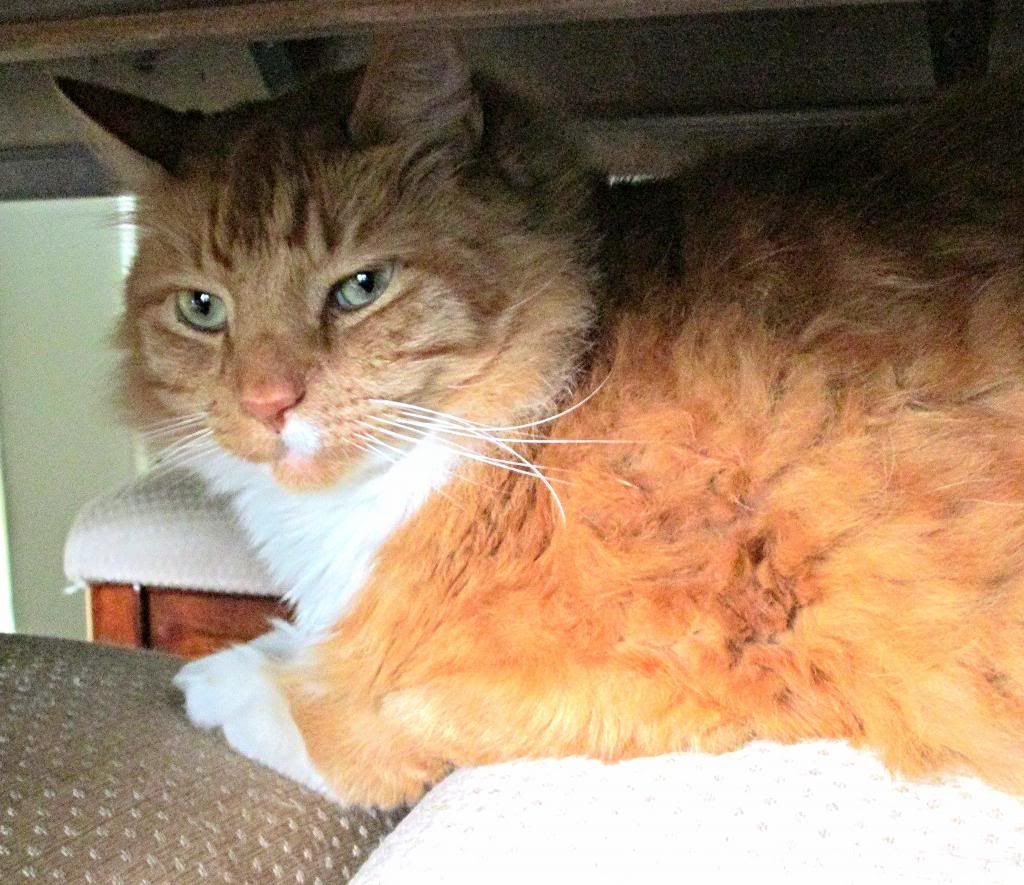
Still not finished.  My cats like to lay around on my dining and game table chairs, so they were in need of some TLC.  I vacuumed all 8 of them and then scrubbed them with a little dawn and water mixture.  Done.  Pumpkin is our infamous giant cat.  He's also the chair hog and usually stretches out on 2-3 chairs. Now it was time to vacuum the carpets.  Done. On to dusting the living room and dining room furniture.  Done.

Now I'm heading to the back of the house. Clean 2 cat pans, sweep the hall and the laundry room, aka cat room. Done I might as well throw a load of rugs and cleaning rags in the wash.  It's way later than I thought by now.
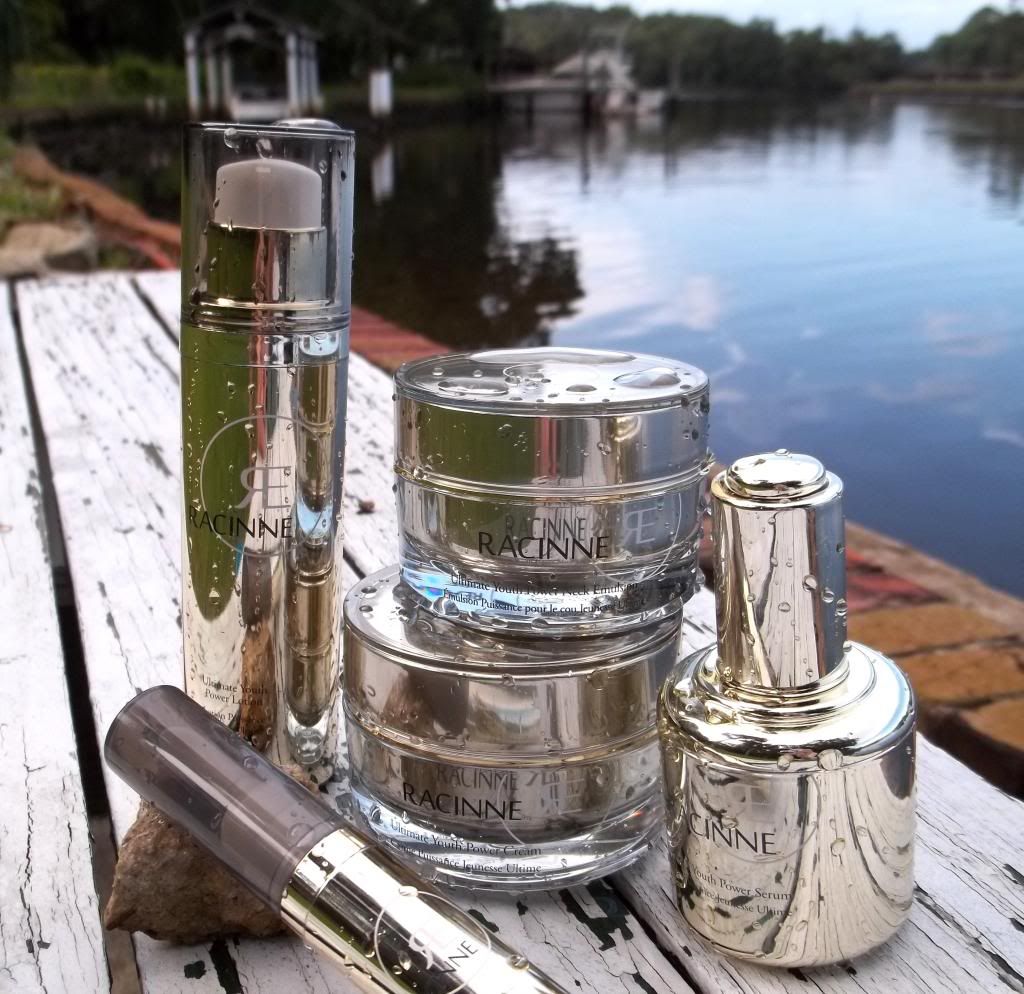
Finally a little me time.  Twenty minutes of my daily exercises and a thoroughly appreciated shower, followed by my nightly slathering of my facial creams and body butters.  I use the Racinne Youth Power Skin Care Regime and I seriously love it.  This is by far the best facial skin care products I've ever used!  You can see my post about them here.  Time to throw the rugs and towels in the dryer.  Done.

Ahhh...hitting the bed feels good and I say a prayer of gratitude to my heavenly father for a wonderful weekend.

So how was your weekend?  What did you do?  I hope you enjoyed yours as much as I enjoyed mine.

Hugs Y'all...

Humility and fear of the Lord bring wealth and honor and life.
~ Proverb 22:4

Friday, July 12, 2013

The Easiest DIY Sewing Project Ever

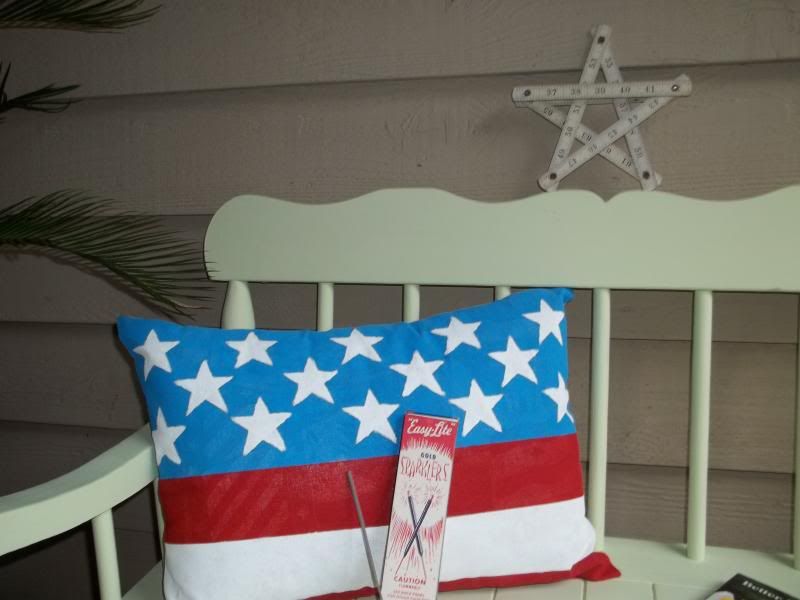
Happy Friday y'all!  How about a crafty project.  My motto is if you can't find it, can't afford it, then make it for nearly nothing. Upcycle, renew and reuse.  I made an easy pillow for the 4th using what I could find on hand.


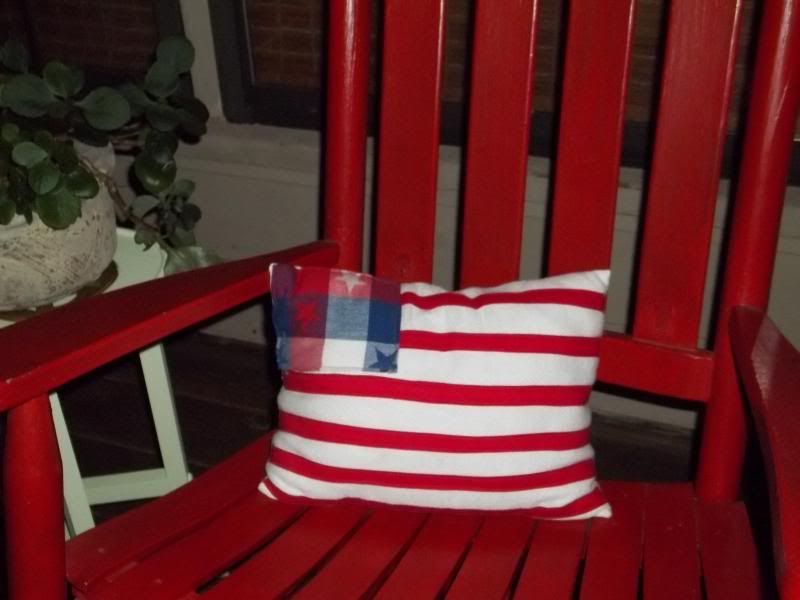
I made one a little different last year.


The thing to remember here is you don't have to limit yourself to a patriotic theme.  You could easily paint waves instead of stripes.  Or maybe keep the strips and add a crescent moon with stars.  Heck paint some butterflies or dragonflies.  I have to keep it really basic because I'm totally not talented when it comes to painting.  Oh' but wouldn't wedges of fruit like oranges, limes and lemons be cute!

Here's a picture of my inspiration. I think I found it on Pinterest but it was created by Kierste over at Simply Kierste.  She is one crafty girl with a great blog.  She gave a tutorial and I basically followed her directions with a few variations.  Please click here to see her post.  I know you'll enjoy her blog as much as I do.  I adore her pillow.


I thought I'd show you the basic's on making these.  Lets start with this years painted pillow.

  • Step 1:  Use any old fabric you have on hand like I did.  A burlap or muslin works great.  Decide how big you want your pillow to be.  I wanted mine to be a rectangle since it would be a flag. I decided that I wanted my finished pillow to measure 19" x 14".  Before cutting it out I added 1" to each measurement for seam allowances.  Fold your fabric in half before cutting. I cut mine 20" x 15".
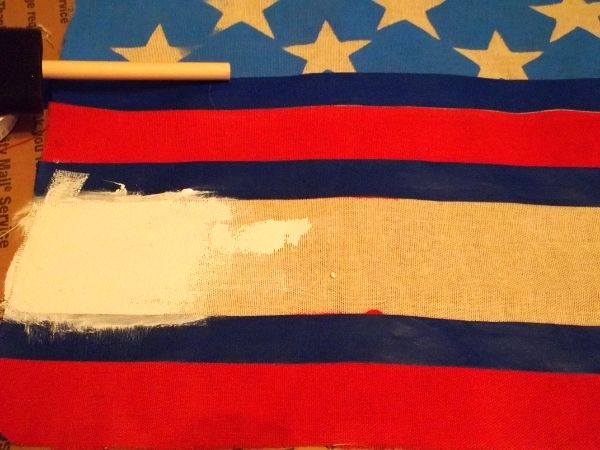
  • Step 2: On just one piece of the fabric measure out your placement.  I decided to have "3" stripes at  2 1/2" each.  That left 6 1/2 on the top for stars.  Using painters tape, tape each section being sure to use a spoon or something to really press the tape edge tight so paint doesn't seep under.  Don't worry if it does you can touch it up with a art brush.  I don't plan on washing these and since they're under a covered porch I didn't use fabric paint.  I just used craft paint, you can even use house paint.
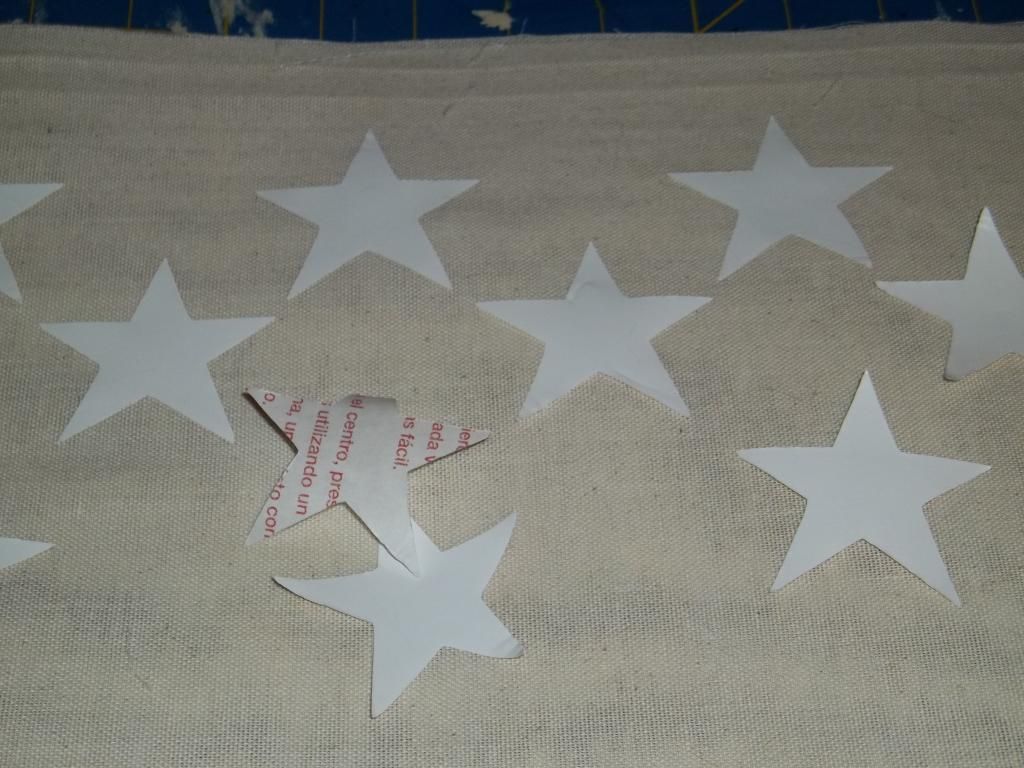
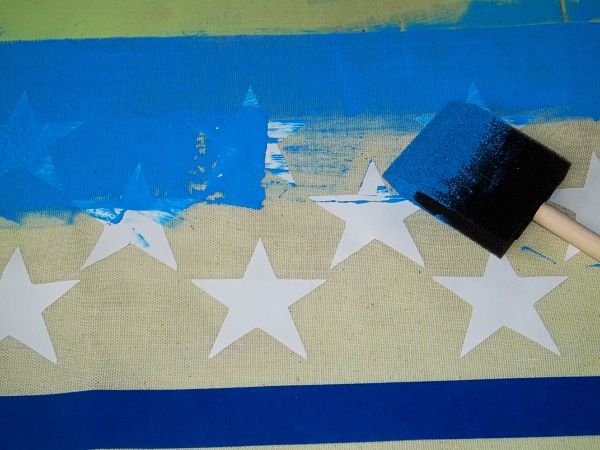
  • Step 3:  For my stars I used cheap vinyl shelf paper from the dollar store and cut 2 1/4" stars on my cricut.  You could also print a star shape from the internet and make a cardboard template and trace your stars but you would have to paint the blue first, unless you want to do a lot of tedious painting around the stars.  TIP: Be sure to put cardboard under your fabric before painting because it will seep through.

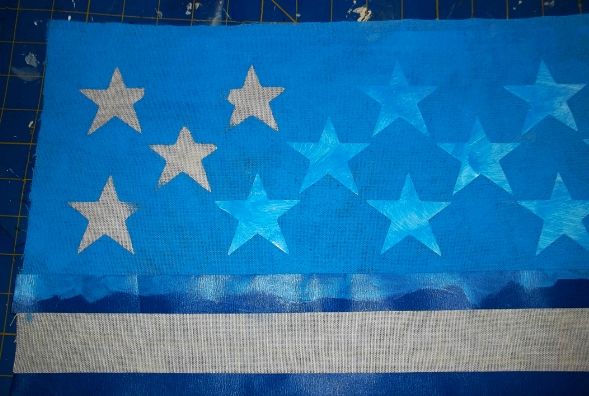
  • Step 4:  I half measured and half eyeballed my stars placement stuck them to the fabric and then painted the blue right over them. It would have been nice if I would have had a little foam roller but I didn't so I used a foam brush.  The brush did cause the edges of the stars to peel up a bit and the paint to get underneath.  Because of that I used a small paintbrush to paint the stars white.  I had originally planned to just leave them the natural fabric color. 
  • Step 5:  I carefully pulled the vinyl up while the paint was wet.  Once dry, I painted the stars white. You can also paint your white stripe now.  Once the white dries tape over the white and blue so you can paint your red stripes. Let dry.
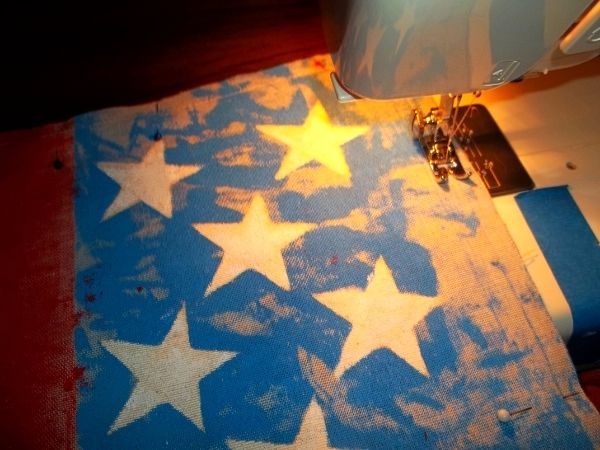
  • Step 5:  Time to sew.  My fabric doesn't really have a right and wrong side but if yours does pin right sides together and stitch 1/2" seams. It doesn't get much easier than stitching straight seams.  Be sure to leave an opening in the bottom big enough to add your pillow. *NOTE:  You can use double sided hem tape or even fabric glue or a glue gun if you don't want to try sewing.
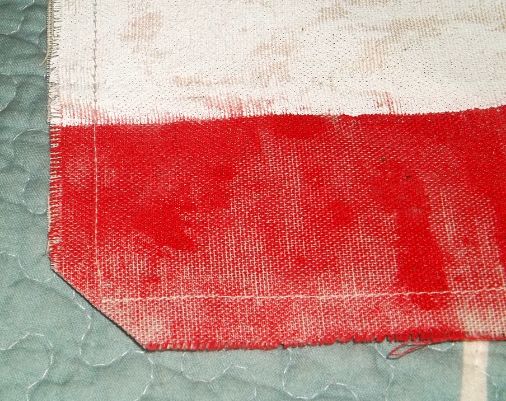
  • Step 6: Turn your pillow right side out.  Trim corners like I've done below being careful not to cut through stitching. Use the end of a spoon or fountain pen to push the corners out completely.
  •  Step 7:  Press you hem opening so it will be ready to sew after stuffing.
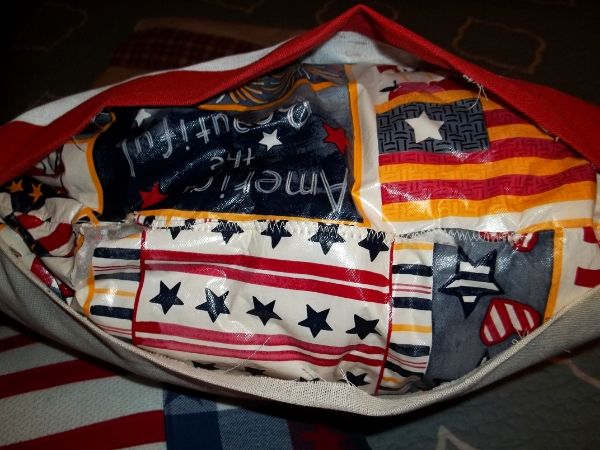
  •  Step 8:  You can do like I did and use an old bed pillow.  I just cut one 14" down from one end and most pillows are 15-18" wide.  Sew up the end of the pillow (the other 3 sides are already sewn).  To water proof my stuffing I used an old vinyl table cloth.  Yea, I never throw anything away.  You could also use 2 plastic grocery bags putting then on in opposite directions.  Bags don't need to be sewn but I did sew the table cloth around the pillow.  The just stuff it in there.  Pin your seam closed and then simply hand stitch or machine stitch closed.

The smaller flag pillow was basically the same steps but instead of using paint I sewed a bit of patriotic plaid fabric that had stars and red seam binding for the strips.  It was stuffed with loose batting.
 

I hope you decide to make your own pillow.  It really is easy.  If you make one please come back and let me know because I'd love to see it too.

Stop back by tomorrow to see another before and after project.

Hugs Y'all...

♥ Tracy 
P.S.  Don't forget to come back Monday when the 5 day giveaway starts.  It's our first Celebrate Summer Giveaway!!  Amazing prizes worth $450! **Update: This giveaway has ended.