Discription

Everything Southern & So Cotton Pickin Cute
Showing posts with label Sewing. Show all posts

Thursday, June 12, 2014

A Tourist View of Jacksonville, Florida #LivingtheSaltLife

Warning this one is loaded with pics.  I hope you enjoy them.

The summer solstice is here and you may have noticed I don't seem to posting here as much as usual.  It's hard to focus and stay inside with all that great weather calling from just outside my door.  With summer comes lots of events around town.


Jacksonville, Florida.  My town.  The bold new city of the south. The First Coast.  Like the map above shows in red, The First Coast, is a region of Florida, located on the Atlantic coast of North Florida.  It roughly comprises the five counties surrounding Jacksonville: Duval, Baker, Clay Nassau and St. Johns, largely corresponding to the Jacksonville metropolitan area where I live.  We have 75 miles of Atlantic coastline and over 400 miles of river, waterways, creeks, ponds and lakes.

Why is it called The First Coast

St. Augustine's Fort Castillo de San Marcos at Sunset - source: http://myflacoast.com/first_coast/


This area was the first area of Florida colonized by Europeans and it's steeped in history. We have a whole different vibe than Orlando and Miami.  You'll find a slower pace here, a more southern feel, and definitely more of a southern drawl. It drips out of our mouths like the Spanish moss drips from our trees.


Do you ever look at your town through a tourist eyes? That's what we're trying to do more of this summer. We ride up and down these streets so often that we forget to really see what's there.  We forget to take advantage of the events our towns have to offer.  Well not this year.  I've vowed to get out and make the most of all there is.
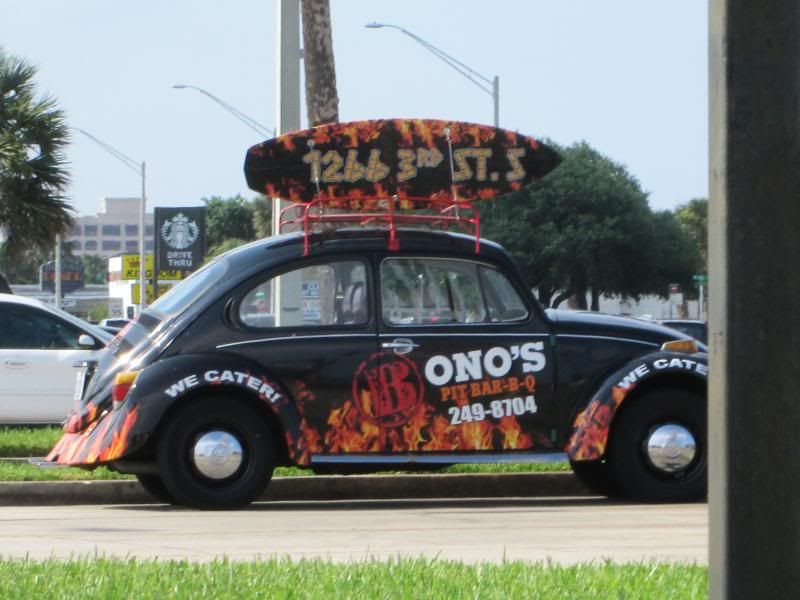

Of course that includes a few visits a week to the beach.  You know you're at the beach when the restaurants advertise like this.  Btw - Bono's Pit Bar-B-Q is delicious and pretty famous in Jax.
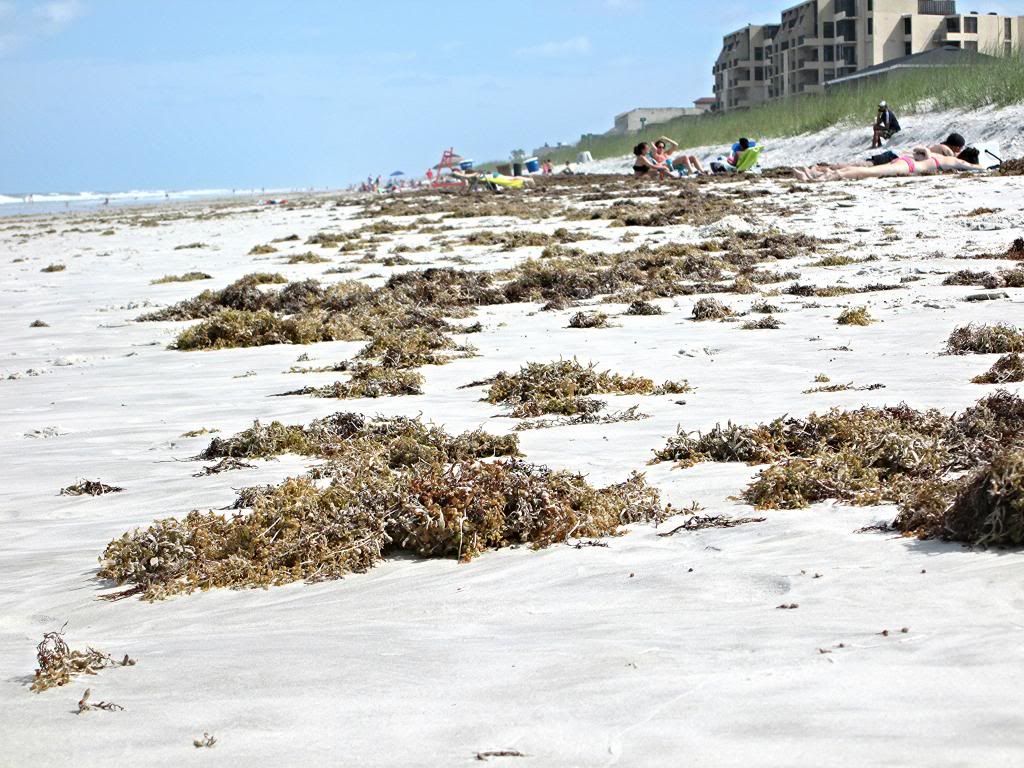

We've been having lots of stormy weather lately, which is evident by all the seaweed that's been washing up.


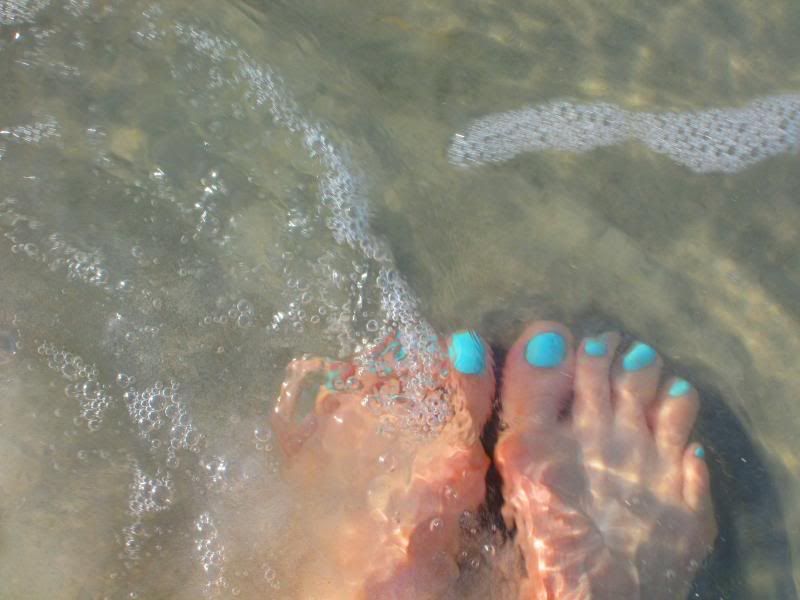
The water's getting close to 80 degrees now and I could have stayed in it forever.

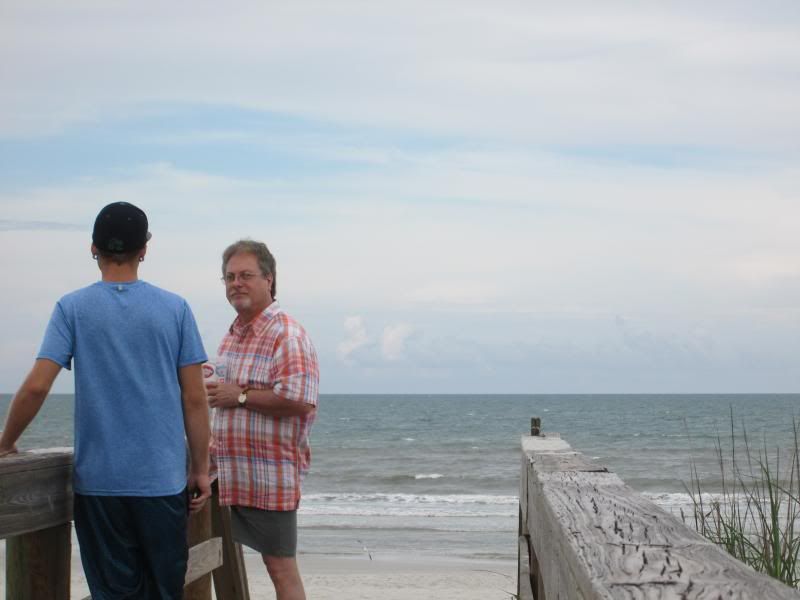
While I lay soaking up the sun Neil enjoys making friends.


He walks slow looking for sharks teeth and talking.  I love how the beach makes everyone friends, more so than towny folk.
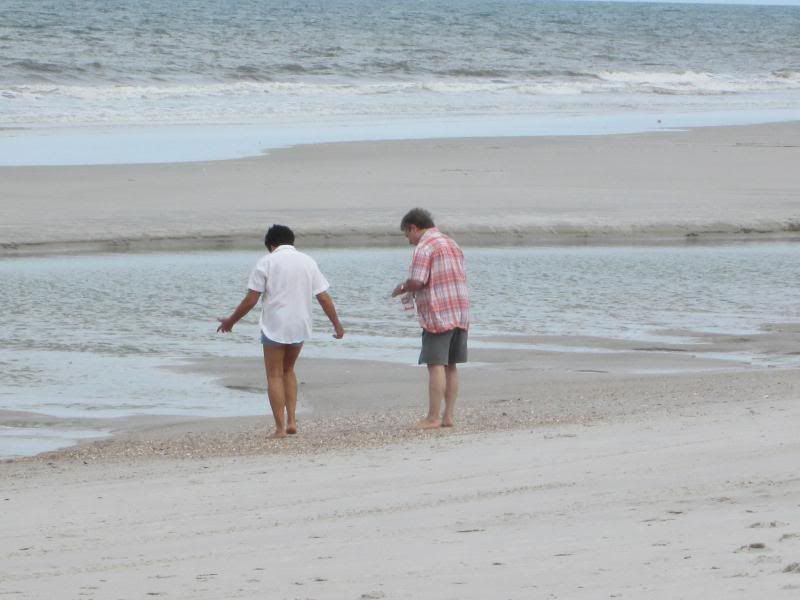

I love living the salt life.  It's in my blood.
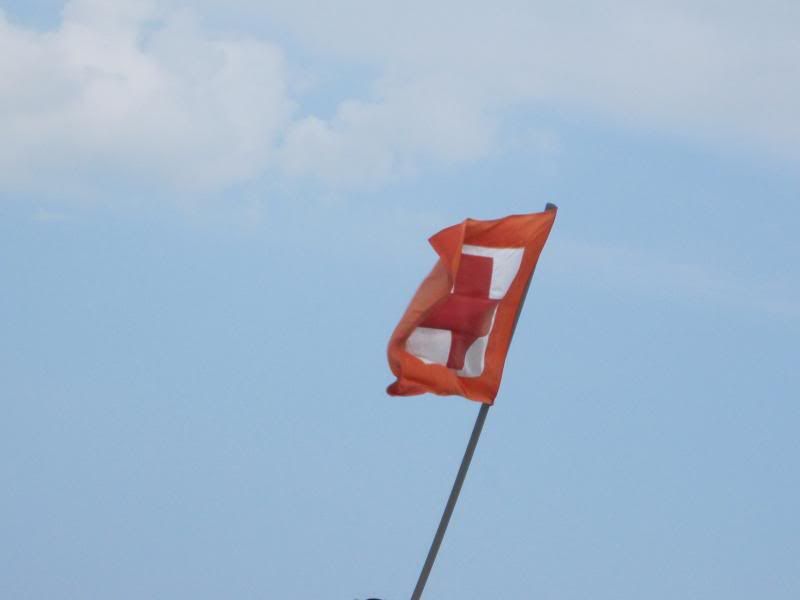

The day started out beautiful and then the winds came rolling in like a mini nor'easter.  We didn't even let the thunder run us off until the lightning started.  That did it!  We were outta there.  That's something you don't play around with in Florida, better known as The Lightning Capital of the world. For real - Yikes!  But heck, it was after 7:30 pm and time for us to hit the road anyway.


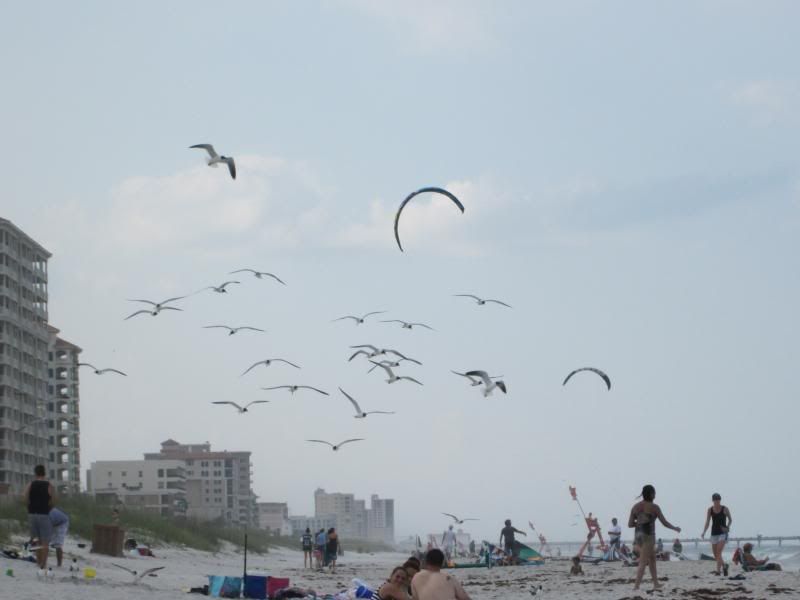
You can see how many people were caught off guard.  The unfavorable weather started moving in fast.
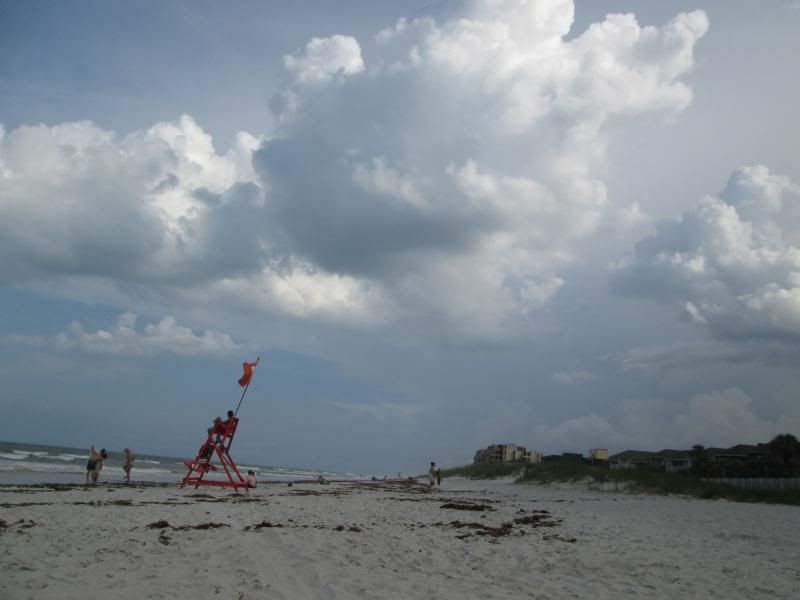

Still a cloudy day at the beach is better than any other day!

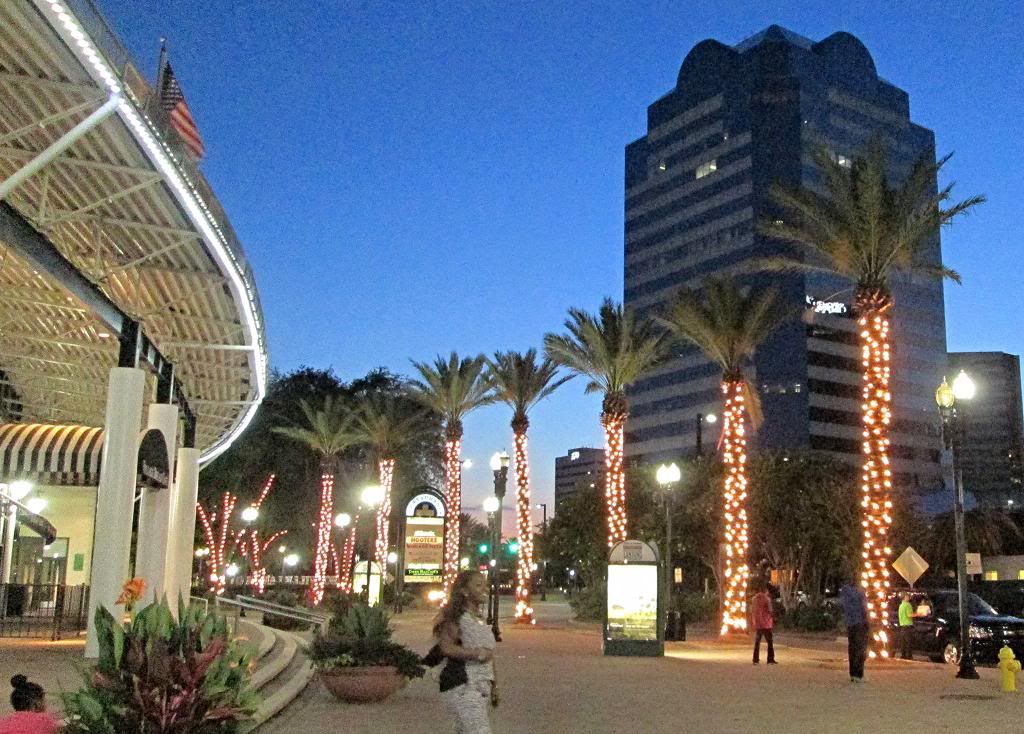
Neil with the amazing Zoltar, beautiful palms at The Jacksonville Landing and moi.

The First Wednesday Art Walk is held on the first Wednesday of every month, rain or shine from 6-9pm.  So in celebration of our new get-out attitude, out the door Neil & I went to do a walkabout.


This event has been going on since 2003.  It's been a few years since we've been so we thought we'd check it out again. The Art Walk boasts of more than 15 blocks that includes more than 40 galleries, museums, cultural venues, restaurants, bars and businesses, plus dozens of artists in Hemming Plaza, street performers and live music.

What did I think

I'm sorry to say...not much.  I was pretty disappointed and believe me, I hate having to say that.  Our downtown area is sorely in need of revitalization but somehow the powers that be just can't meld it all together.  The art walk was lack-luster to say the least. Other than a handful of true artists and of course the MOCA, it looked like street vendors in a bad neighborhood.  True street musicians were few and far between.  We mostly heard "artists" (and I use the term loosely) who plugged in their DJ equipment and cranked it up so loud that the real artists, a half a block away, couldn't be heard when you stood in front of them. Like I said disappointing.

We're not giving up

I think we'll have better luck going to the Beaches Art Walk or the Riverside Arts Festival. I think the upcoming Springing The Blues Fest at the Seawalk Pavillion in Jacksonville Beach, is the place to be this weekend.  Hot blues and fresh salt air is the perfect combination for a good time.


Back to our trip downtown

I enjoyed seeing the historical landmarks and architecture in the evening light more than anything else. I actually love busy city streets in the evening, where everyone's out walking. There's so much energy in places like San Francisco and Seattle after dark.
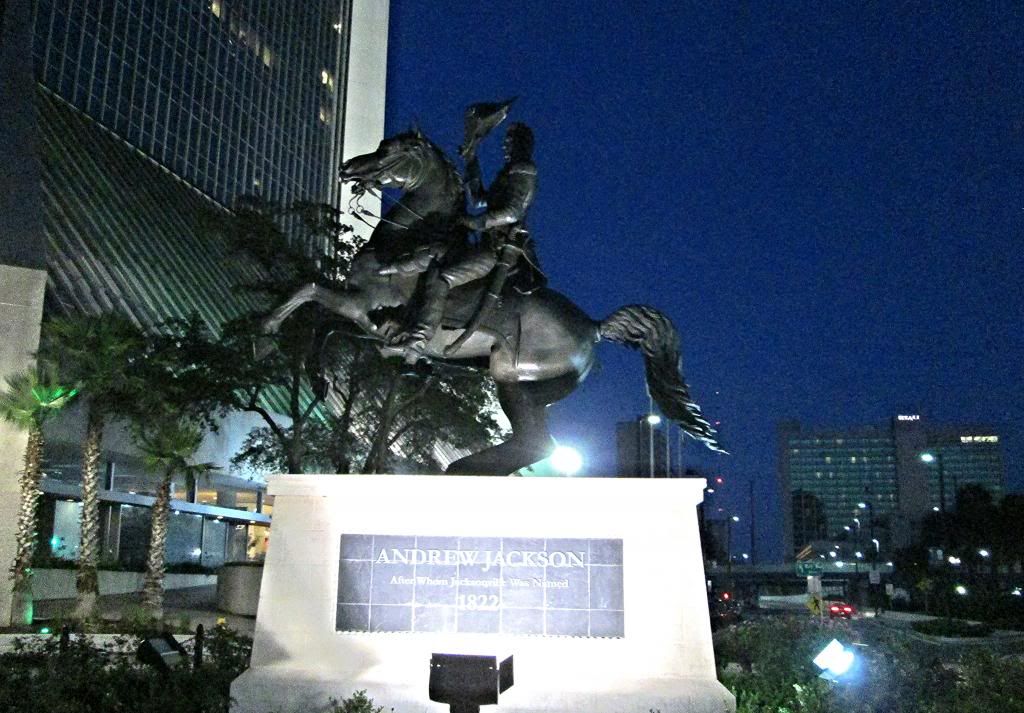

Andrew Jackson the namesake of our city is immortalized by this statue in front of The Jacksonville Landing.
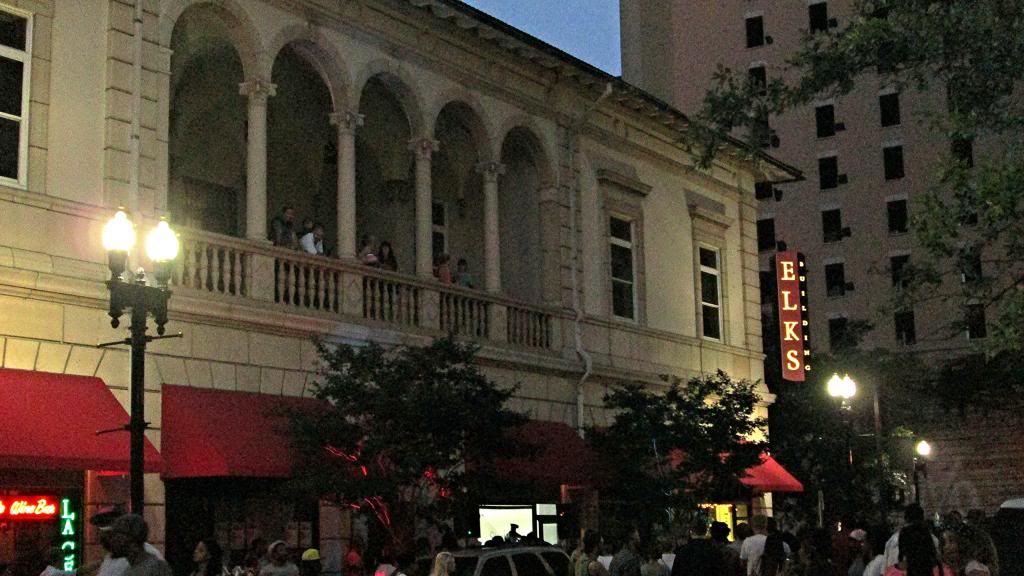

The historic Elks Building with it's gorgeous Italianate facade.
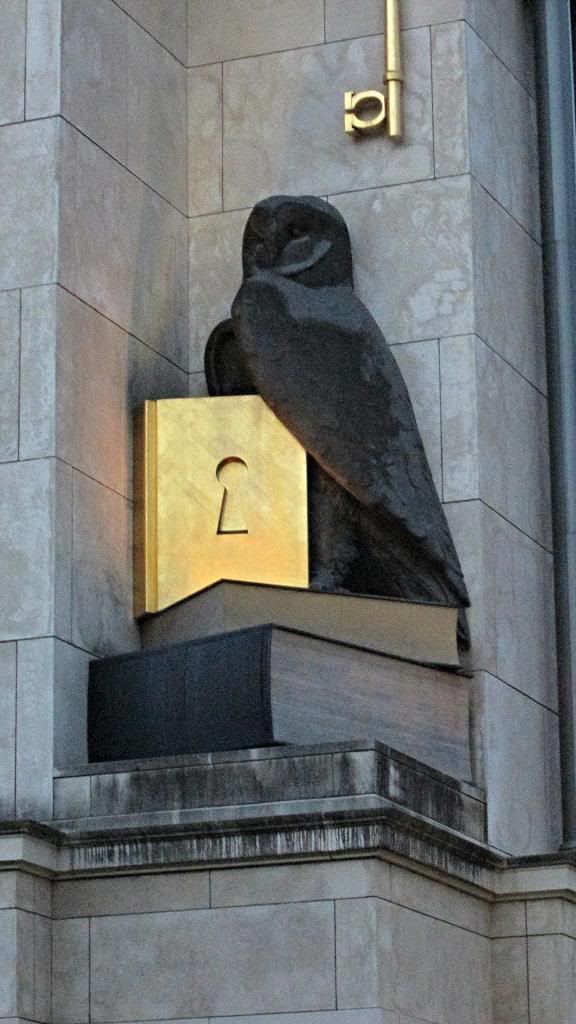

I love this wise book owl that graces the Jacksonville Public Library.  She knows the key to knowledge is reading.
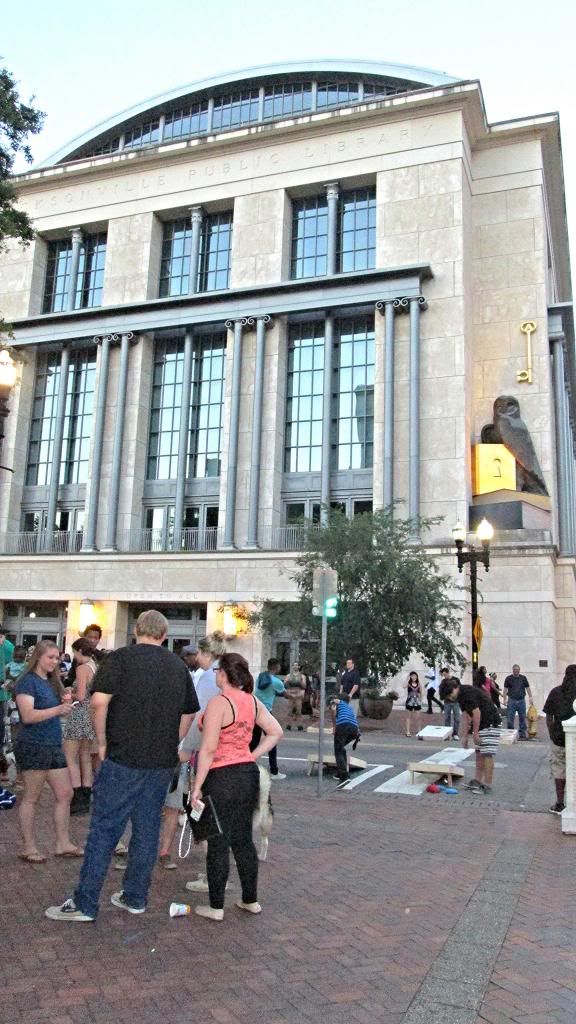

To know just how big this wise old owl is you have to see it the building.
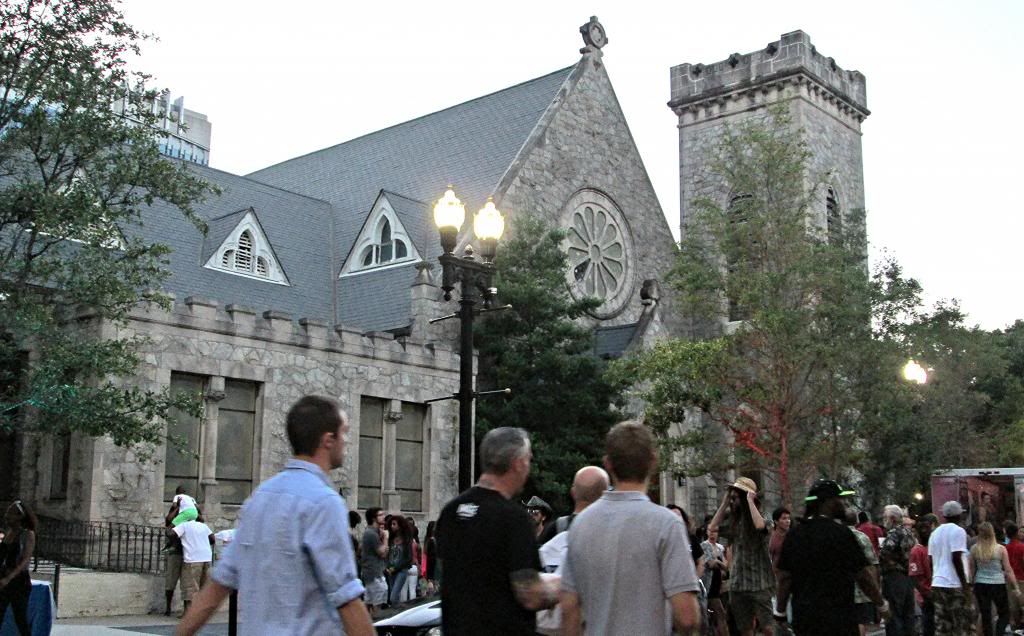

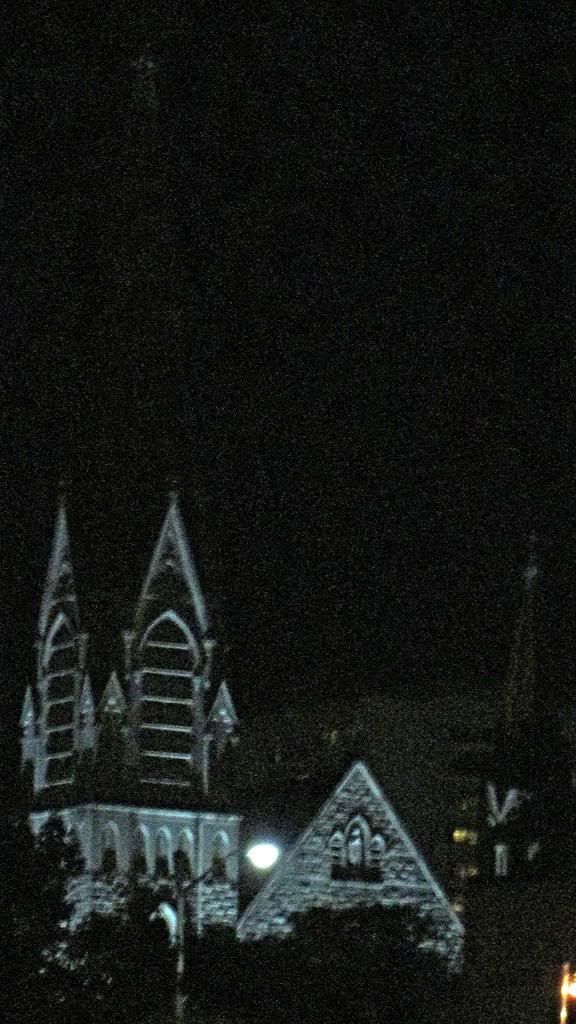
And who doesn't love the beautiful architecture of an old historic church like Snyder Memorial, whether by the natural light of day or the spotlights at night.

I know there's lots to see wherever you live.  Take time to check it out.  Show things like this to your kids now so that they'll have an appreciation for them when they grow up. You might not think they're paying attention, but I guarantee you they will still be talking about it when their own kids come along.
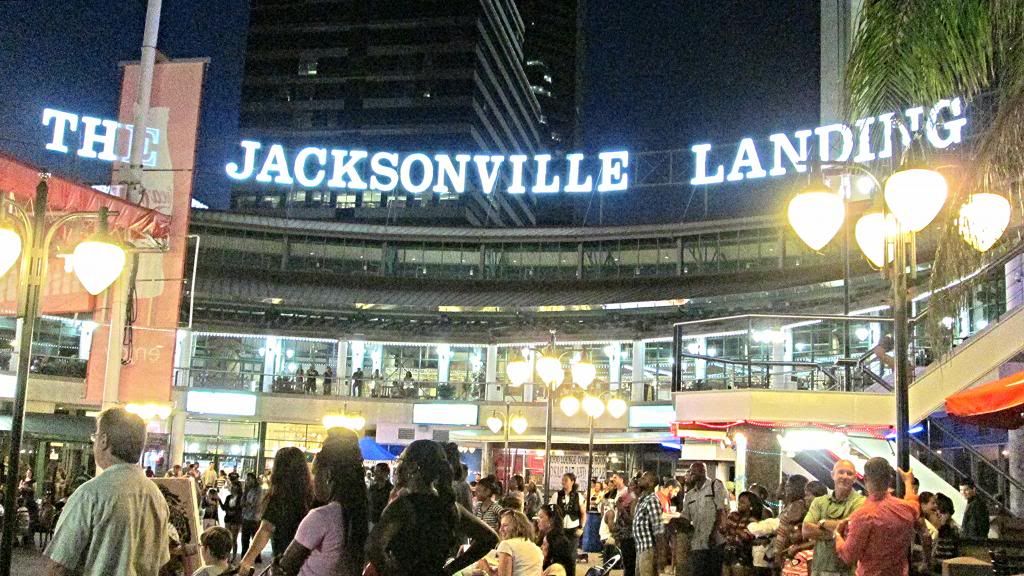

The landing a long established landmark at the core of Jacksonville's urban area.


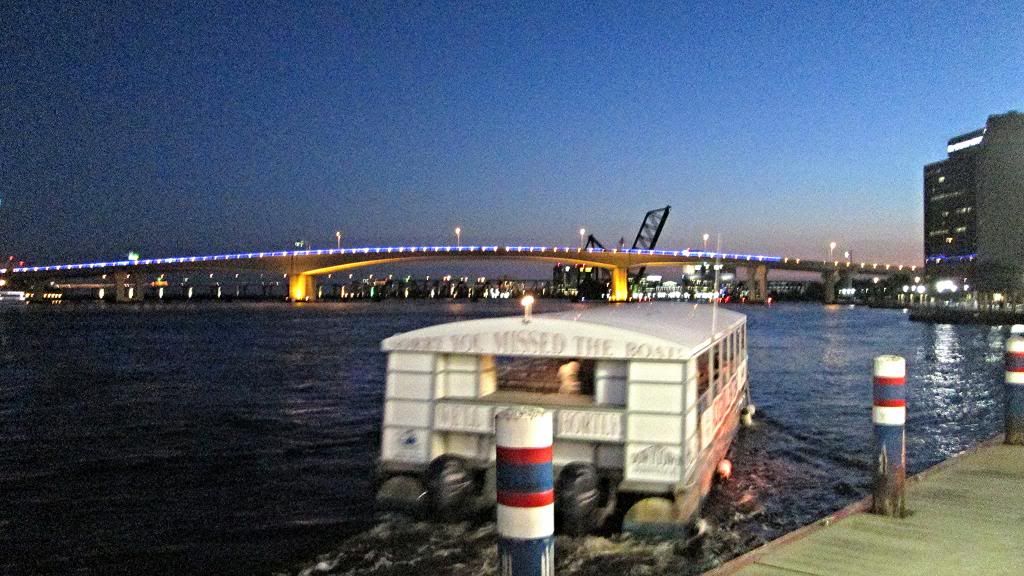
The views of the St. Johns river and our beautifully lit bridges just can't be beat. Look to the right and you see the Acosta bridge (above) or to the left and you see the Main Street bridge (below) with the Hart Bridge behind it.  You have to go to The Jacksonville Landing for this reason if no other.
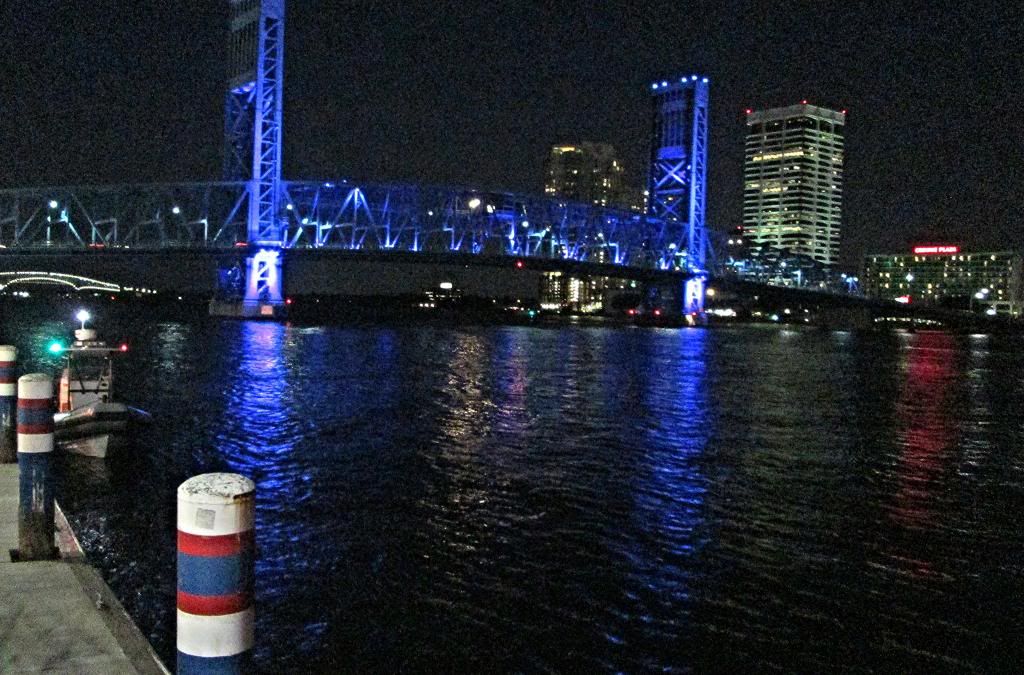

You can catch a ride from the Northbank Riverwalk to the Southbank Riverwalk on the River Taxi.

So that's just a couple of things we did to make our week feel more like a vacation.

Back to everyday life, here's a few of the more mundane things that kept me busy.
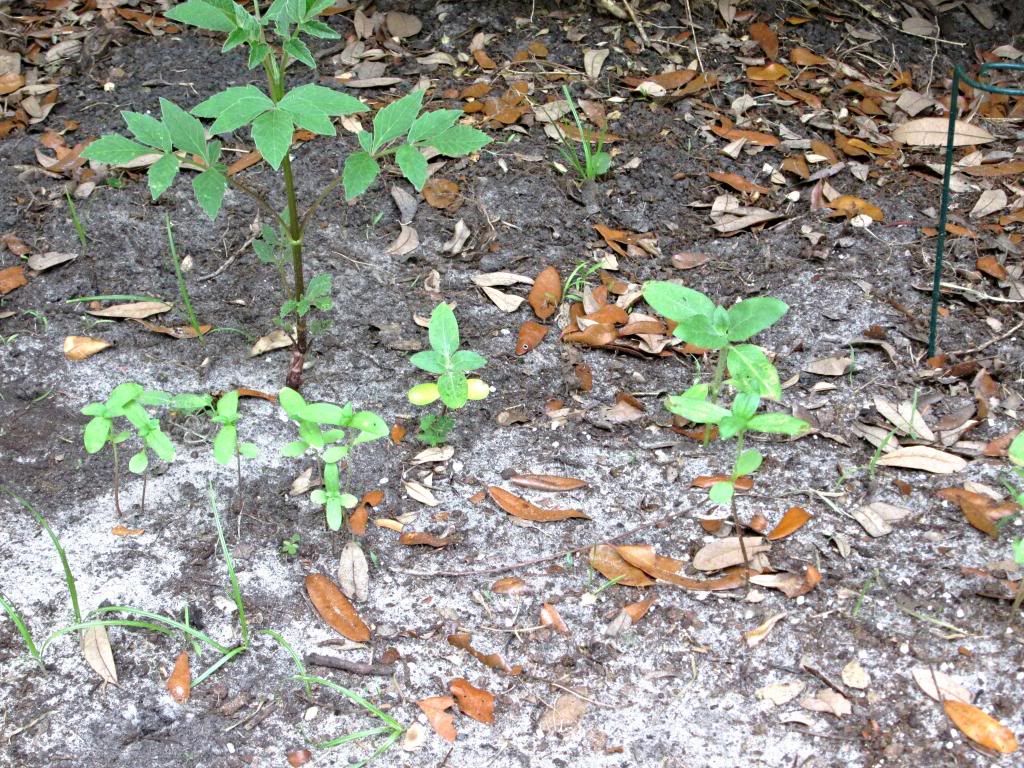

Beautifying the yard - more to come on that. Pressure washing the house, adding mulch, fertilizing flowers, watching my sunflower seeds sprout.  Stop it!  You're not going to be laughing when I have beautiful sunflowers.

  • Doggie bath time


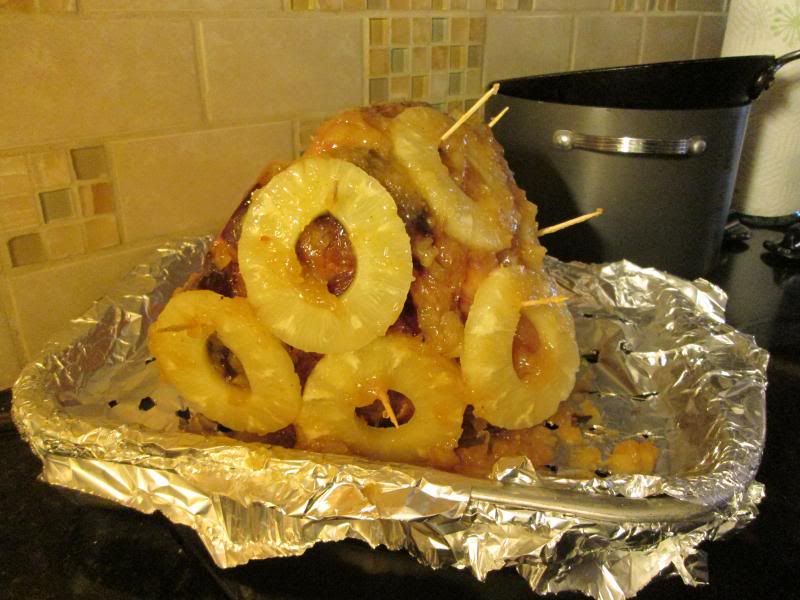
  • Lots of eating meals like steak & shrimp, grilled chicken salad, hamburger & corn on the cob, baked ham with baked beans & potato salad, cherry jubilee trifle - YUM!

  • Snapping photos, writing reviews

  • Enjoying the spoils of good neighbors who generously share their bountiful magazines (Drs office = lots!!)

  • Going junkin'

A photo of me working out - not!
  • Working out all week - I really did!


  • Dinner at Carrabba's
  • Shopping for 4th of July diy items


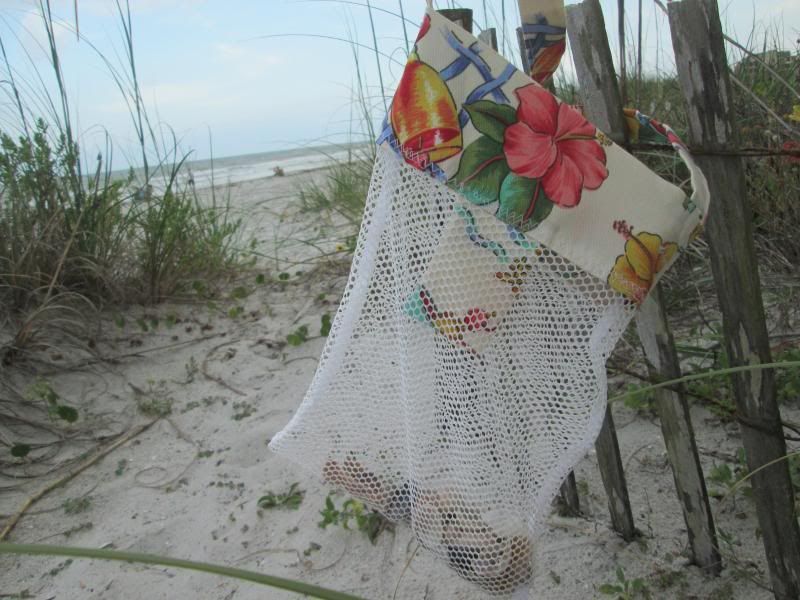
  • Sewing beach shell collecting bags to list and sell (let me know if you'd like to buy one). Since Neil likes to pick up sharks teeth, I added a pocket just for them, not that he'll ever tote it.  hahaha.
  • Watching my mailman in a King James rap video.
Sometimes life is just a mishmash of unexpected fun.

One last thing.  A very serious problem and a great way to get the point across.  Way to go Volkswagon.


A friend shared this video with me and I wanted to pass it along.  On the way to the beach the other day, there was a young girl in a car with both hands on her phone texting, I'm assuming driving with her knee.  She was going at least 40-45 mph in traffic and hand looking down at her phone, more than at the road.  This wasn't a short time either, she passed us twice doing this and I cringed.  We turned before I could beg her to stop.  So many lives in danger. :(


Have fun - stay safe y'all...


While I was with them, I protected them and kept them safe by that name you gave me.  None has been lost except the one doomed to the destruction so that Scripture would be fulfilled.
~John 17:12

Sunday, January 19, 2014

Valentine Pillow Tutorial - Part Deux

Love is in the air, or the craft room at least.  It's got me talking all French and everything.  I have a lovely French accent with that downhome Y'all pitch.  NOT!
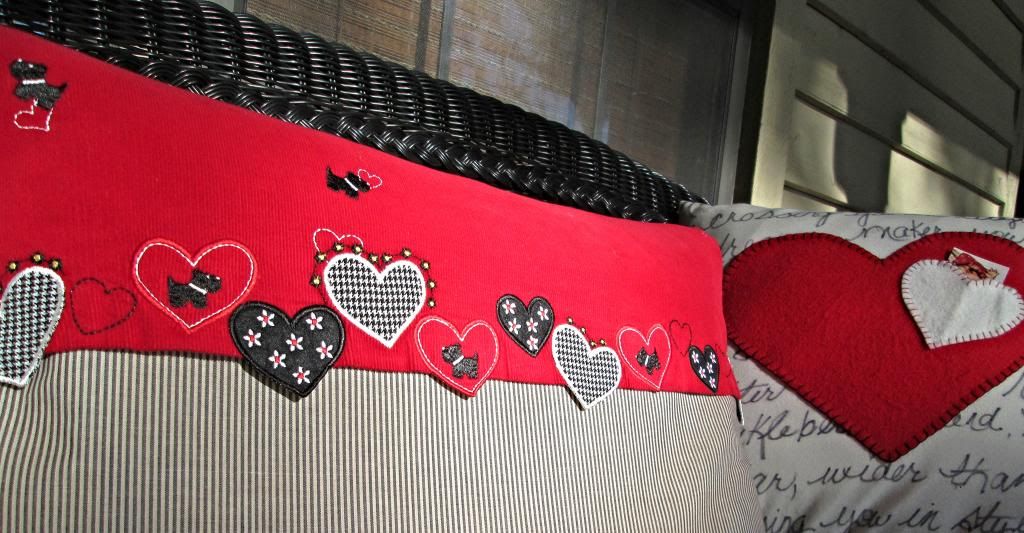
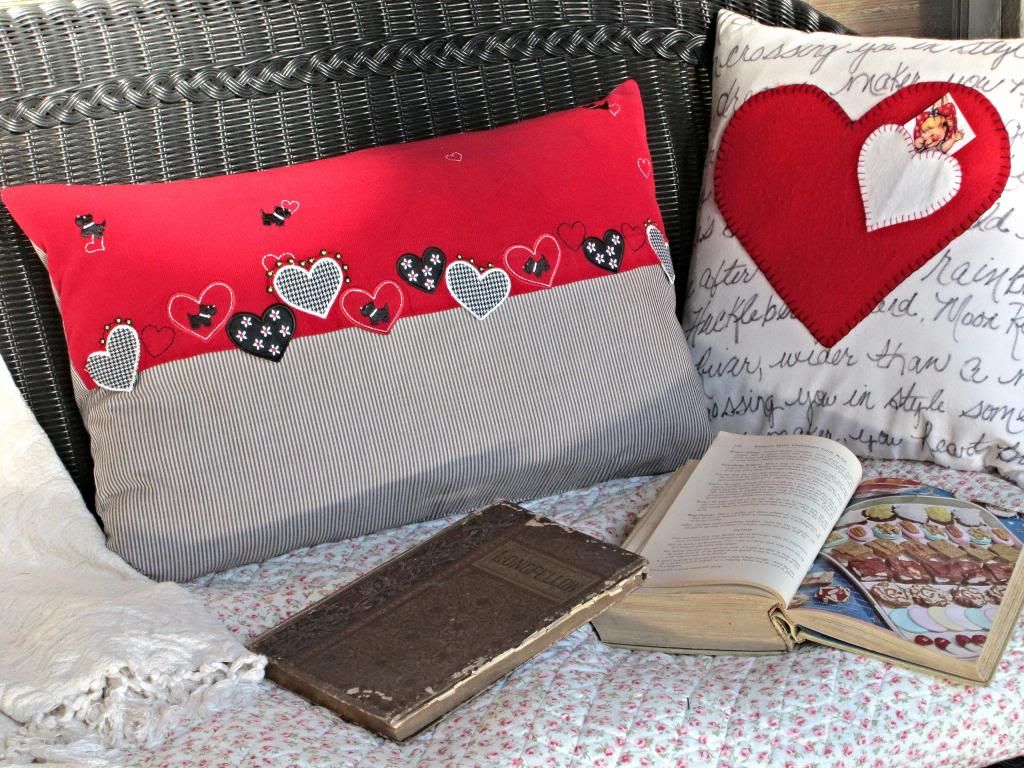
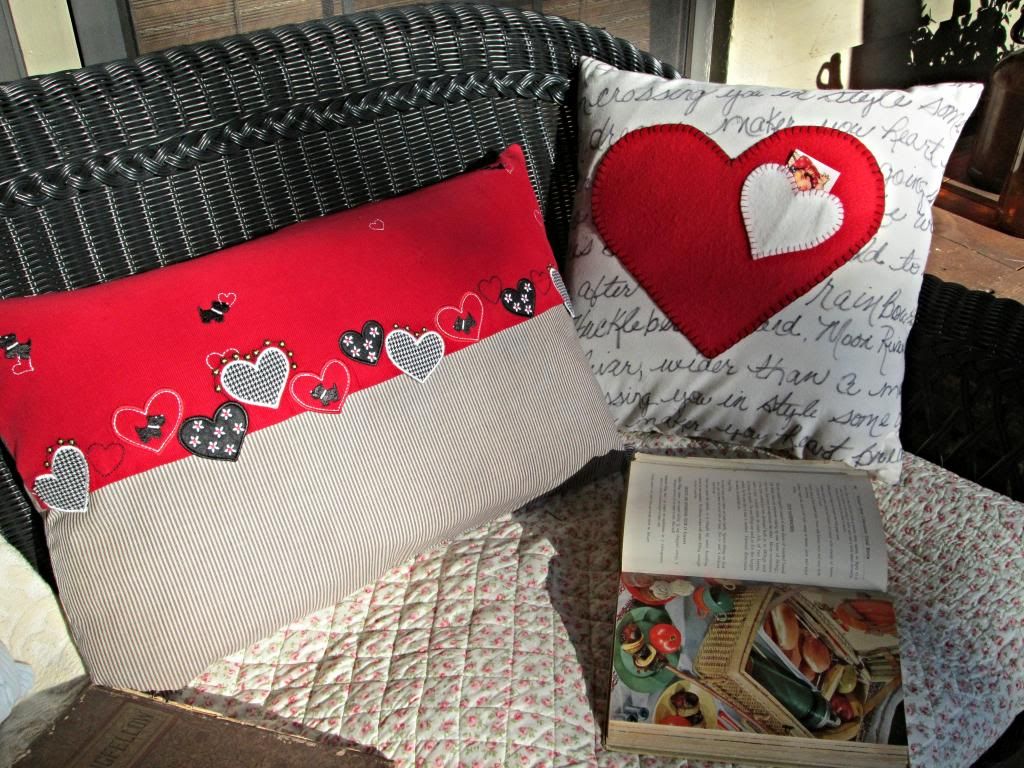
When we last left off, I was sharing my first Valentine Heart Pocket Pillow Tutorial with you HERE.  Now I want to share with you the bigger Scottie Pillow.  I think the little Scottish Terriers are so sweet.
I call this a tutorial very loosely, because I didn't really take pictures along the way, but it's so stinking simple.
I've said it over and over again that you can make something decorative out of anything.  Just look around at things, and try to see beyond their original purpose.  That's the whole concept of upcycling.

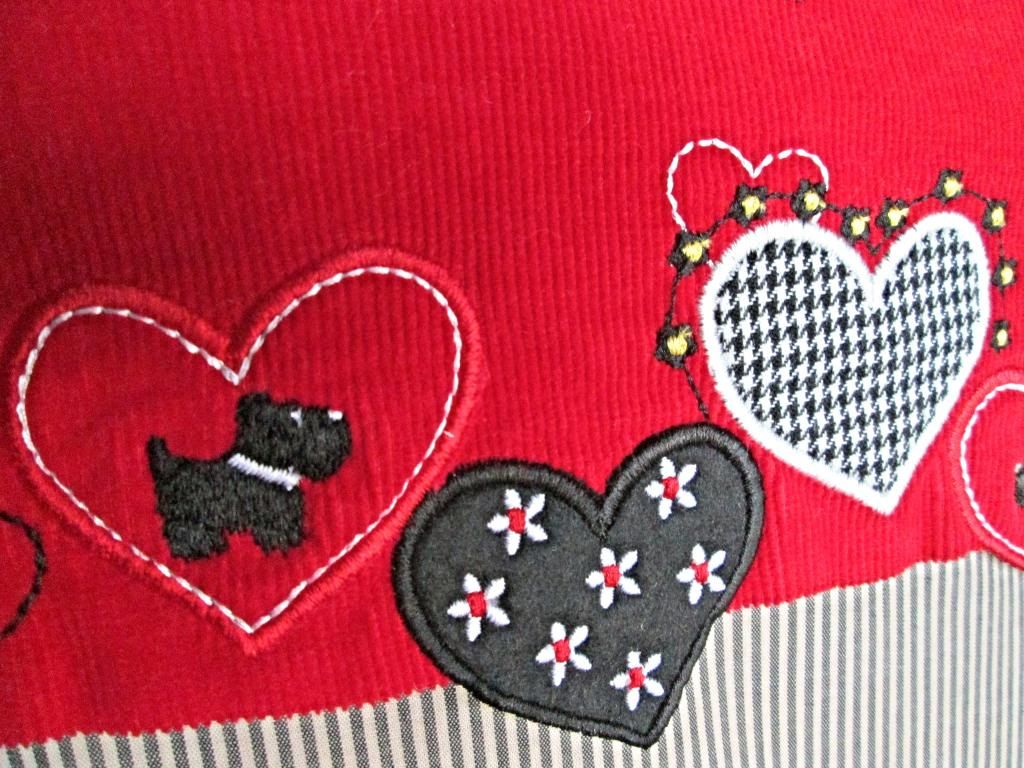
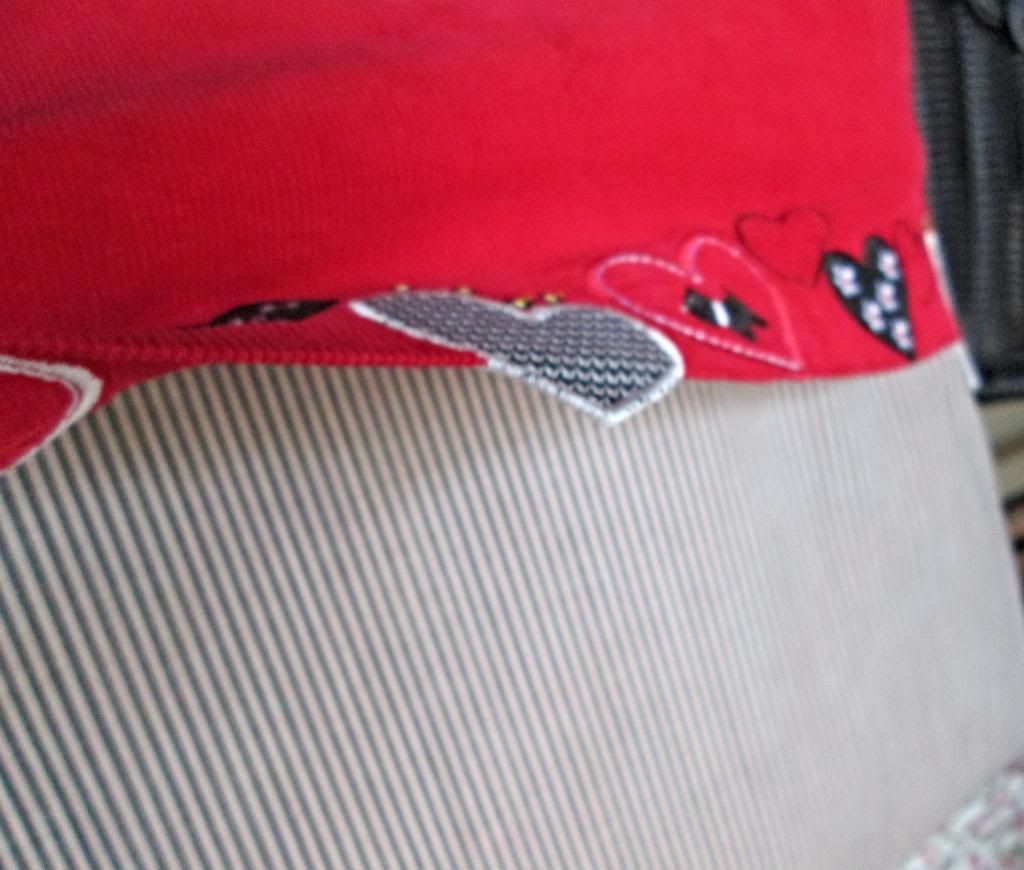
Take this pillow for instance.  You'd never guess what I used to make it.  That adorable red fabric was a little girls dress!  I wish I would have thought to take pictures of it before I cut it up last year.  Bad blogger, bad blogger!  As soon as I saw this sweet little toddlers dress in the thrift shop I knew I had to get it. I had no idea what I would use it for, but with those darling hearts trimming the hem of the jumper I couldn't pass it up. The placement of the hearts hanging off the fabric was the thing that made it so great, it was also the thing that made it stump me as to what to do with it for so long.  It sat in my fabric stash for over a year.

Of course I knew it would be a valentine project, so it was the first piece I went to the other day to start the valentine ball heart rolling.  I cut the top off when I got it because there wasn't enough fabric on the chest piece to be any good and the skirt had all the decoration anyway.  So I was left with what you see.  I didn't let an inch of that skirt go to waste either.

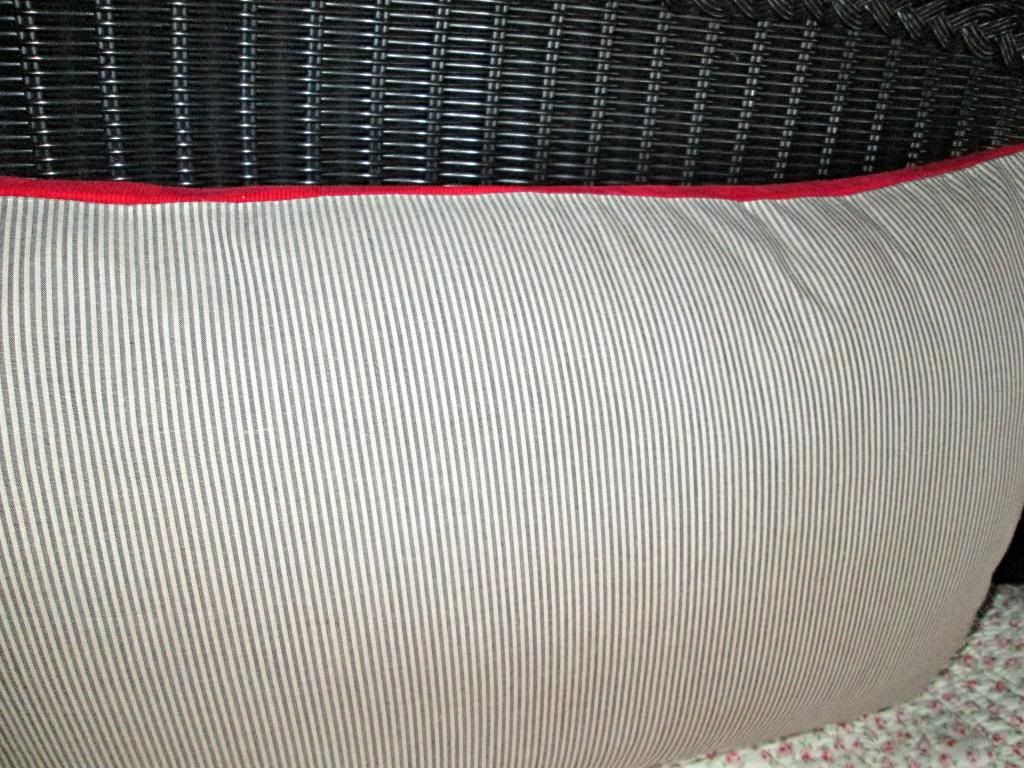
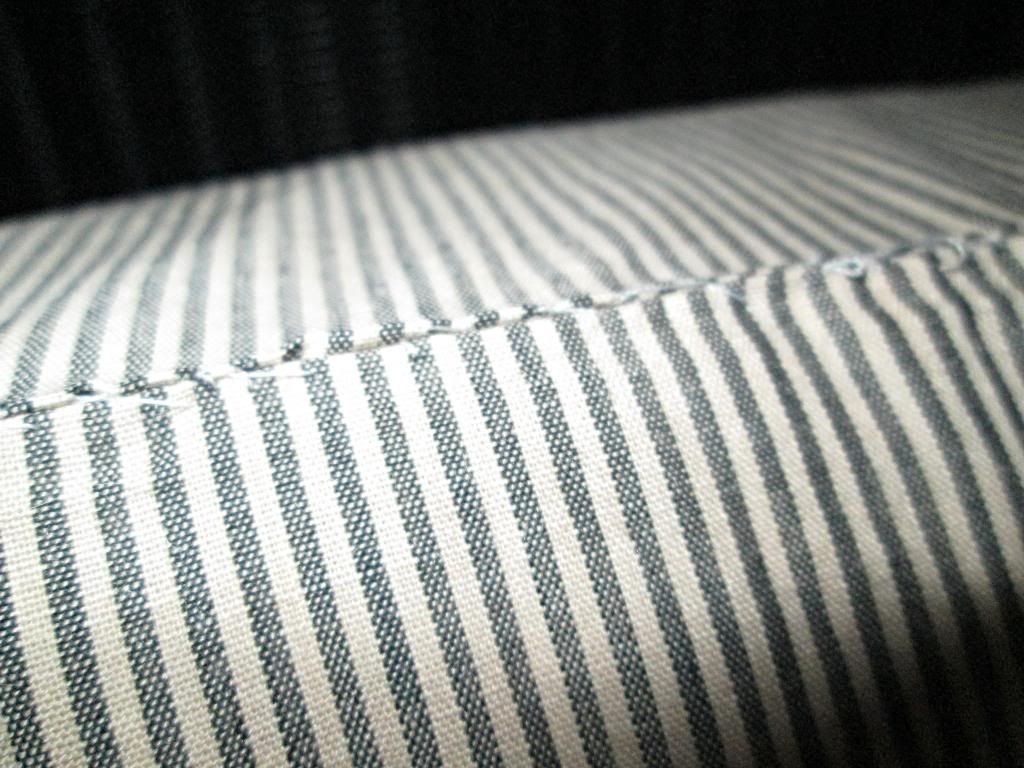
If you read the last tutorial HERE, it's basically the same concept.  Cut 2 pieces your background fabric in the size you want.  Mine was some old striped ticking that I had done a tea wash on to age it.  I thought the striped grey ticking would work with the black, red and white color scheme.
You can see in this photo how the red corduroy fabric was only sewn on 3 sides leaving the decorative hem loose.  

  • Lay the wrong side of the red fabric on top of the right side of the striped fabric and sew the three edges.
  • Next lay the two striped fabrics right sides together and stitch all sides leaving an opening in the center of the bottom of the pillow.
  • Instead of buying a pillow form, I took one of the many old and worn pillows I have in the closet for spares and cut it in half.
  • I stitched the pillow form (old pillow) up on the machine. Not being particular about how it looked.  Since it will be covered.
  • Stuff with the pillow and then do a blind hem stitch on the opening at the bottom and you're done!
And there you have it, an upcycled pillow from found items around the house.  Tomorrow's pillow is a little less valentine and definitely more winter.  Come back to see what it's made from tomorrow.
Love and Hugs Y'all...
Then make my joy complete by being like-minded, having the same love, being one in spirit and of one mind.  Do nothing out of selfish ambition or vain.
                                                                 ~ Philipians 2:2-5

Friday, July 12, 2013

The Easiest DIY Sewing Project Ever

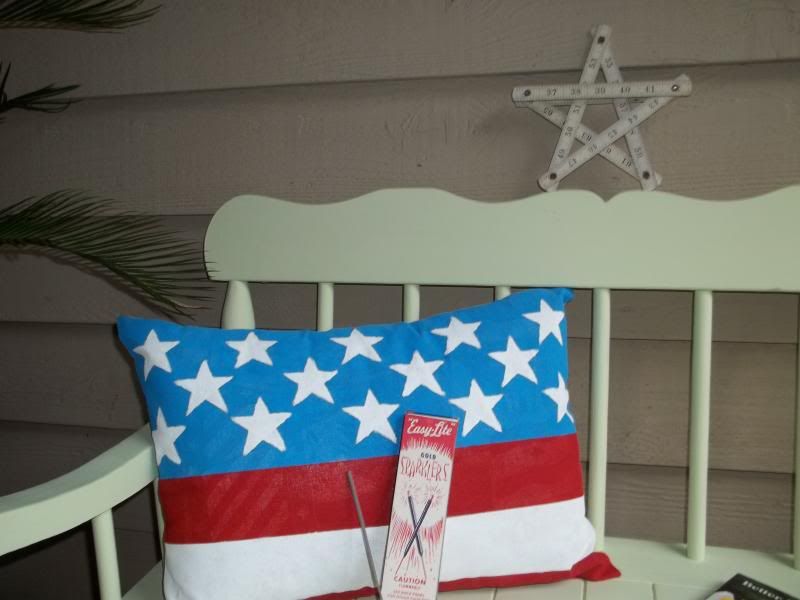
Happy Friday y'all!  How about a crafty project.  My motto is if you can't find it, can't afford it, then make it for nearly nothing. Upcycle, renew and reuse.  I made an easy pillow for the 4th using what I could find on hand.


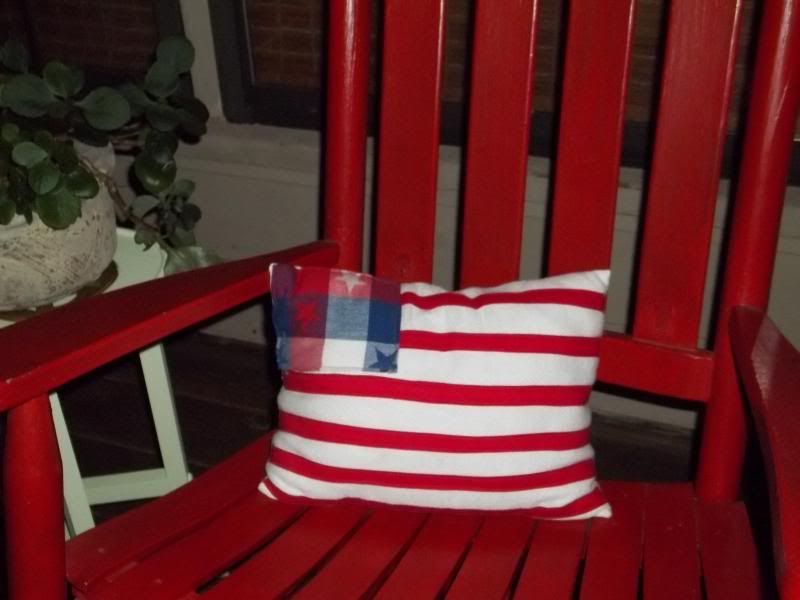
I made one a little different last year.


The thing to remember here is you don't have to limit yourself to a patriotic theme.  You could easily paint waves instead of stripes.  Or maybe keep the strips and add a crescent moon with stars.  Heck paint some butterflies or dragonflies.  I have to keep it really basic because I'm totally not talented when it comes to painting.  Oh' but wouldn't wedges of fruit like oranges, limes and lemons be cute!

Here's a picture of my inspiration. I think I found it on Pinterest but it was created by Kierste over at Simply Kierste.  She is one crafty girl with a great blog.  She gave a tutorial and I basically followed her directions with a few variations.  Please click here to see her post.  I know you'll enjoy her blog as much as I do.  I adore her pillow.


I thought I'd show you the basic's on making these.  Lets start with this years painted pillow.

  • Step 1:  Use any old fabric you have on hand like I did.  A burlap or muslin works great.  Decide how big you want your pillow to be.  I wanted mine to be a rectangle since it would be a flag. I decided that I wanted my finished pillow to measure 19" x 14".  Before cutting it out I added 1" to each measurement for seam allowances.  Fold your fabric in half before cutting. I cut mine 20" x 15".
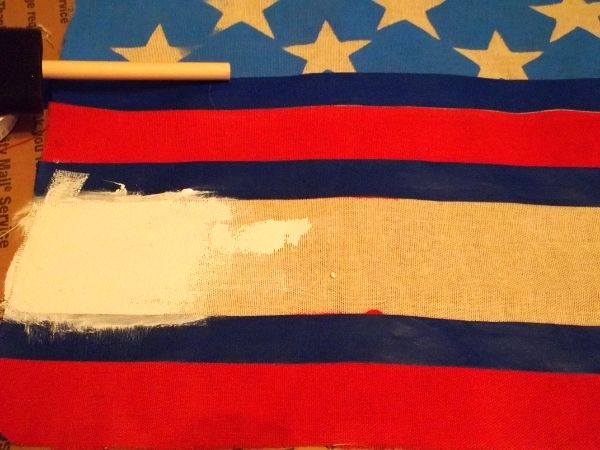
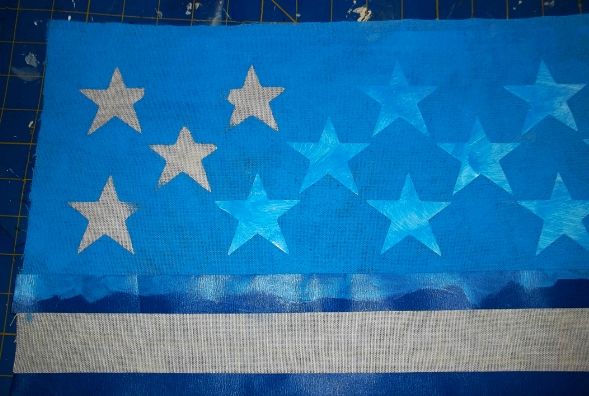
  • Step 2: On just one piece of the fabric measure out your placement.  I decided to have "3" stripes at  2 1/2" each.  That left 6 1/2 on the top for stars.  Using painters tape, tape each section being sure to use a spoon or something to really press the tape edge tight so paint doesn't seep under.  Don't worry if it does you can touch it up with a art brush.  I don't plan on washing these and since they're under a covered porch I didn't use fabric paint.  I just used craft paint, you can even use house paint.
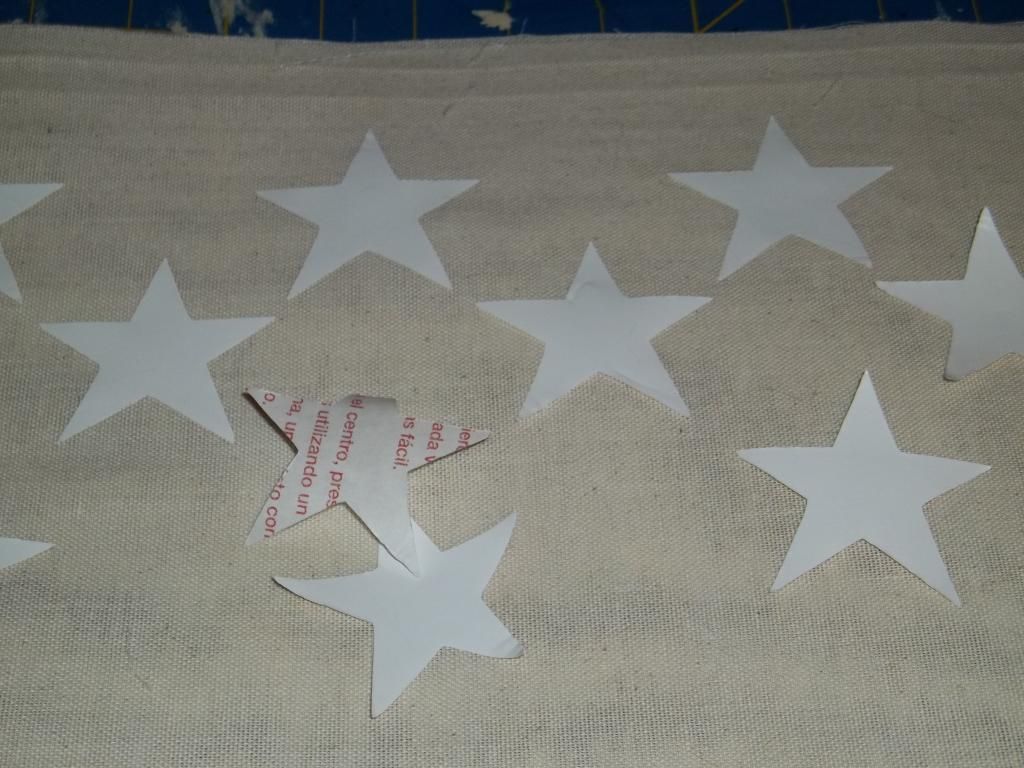
  • Step 3:  For my stars I used cheap vinyl shelf paper from the dollar store and cut 2 1/4" stars on my cricut.  You could also print a star shape from the internet and make a cardboard template and trace your stars but you would have to paint the blue first, unless you want to do a lot of tedious painting around the stars.  TIP: Be sure to put cardboard under your fabric before painting because it will seep through.

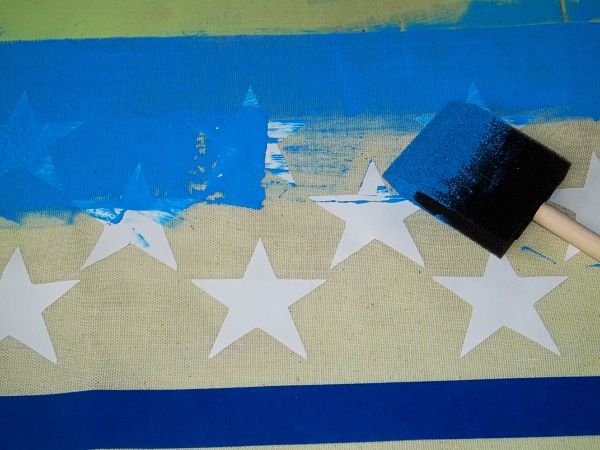
  • Step 4:  I half measured and half eyeballed my stars placement stuck them to the fabric and then painted the blue right over them. It would have been nice if I would have had a little foam roller but I didn't so I used a foam brush.  The brush did cause the edges of the stars to peel up a bit and the paint to get underneath.  Because of that I used a small paintbrush to paint the stars white.  I had originally planned to just leave them the natural fabric color. 
  • Step 5:  I carefully pulled the vinyl up while the paint was wet.  Once dry, I painted the stars white. You can also paint your white stripe now.  Once the white dries tape over the white and blue so you can paint your red stripes. Let dry.
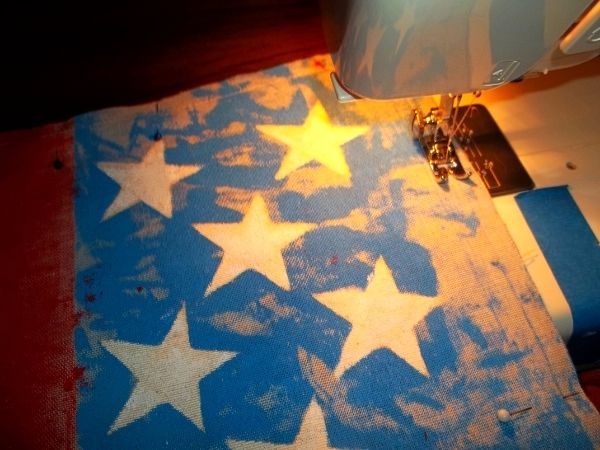
  • Step 5:  Time to sew.  My fabric doesn't really have a right and wrong side but if yours does pin right sides together and stitch 1/2" seams. It doesn't get much easier than stitching straight seams.  Be sure to leave an opening in the bottom big enough to add your pillow. *NOTE:  You can use double sided hem tape or even fabric glue or a glue gun if you don't want to try sewing.
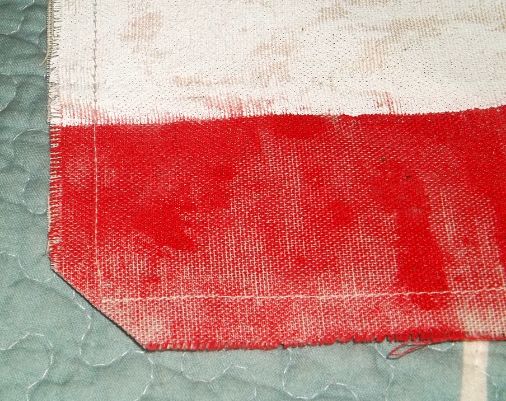
  • Step 6: Turn your pillow right side out.  Trim corners like I've done below being careful not to cut through stitching. Use the end of a spoon or fountain pen to push the corners out completely.
  •  Step 7:  Press you hem opening so it will be ready to sew after stuffing.
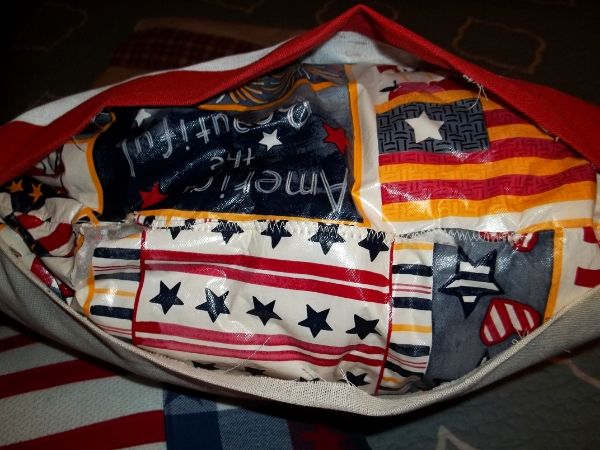
  •  Step 8:  You can do like I did and use an old bed pillow.  I just cut one 14" down from one end and most pillows are 15-18" wide.  Sew up the end of the pillow (the other 3 sides are already sewn).  To water proof my stuffing I used an old vinyl table cloth.  Yea, I never throw anything away.  You could also use 2 plastic grocery bags putting then on in opposite directions.  Bags don't need to be sewn but I did sew the table cloth around the pillow.  The just stuff it in there.  Pin your seam closed and then simply hand stitch or machine stitch closed.

The smaller flag pillow was basically the same steps but instead of using paint I sewed a bit of patriotic plaid fabric that had stars and red seam binding for the strips.  It was stuffed with loose batting.
 

I hope you decide to make your own pillow.  It really is easy.  If you make one please come back and let me know because I'd love to see it too.

Stop back by tomorrow to see another before and after project.

Hugs Y'all...

♥ Tracy 
P.S.  Don't forget to come back Monday when the 5 day giveaway starts.  It's our first Celebrate Summer Giveaway!!  Amazing prizes worth $450! **Update: This giveaway has ended.