In Florida there are two seasons, summer and Christmas. That presents a little bit of a problem when decorating.
I love snowmen, they're just so cute, but I've just never been able to bring myself to add them to my Christmas decor and I'm certainly not comfortable putting them up after Christmas for the rest of winter. I mean, putting them out for Christmas is a stretch, but it is a time of fantasy, so maybe you could get away with it. After Christmas? Well....it just won't work. I can't come into the house after wearing shorts all day and look at SNOWMEN! That's just
crazy!
The same thing goes for all the icy blue and white snowflake decorations and whatnots. When you put those out and it's 70-80 degrees outside and the a/c's running, all I can see is the blue ocean when I look at them. Not that we don't get some downright cold nights here and there. We even had snow once. It was my first real Christmas eve with Neil in 1989. It shut down the whole city. HA! But more times than not, we barely get to wear a long sleeve shirt for Christmas. So where does that leave people like me? I really don't want to go straight from the beauty and sparkle of Christmas to the water and sand theme. I want a little winter coziness too.
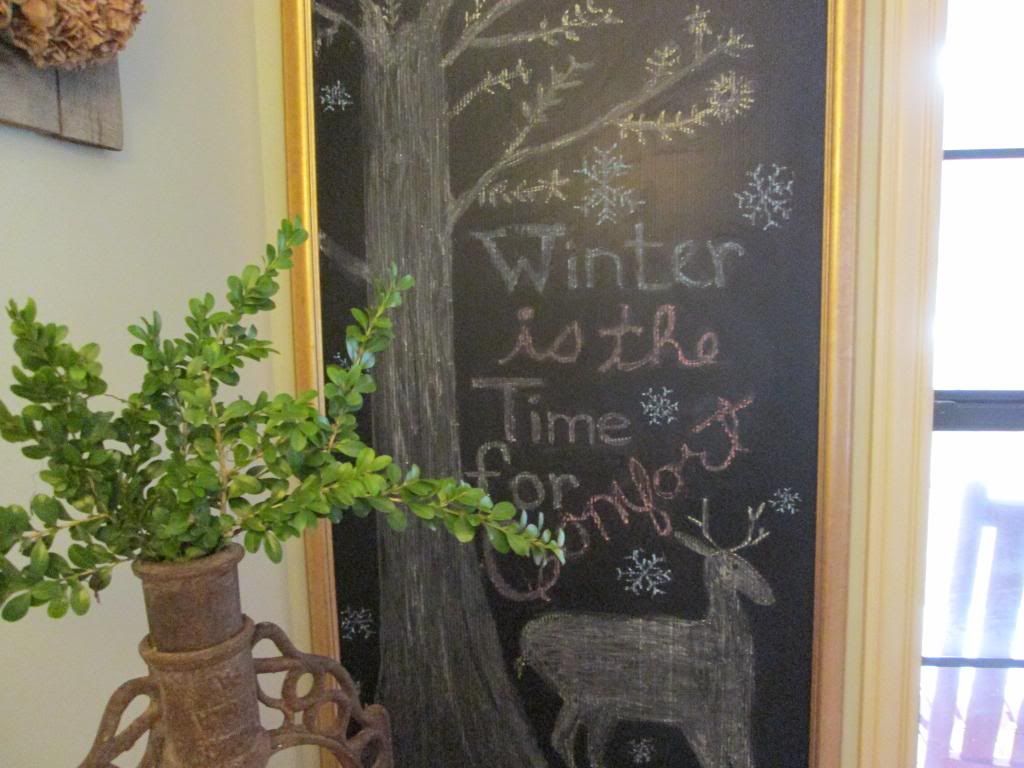
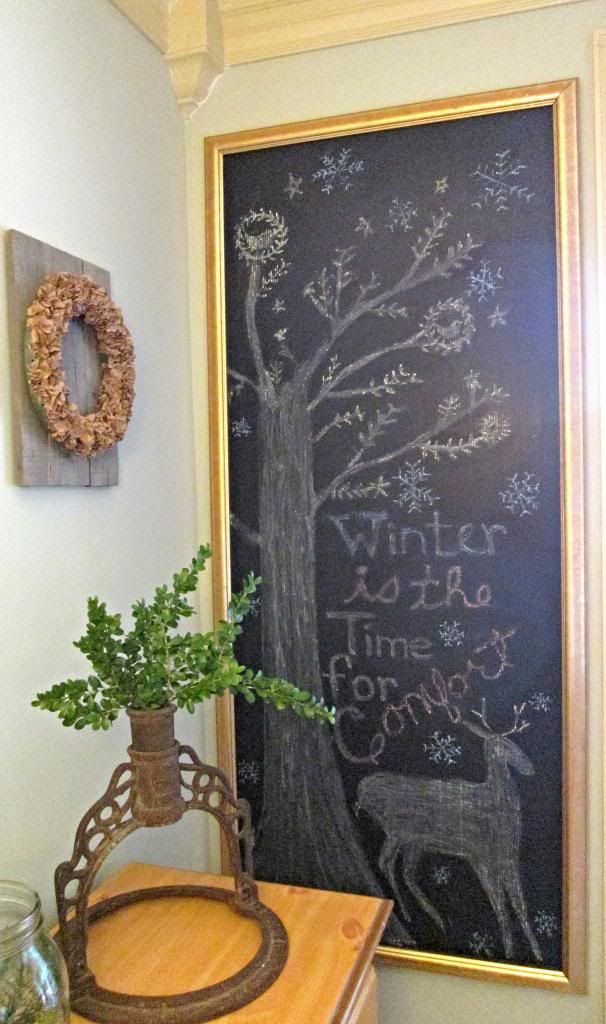
With that said, I broke down and went with a little bit of a snowy theme anyway. We have had a bit of a frosty cold spell here lately. So I created a faux chalk board, snowflakes and all. You'll never guess what I created this free project from.
That huge framed chalkboard, isn't a chalkboard at all, hence the name "Faux Chalkboard". I did a bit of dumpster diving. When Neil had to find a big box for shipping, I spotted this big gold plastic frame behind a bridal shop. It's really BIG! It had a picture of a bride in it behind a piece of clear plastic. But best of all the backing was this black corrugated board. I had a thought. Would I be able to write on it with chalk? Low and behold, yes I could! Score!! It's perfect, I can use the chalk and just wipe it clean.
So with a some colored chalk I already had, a bit of primitive free hand, I now have a tree, a deer (yes, that's supposed to be a deer), and snowflakes. I think that qualifies for winter decor, right!
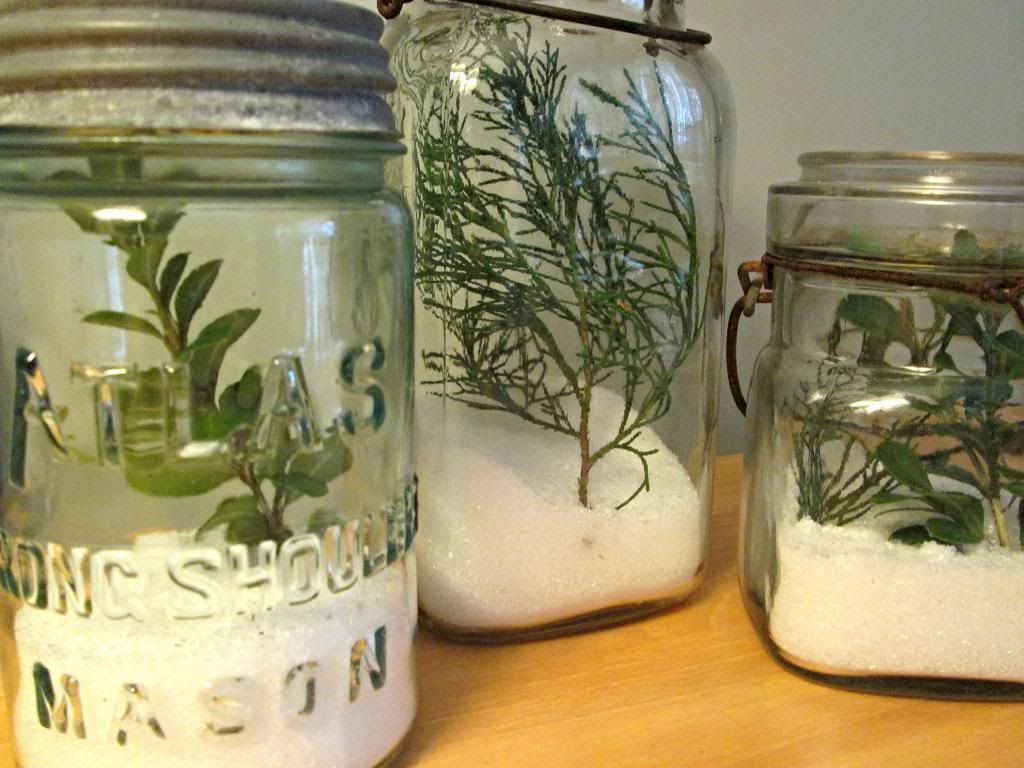
To round out the snowy scene, I added some Epsom Salt to my canning jars and just placed a few green cuttings from the garden. Mine are pine and Pittosporum branches, but you could use whatever's native to your area. I think herbs would add a nice smell. I love bringing some green into the house.
Add some winter to your home by putting some simmering potpourri on the stove. It makes your house smell cozy. You can see my recipe
HERE.
Everything in this post was from things I had at home or found. Another $0 project. Remember to use what you have. It doesn't take a lot of money to make a house a home. Just get creative, look around, and make do. As the old adage says "nothing ventured, nothing gained". What have you got to lose?
Don't forget today is the last day you can enter to win the Brylane Home Deep Fryer giveaway
HERE.
Make it a day to remember y'all.
Hugs...
Taste and see that the Lord is good;
blessed is the one who takes refuge in him.
~ Psalm 32:8