More fall y'all.
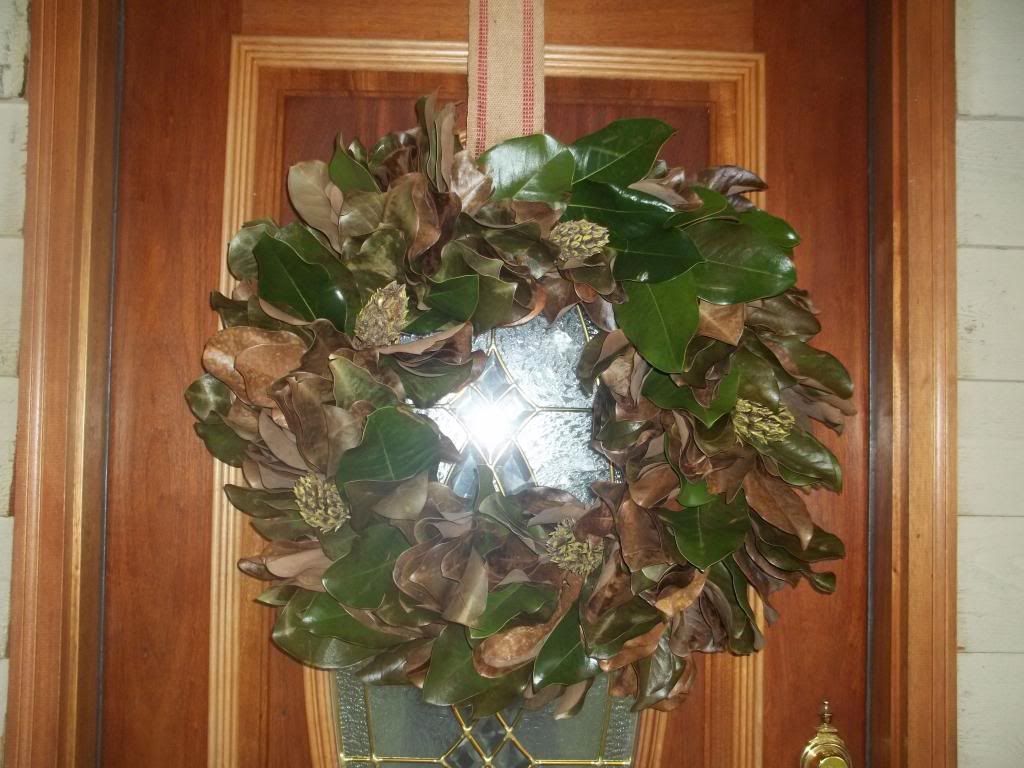
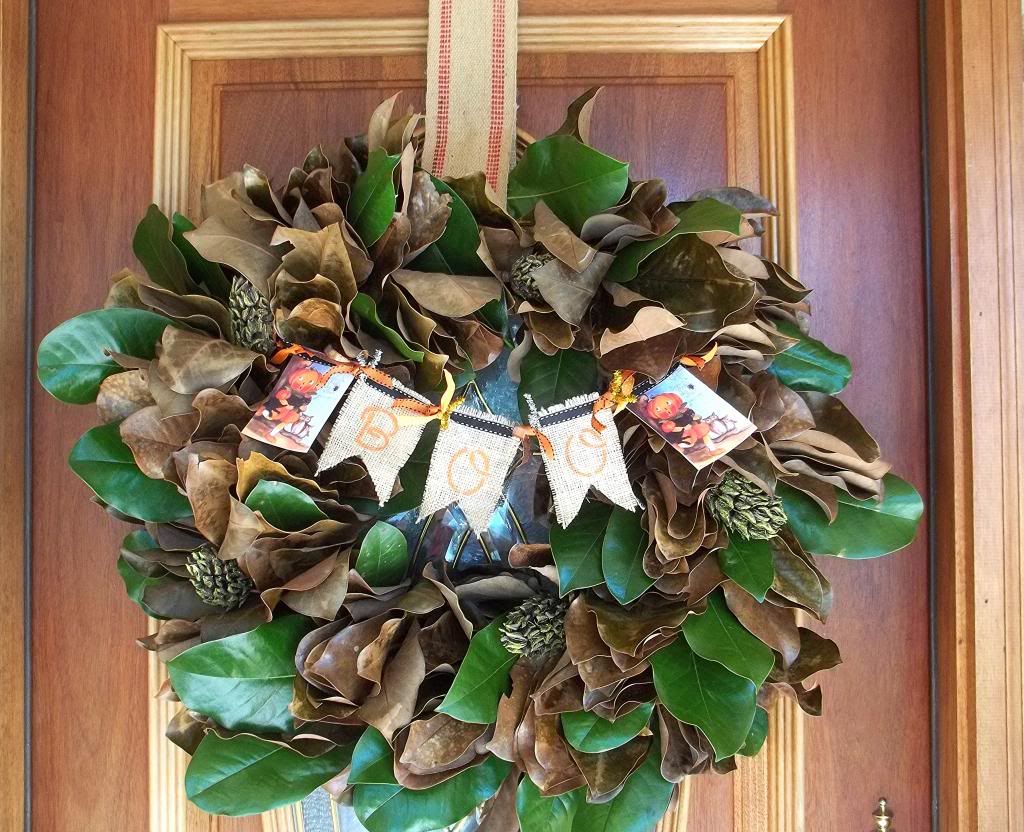
I made a magnolia wreath. Easy yes, quick not so much. You can find lots of tutorials on Pinterest. I chose to copycat Michelle's over at Sweet Something Designs. You can find all the step-by-step instructions along with a list of supplies right HERE.

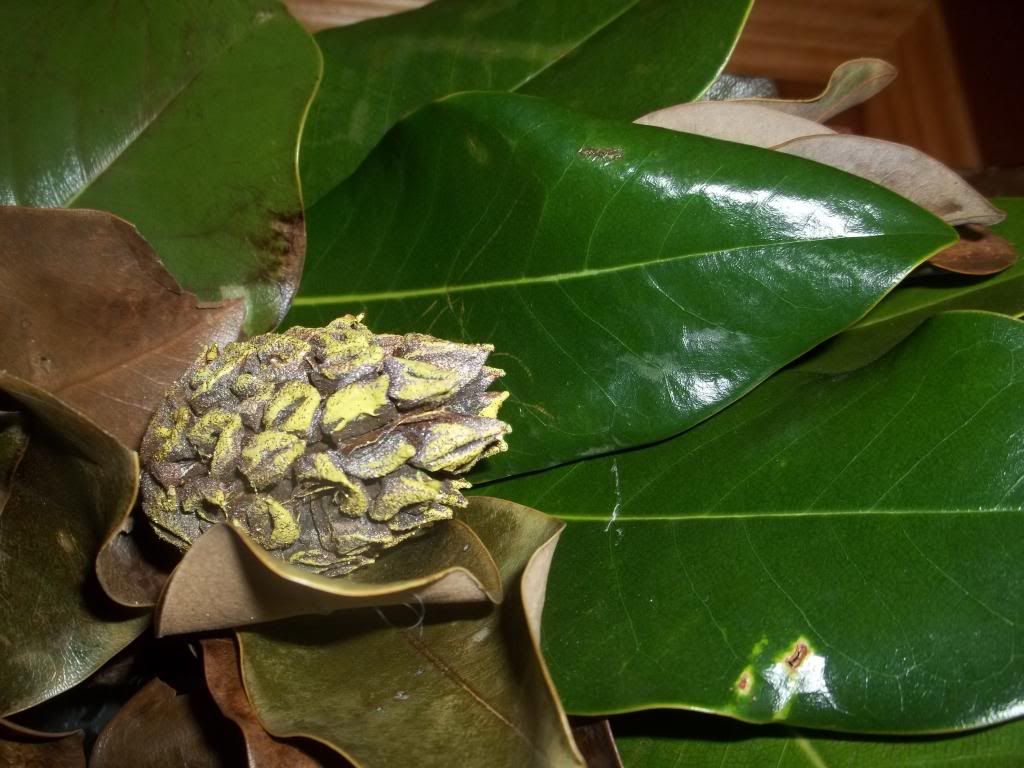
So I mixed a couple of colors to come up with a chartreuse shade and while the paint's still wet, on goes a sprinkle of glitter. Be sure to have a professional paint box like mine before you start. Nothing but the best old box will do. I used a block of styrofoam and some wooden skewers to hold the pods up and make them easy to work with. Bam - just like that, they brighten up the wreath.
To attach it to the wreath I simply wrapped the jute around and hot glued it just above the grape vine wreath. Then I eye-balled where I wanted it to hang and since my door is wood, I just tapped a tack through it at the top of the door. Easy!
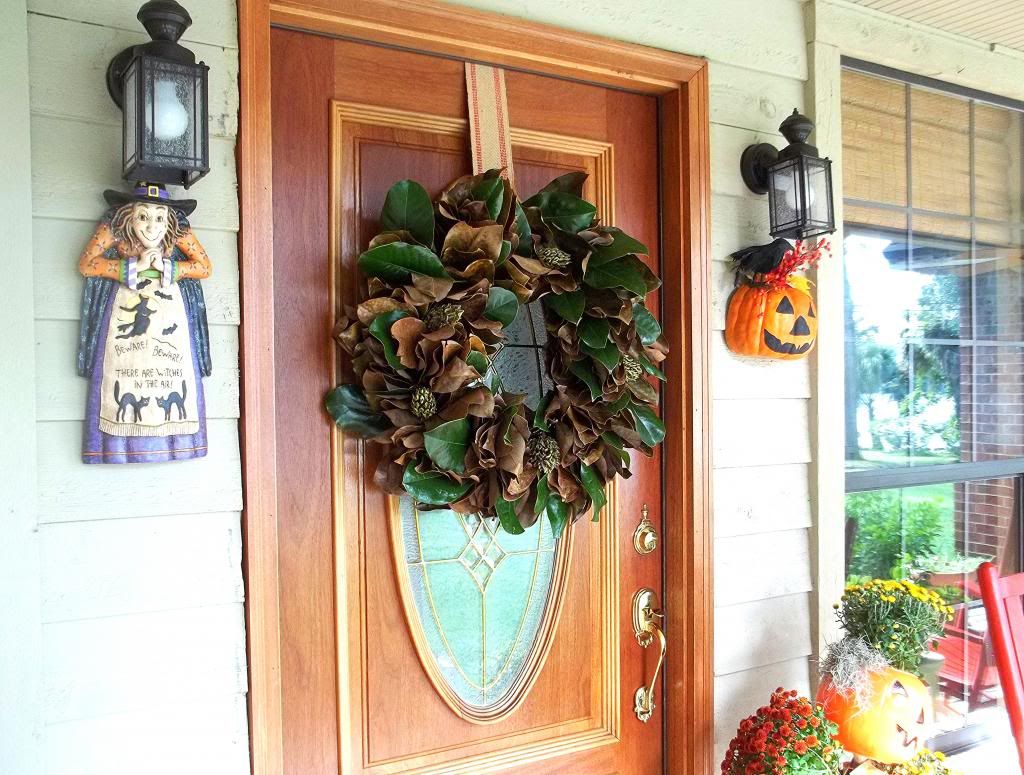
Still, it is Halloween and this beautiful wreath is just a little understated for such a fun holiday.
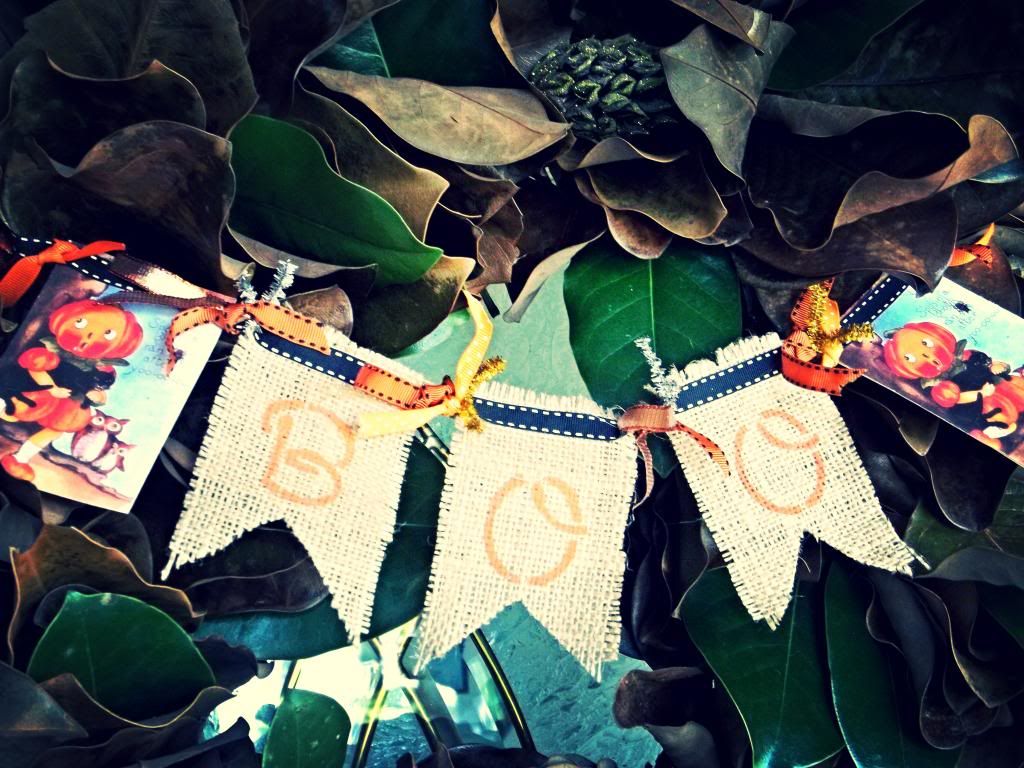
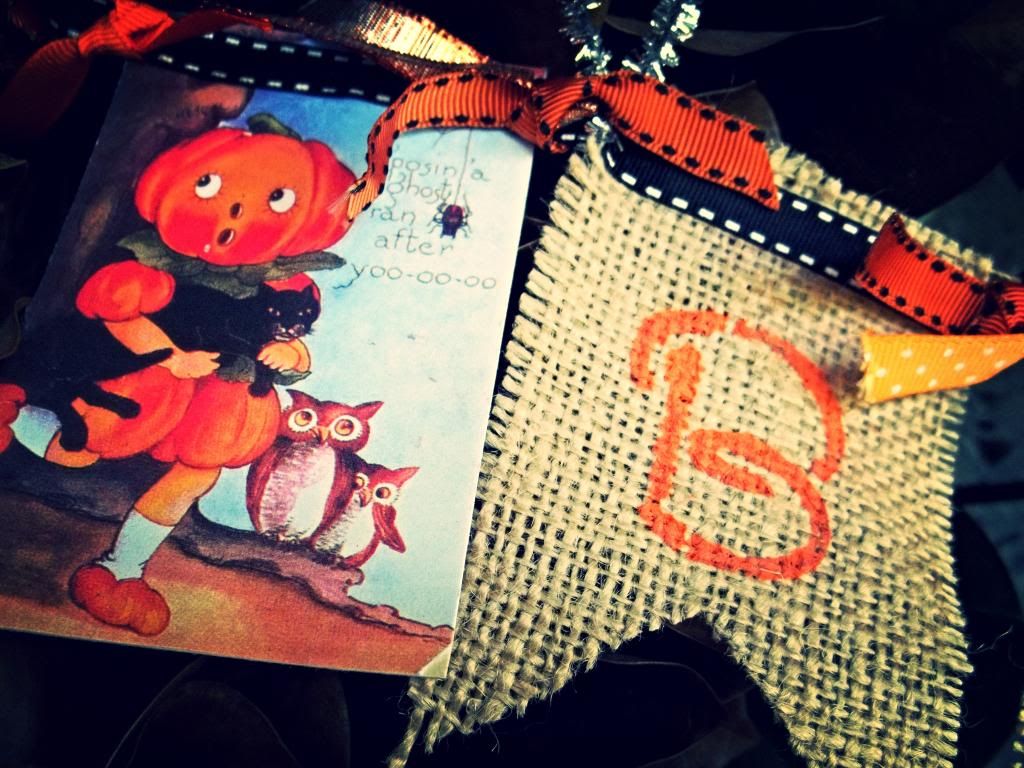
- Print a cute vintage Halloween card on card stock
- Cut a square piece of burlap the same side of your card. Fold the burlap in half length-wise and cut at a diagonal on the bottom half.
- I used Martha stewart's Loop Script Stencil Set & a sponge spouncer to stamp the letters.
- Glue a length of ribbon across the top and tie scraps of colorful ribbon between each letter & picture.
- I tied the ends of the ribbon to 2 skewers and used a drop of glue to hold it. Then just stick the skewers into wreath. That way you can easily change the banner out in a few days for a Thanksgiving one.
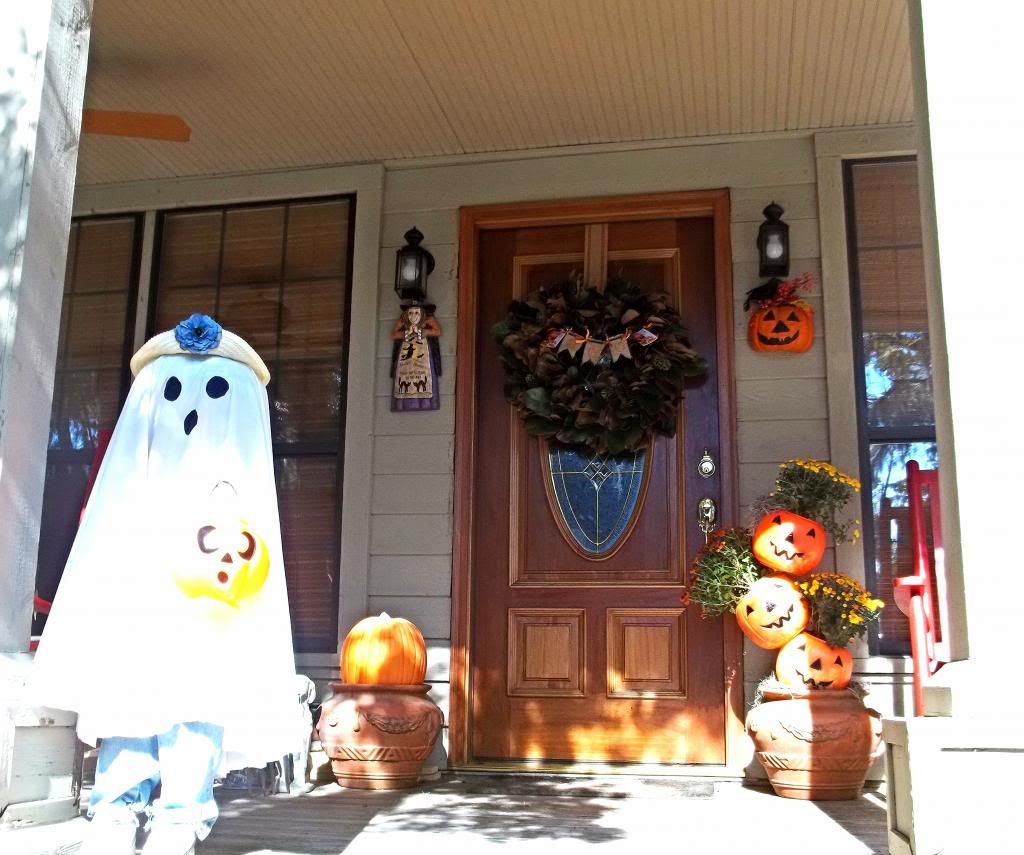
I just realized all my porch decorations were created by me except the witch. Oh' how I wish I could paint. Stay tuned and I'll show you how to make my little trick-or-treater. She's been with us for years now.
* Tip - as the green leaves start fading just stick a few more in here and there. Next year I would like to try making one using foam oasis to keep it fresh. Maybe I'll try an all green one.
Thanks to Sweet Somethings Designs for the easy to follow tutorial. Stop by and visit her and see all her creative designs.
Check out more of the fall items I worked on this week like the one's I've listed below:
I'd love to hear what you've been working on this week so I can come by and take a peek.
Hugs Y'all...

With long life I will satisfy him and show him my salvation.
~ Psalm 91:16
How beautiful!! I love your touches of painting the pods...it really does make the wreath pop! Your porch is so cute, too. Thanks for sharing this!
ReplyDeleteThank you Julie! What a sweet comment. It always feels better to make something free and I love being able to make something that comes from nature. I hope you'll stop by again soon. OO's...Tracy
ReplyDelete