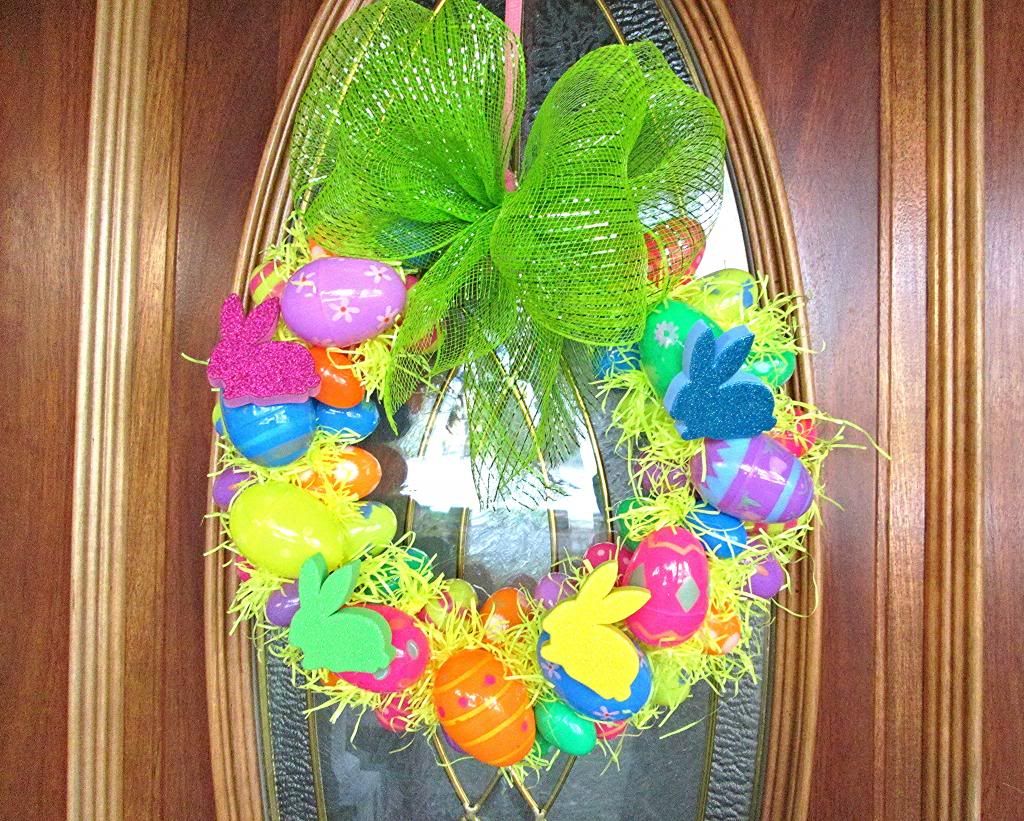
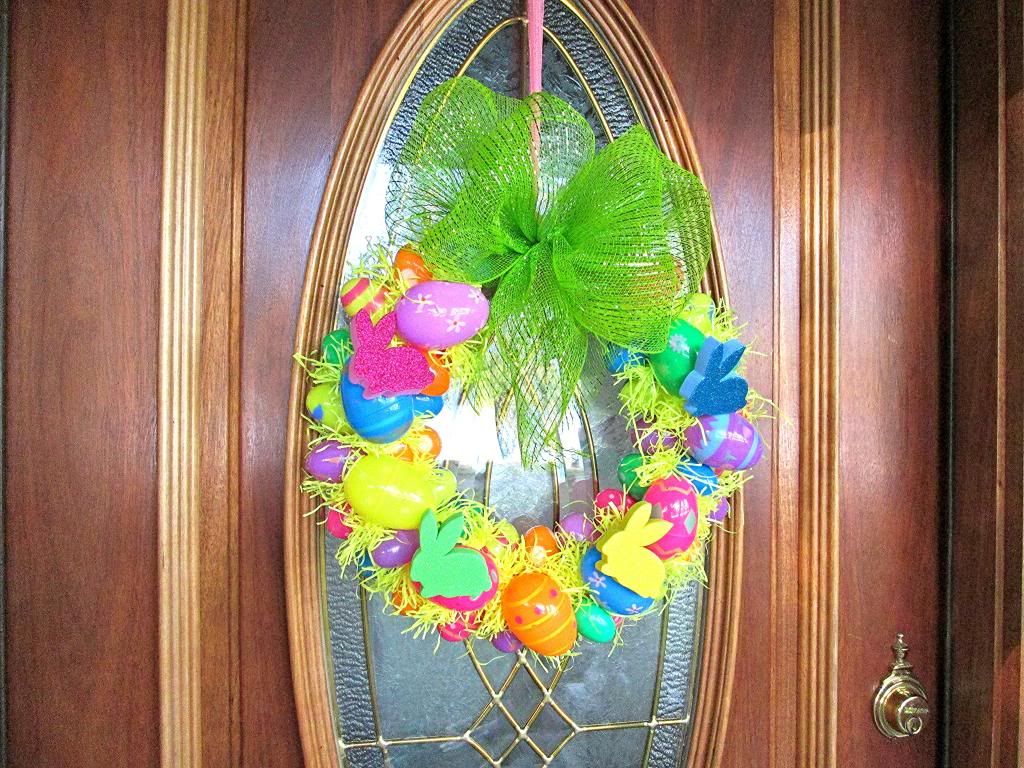
I usually go with pastel colors for Easter, but this year I decided to be bold and go with bright fun colors. My porch is set back from the road and I wanted it to be bright enough to see. So far I'm liking my neon wreath!
Pinterest, Pinterest, Pinterest...what would I do without you. Searching for Easter wreaths, I came across Debbie's wreath over at Kennedy Klan News. Thanks for sharing the tutorial Debbie!
It looked quick, easy, inexpensive and most of all CUTE! Just what I wanted. So here's how I did mine, which is pretty much the same as Debbies.
Step 1
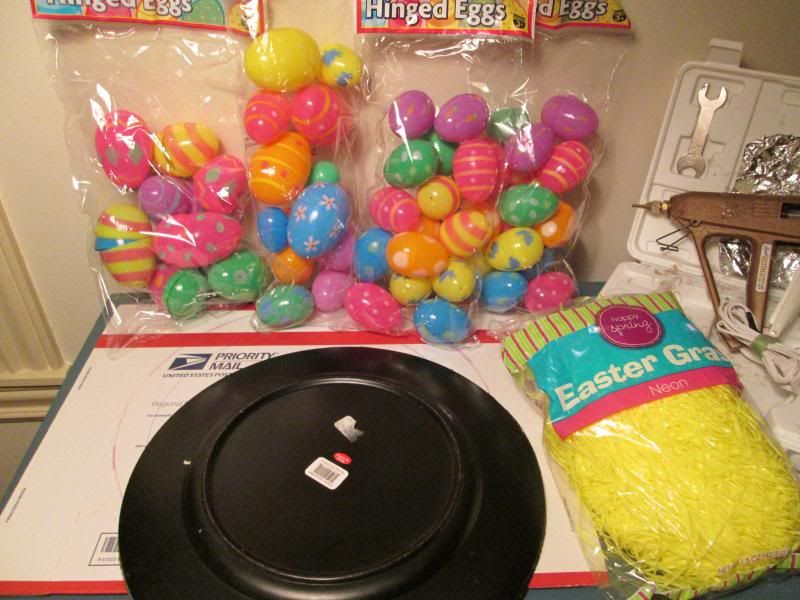
Gather your supplies. You'll need:
- Cardboard
- Plastic Eggs - I used about 40-45
- Easter Grass
- Deco Mesh Ribbon
- Hot Glue Gun and Glue Sticks
- Floral Wire or Pipe Cleaners/Chenille Stems
- Pen
- Razor Blade
- Scissors
Step 2
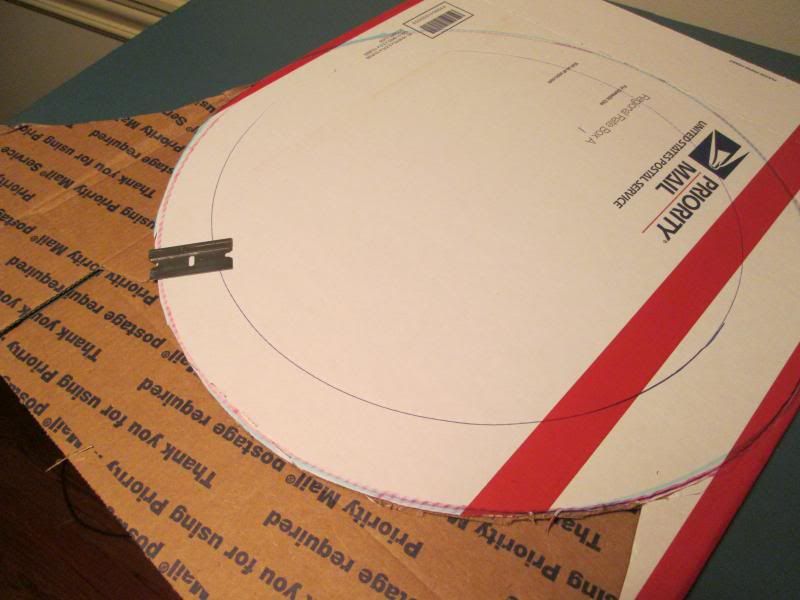
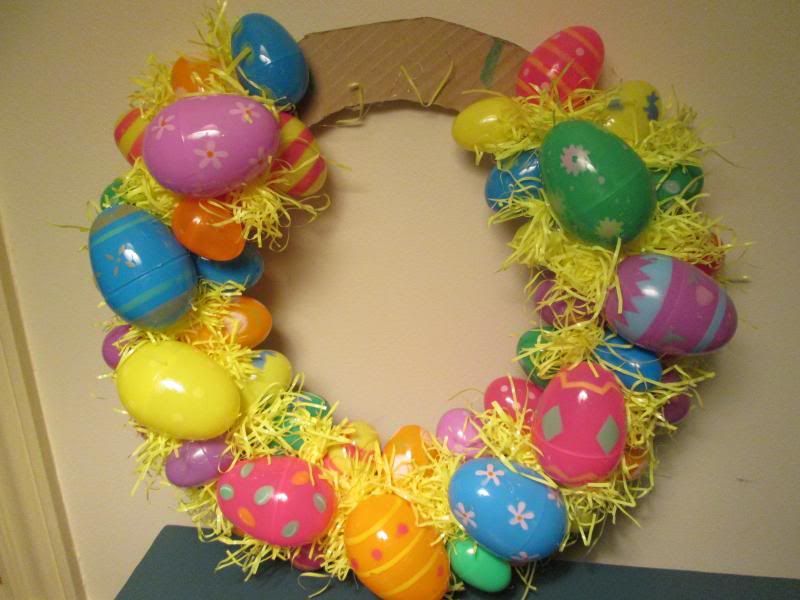
Use a plate or charger to trace a large circle on your cardboard. I used a priority shipping box. Draw a smaller circle inside the larger one. You want your ring at least 2" wide or more so you have room to glue your eggs. I used a razor blade to cut mine out but you could use a knife or scissors.
Step 3
Get busy gluing your eggs, butt to butt like I've done in the photo above. My ring could have been a little bigger (how many times have you said that girls)? I was barely able to glue those suckers on there. I ended up using the medium and small eggs because the big ones just wouldn't fit. *Be sure to leave an empty spot at the top of the wreath, egg free so you can add your bow.
Step 4
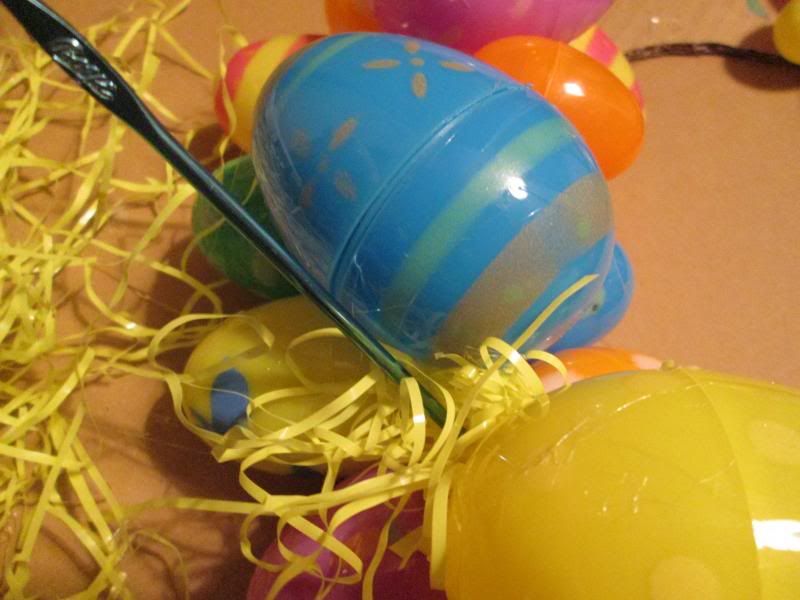
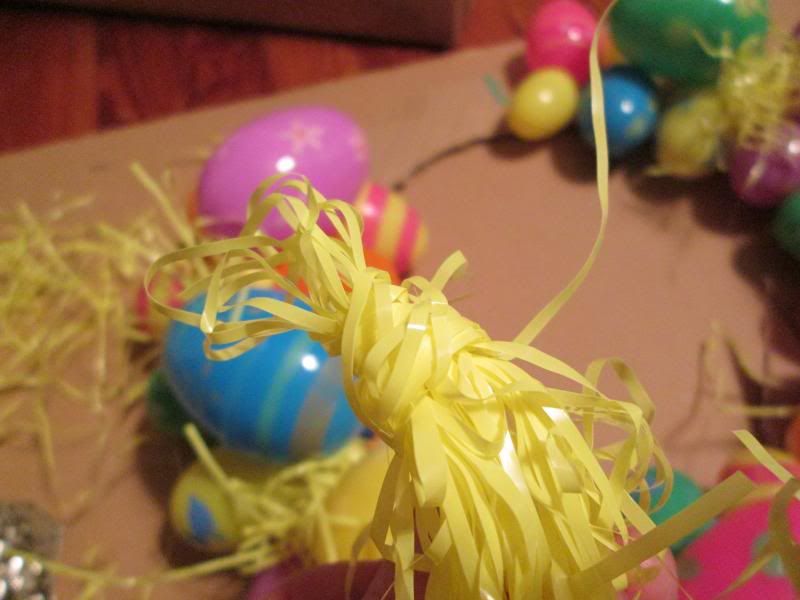
You want to fill the spaces between the eggs and anywhere you can see cardboard, with the grass. I started out using a crochet hook to shove the grass in while trying (keyword is trying) not to burn myself.
*Tip
I found that best way to insert the grass was to grab a little wad and fold it back and forth so you have a short, thick little - well wad for lack of a better word, using a strand from your wad, wrap it around the end to hold it. Add glue to the wrapped end and shove it in between the eggs.
Step 5
We're almost done. It's time for the bow. I wasn't quite sure how to handle the big deco mesh ribbon so I found this a site called Mardi Gras Outlet. It has wonderful ideas and inspiration. It explains how to tie a bow, so rather than me trying to explain it, I'm including the link because they have pics too. It also shows you how to make a deco mesh butterfly which is so cute. Just click on the link above.
Well there you go Peeps (get it), one "easy to create Easter project just for y'all, coz I love my Peeps. (I just can't stop).
The how much and where at:
I found the eggs and grass on sale at Walgreens, I bought 4 packages but only used 3. What a deal. The cute foam bunnies were at Family Dollar. Hobby Lobby had 40% off of the ribbon.- Deco Mesh Ribbon = $4.79 (Plenty left for another project)
- Three bags of 15 eggs @ .49 cents each = $1.47
- One bag of grass @ .99 cents = .99
- One pkg of foam bunnies $1.00
- Misc items I had on hand such as pink ribbon, hot glue and cardboard.
Total Time spent = less than 2 hours
Gotta love dollar stores!
Always remember it's nice to have money to buy whatever you want, but never let a lack of money stop you from creating. Sometimes the best things come from making do with what you have. Anyone can do this craft or something similar. Stop stressing and just have fun. See where your mind takes you.
Hugs Y'all...


I've been wanting to make an Easter wreath, thanks for the tutorial. I love how you gussied up the eggs...so cute!
ReplyDelete~willa~
Thanks Willa. Fun and simple... Do you see a pattern here?
Delete
ReplyDeleteI loved your Tip Me Tuesday link this week. {thanks girl!} Would you like Tip Junkie to feature your blog post to over 200,000 creative women? If you upload this blog post into your Tip Junkie craft room using at least 2 images, 2 steps, and blog post URL then I can easily feature it in my RSS feed, home page, and all my social networks instantly. {squealing with delight} ~ Laurie {a.k.a. the Tip Junkie}
http://www.tipjunkie.com/post/how-to-add-a-craft-room-project-on-tip-junkie/
OMG Laurie, I'm beaming with pride that you even noticed me! Thank you Sweetie!!!
Delete