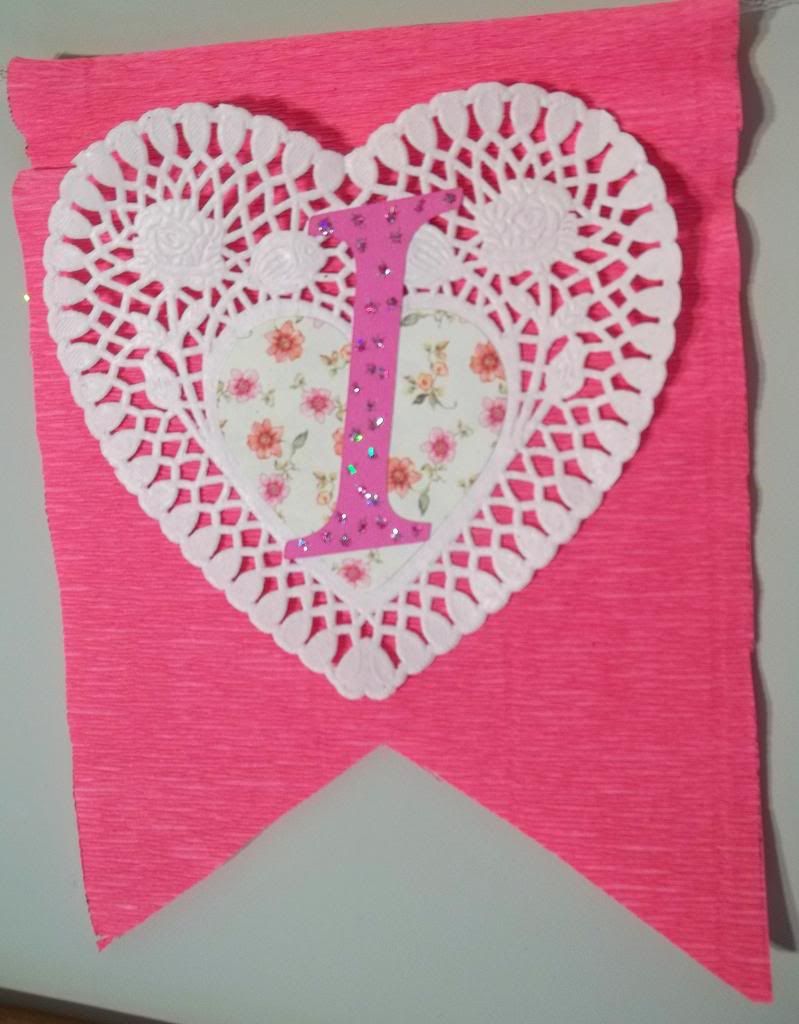
I used my Cricut to create a banner/bunting that I want share with you.

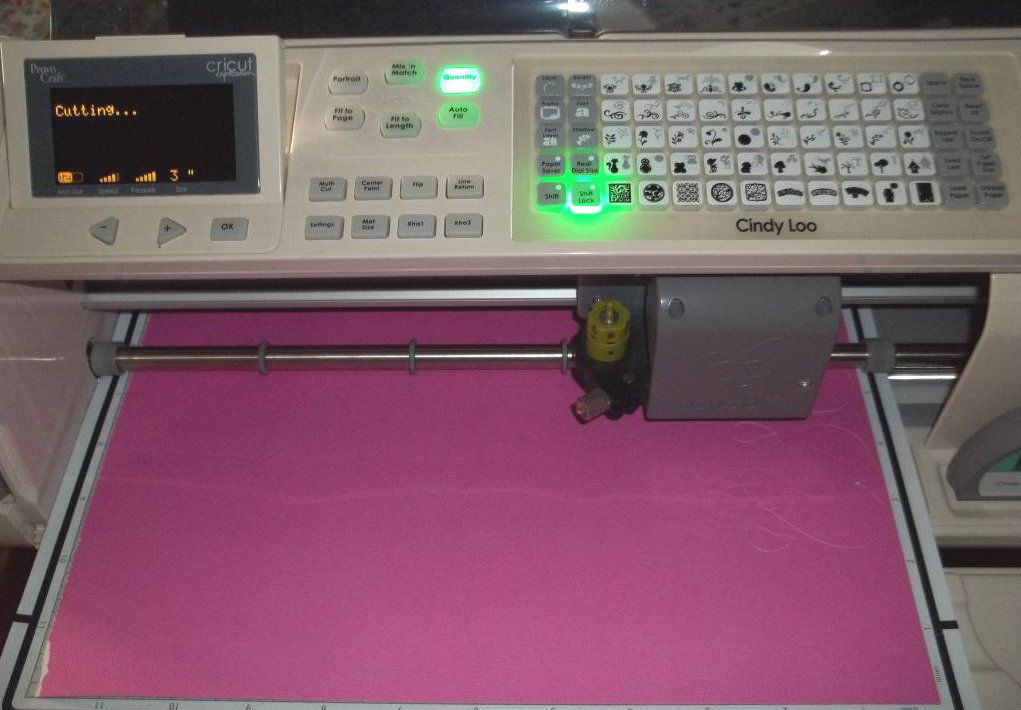
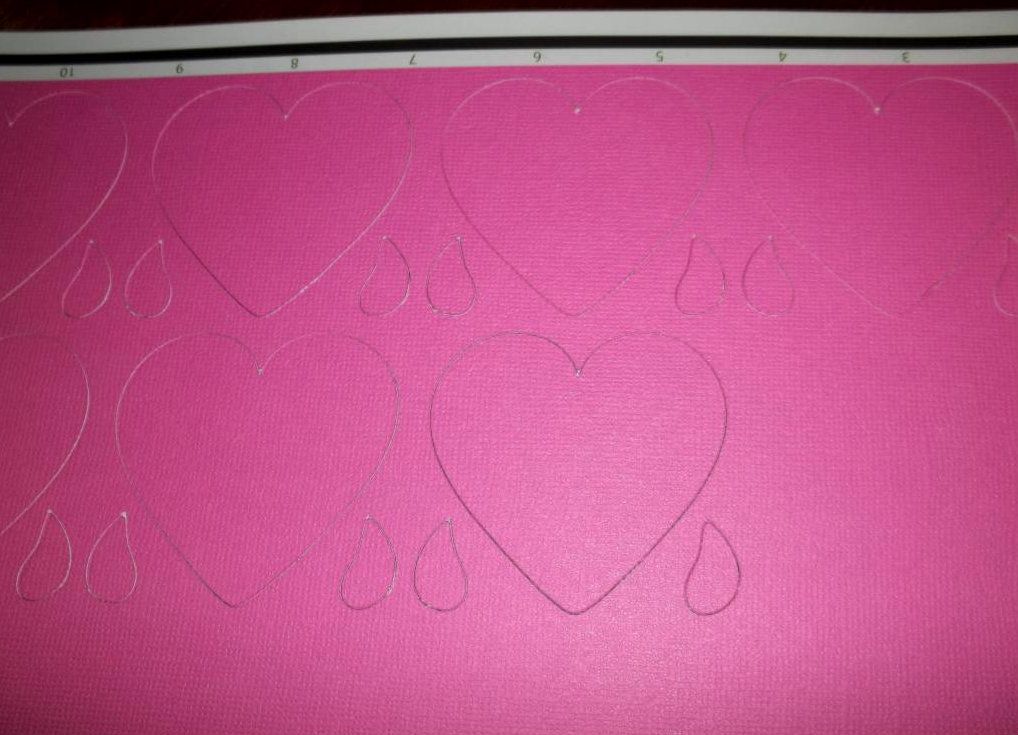
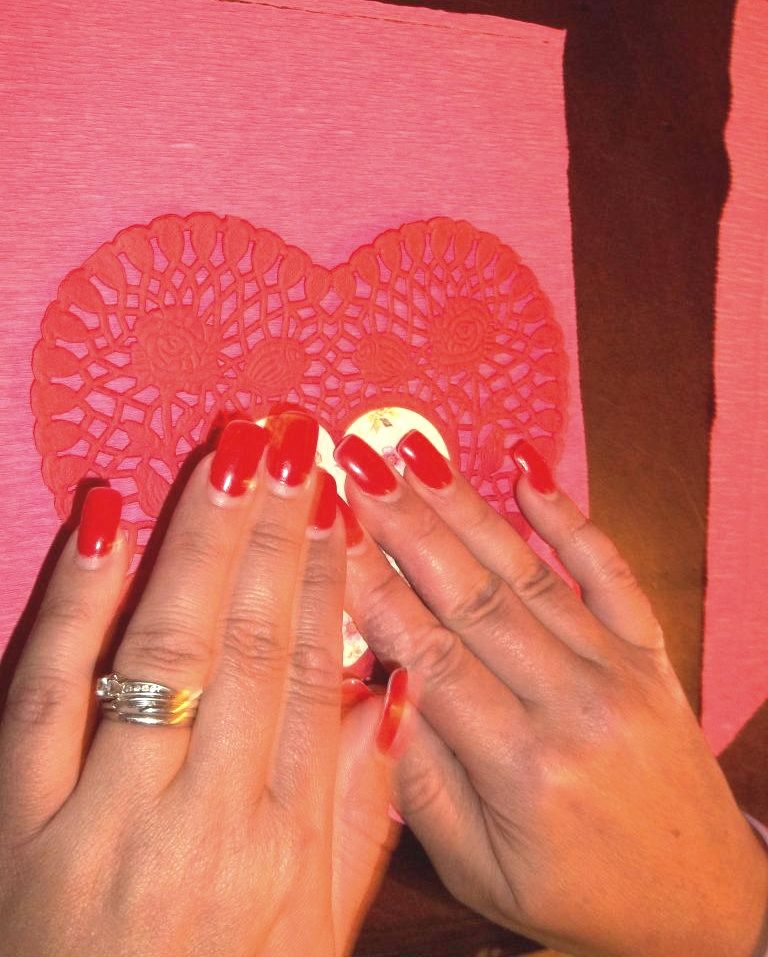
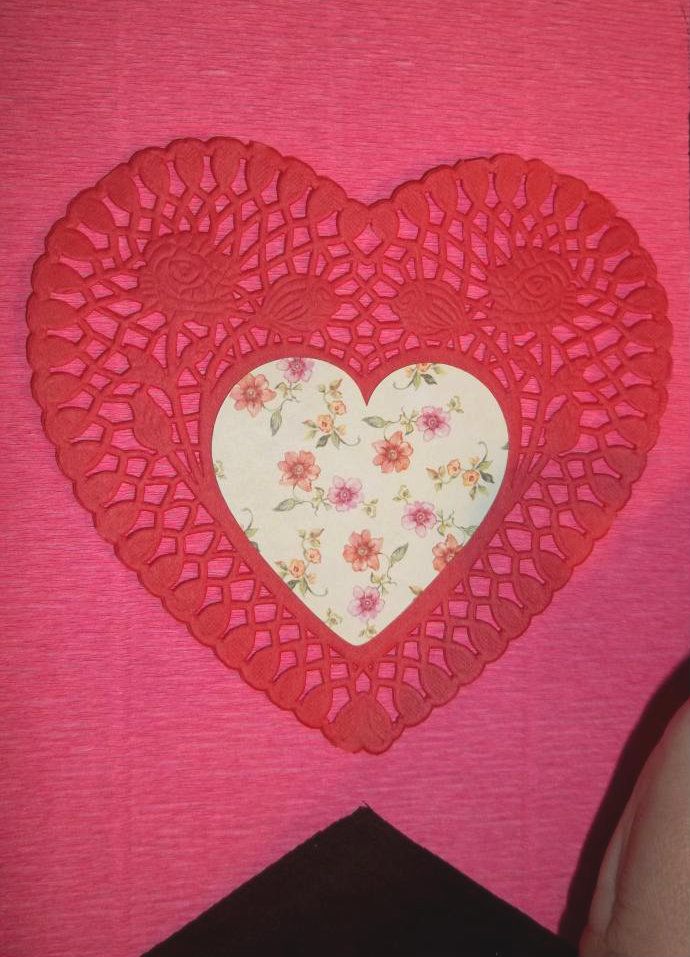
I like to use whatever paper I have that might work when I craft. This pink made a good start. I used the Cindy Loo cartridge in my cricut to cut out 7 hearts in pink. I can't remember the size but I believe they were about 3". Ignore the little teardrop shapes that it cut with the hearts.
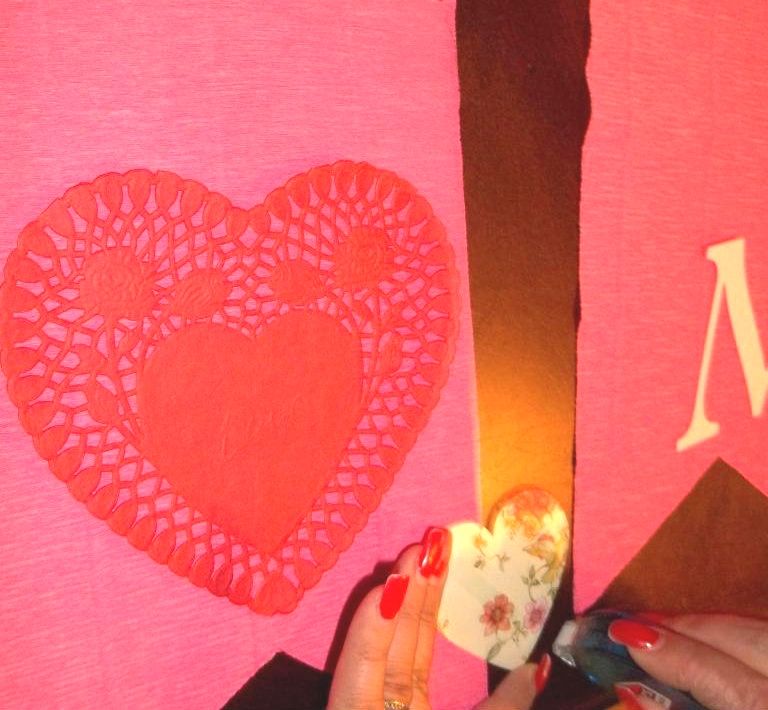
Since I was using red and white doiles I also cut some red hearts just slightly bigger. I only had enough red paper for 3 so I used one for the beginning, one for between BE and Mine, and one for the end of the banner. I layer them behind the pink hearts using dot tape. Sit those aside and while you make your crepe banners.
- Paper bags
- Book Pages
- Fabric
- Scrapbook Paper
**You might want to use something different. I found a couple of the hearts on the floor after coming unstuck. I used Elmers Dot Runner.
- Stencils (I have a nice pack from Martha Stewart)
- Free Printable Letters @ http://www.mrprintables.com/printable-alphabet-cards.html
- Free Printable Letters @ Shabby To Chic
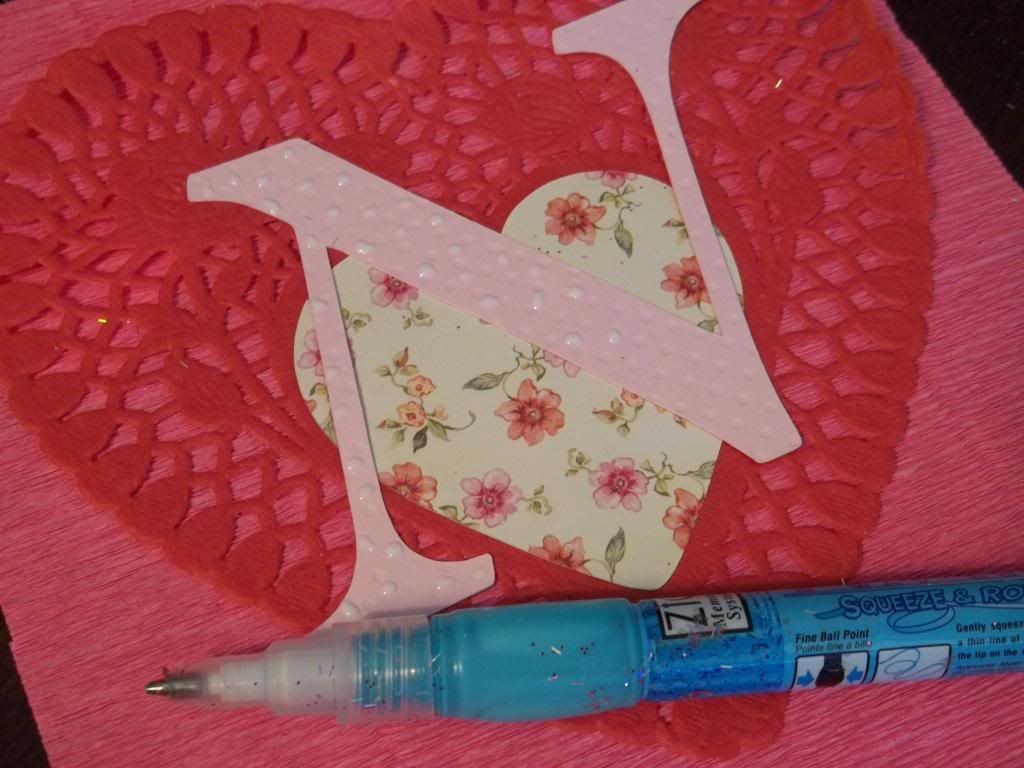
- Free Hand Your Own Letters
I used some like pink tulle cut in strips to use as my cording but you could use:
- Jute or Twine String
- Ribbon
- Stips of Fabric

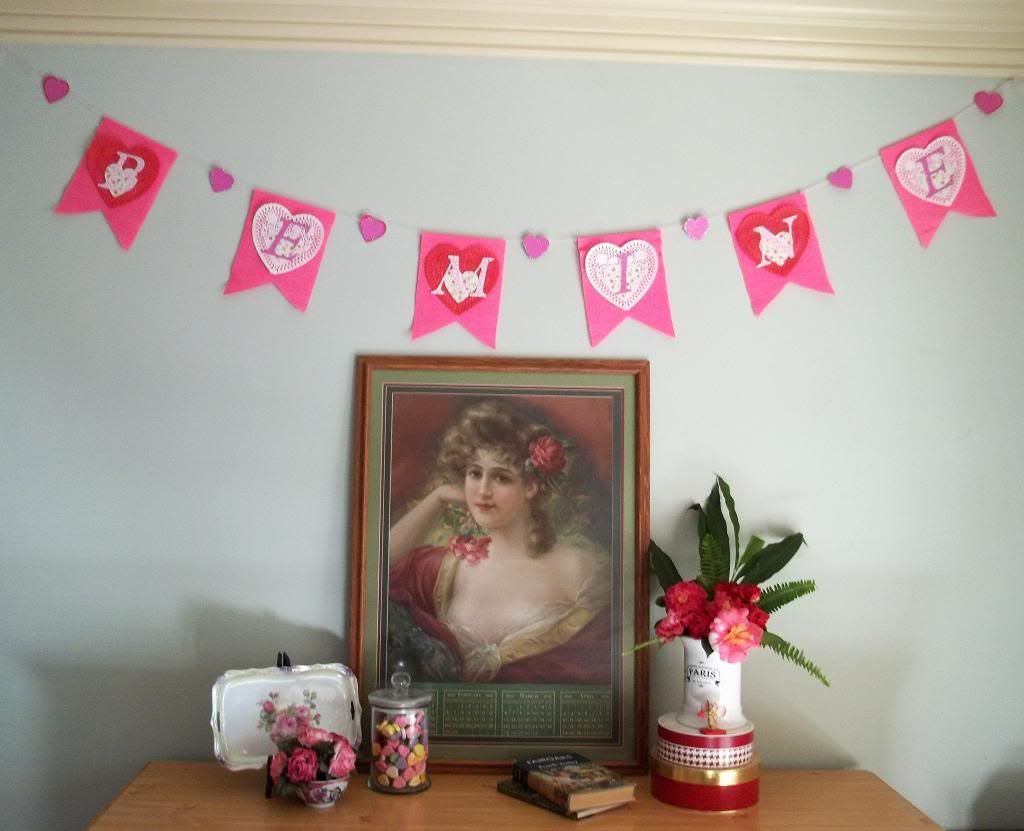
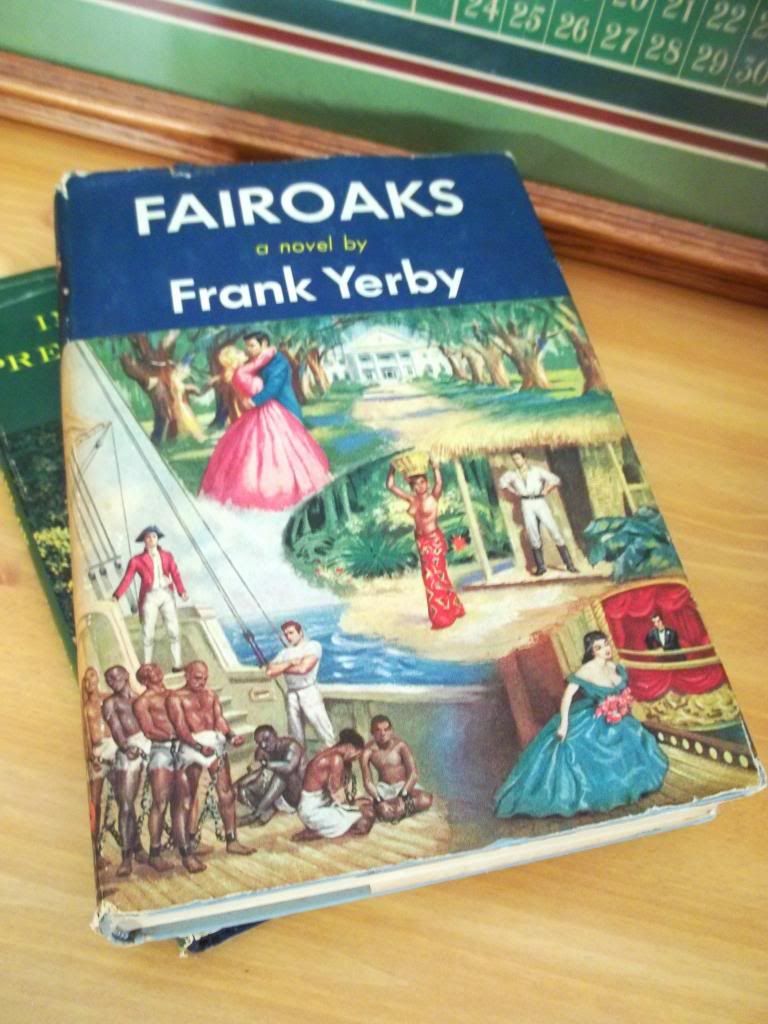
I glued the little hearts between each letter pennant with the hot glue gun. That's it. Easy as apple pie! Then just scatter a few of your favorite things around, like this framed vintage calendar, tray and old romantic looking books and you have a sweet Valentine vingette.
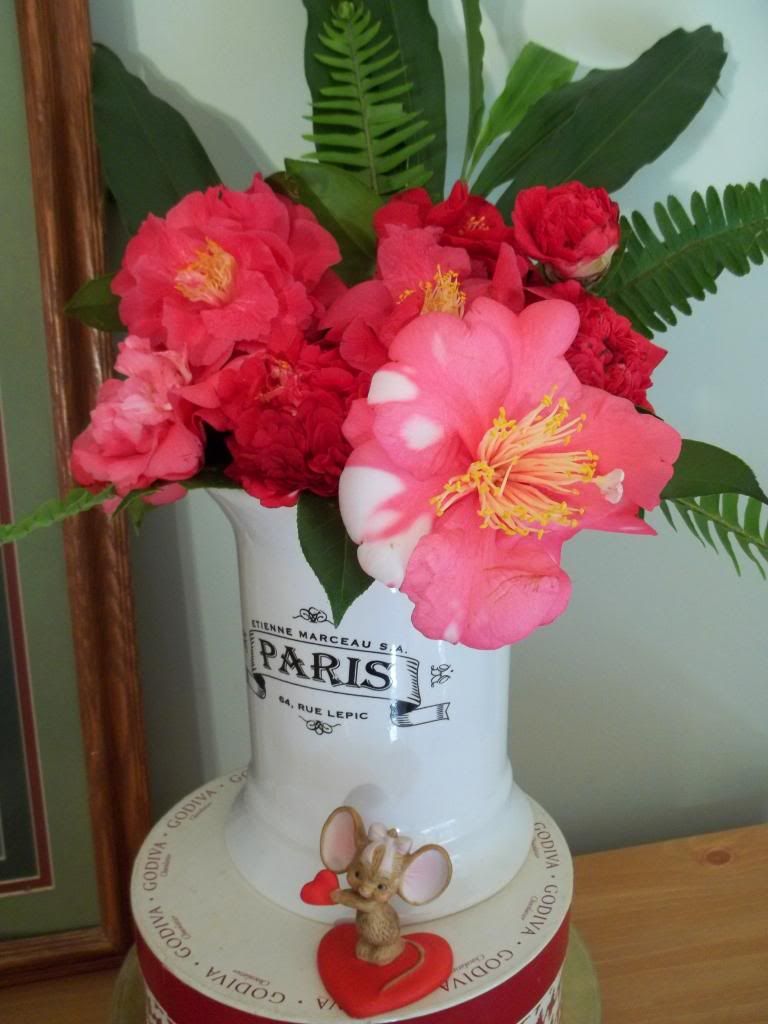
And fresh flowers make everything prettier so I just cut some Camelia's and ferns for height and color.
In case you haven't gotten enough of the Valentine projects yet you can see my Heart Thumbprint cookies and recipe HERE.

I hope you enjoy the tutorial and are having fun making your on home sing with love.
I hope you enjoy the tutorial and are having fun making your on home sing with love.
OOXX's...Tracy ♥
Second is this: 'Love your neighbor as yourself.' There is no commandment greater than these.
~ Mark 12:31
this is so lovely Tracy. I love the mixture of items you used. Roses & victorian decor are my favorites. The banner is so pretty :)
ReplyDeleteThank you for the sweet comment Julie. It was so easy to do. ♥
ReplyDeleteLove this Tracy! So pretty! Thanks for the tutorial too! How are ya these days? Hugs and blessings, Cindy
ReplyDeleteWhat a cute idea! Thanks for stopping by my blog today :)
ReplyDeleteKelly @ thelilypadcottage
I love it Tracy! Thanks for the tutorial on it.
ReplyDelete