Discription

Everything Southern & So Cotton Pickin Cute
Showing posts with label Wreath Tutorial. Show all posts

Monday, March 3, 2014

St. Patrick's Day Wreath

Do I hear shouts of joy that -
                                        MARCH is finally here?
St. Patty is already knocking on the door at my house, and I'm ready to greet him and anyone else who wants to stop by.
I whipped up a little green wreath in honor of him and the green grass that will be filling my yard soon (thanks to Scott's Bonus S - more on that soon).

It's easy to come up with something simple, yet quick, for holidays or whenever, without ever leaving the house.  Just pull out a bunch of whatever you can find and then play around till something clicks.
I can across these items:

  • Grapevine Wreath
  • Green fabric
  • Crepe Paper Ribbon
  • Pipe Cleaners
  • Green Flowering Stem
  • Cards I had created years before
Works for me!
You'll also need the general Tools like:
  • Packaging Tape
  • Hot Glue Gun
  • Wire
  • Wire Cutters
  • Scissors
  • Grocery Bags


  1. Since I didn't want a grapevine look, I wrapped the wreath in plastic bags to pad it.
  2. Cut fabric into strips and start wrapping the wreath form.  I just used tape at this point because I'll probably take it apart after March 17th.  I made sure the tape was on the backside and then it was covered by the next fabric strip anyway so it doesn't show.
  3. Wrap the fabric covered wreath with the crepe paper ribbon and attach with hot glue.
  4. Add the flowering stem to one side and wrap with wire to attach.
  5. Then just add what ever decorative elements you have. I had these cards.  Easy to make - print vintage postcards glue to card stock cut slightly larger and trimmed with decorative edge scissors.  Add bows and rhinestone decals and you have a cute card!
  6. For each clover you need 2 pipe cleaners. Bend 1 into the shape of 2 hearts (all connected).  Bend the other pipe cleaner into 1 more heart and leave a stem.  Just join the 2 by twisting the stem to the other hearts.  There you go - you just made a clover!
  7. Add a bow to the top along with one of the clovers and you're DONE!

Looking for more crafty ideas?  I've got just the crafty gal for you.  Julie @ Mamawj's Moment Away has been pretty busy too.  I think we've all got Spring fever.

Julie's been upcycling old clothes and she came up with these cute scarves for only pennies.   PENNIES!!!  Well maybe quarters but still less than a $, and in my book that's awesome!!  Head over to Julie's and read all about her creative endeavors and be prepared to be inspired to create something on your own.  She has a whole wardrobe of beautiful scarves to go with her outfits now.
If you enjoyed my little wreath tutorial, I hope you'll think about sharing it on pinterest or facebook.  Most of all, I hope you'll leave me a comment.  I love hearing from y'all and it makes sharing these little things, worth all the work.  Tell me what you're doing so I can come by and see what you're up to. It doesn't have to be crafty - just share!!

Top a the Morn' To Ya...
For behold, the winter is past; the rain is over and gone.  The flowers appear on the earth, the time of singing has come, and the voice of the turtledove is heard in our land. 
                                                                         ~ Song of Solomon 2:11-12

Thursday, February 6, 2014

Cotton Pickin Cute Valentine Rag Wreath Tutorial

Lets make a 1,2,3 wreath to welcome friends when they knock on the door.  Want to?  Good. Lets get started....
STEP #1
Gather your supplies and cut and tie.

  • Metal Ring - I found this one in the parking lot of our offices.  Not kidding, it's a ring that holds hubcaps on. But you could make one from a clothes hanger.
  • Fabric - I've had this in my stash for years, not knowing what to do with it. Decision made. I probably had about a 1/2 yard of fabric, that I picked up at our Humane Society thrift store. 
  • Scissors or quilt cutter like I used. Fold your fabric in half and cut strips.  I went with 3/4" wide.  Then I stacked the strips and cut them into approximately 10" lengths. *Tip: The width of the strips depends on the thickness of the fabric.  The heavier the fabric the wider the width should be and the length will probably need to be longer as well. So try tying one before you cut them all.
  • Get comfortable in from of the t.v. and tie, and tie, and tie some more.  It goes quicker then you think and it's mindless so you really can watch your favorite show.

Step #2
Decorating: Gather more supplies and glue and tie.

  • Get creative and use whatever's on hand. I had these holographic hearts and glitter hearts I bought on sale at Michaels after Valentines day last year.  90% off. Woot-Woot!!  .29 cents for a pack of the glitter hearts and the other hearts were like a dime or something.
  • Jar of Buttons
  • Ribbon
  • Hot Glue Gun
I wanted to dress my heart up a little so I simply laid the first row of buttons out in a heart shape and started gluing, then I randomly added more till it was like I wanted.


Add a pretty ribbon and tie them on.


Using some pink gossamer wired ribbon I wrapped one end over the wire frame and hot glued the tail of the ribbon to the back side.  Then I just used 2 thumb tacks to attached it at the top of the door.  I tied a simple bow to that ribbon near the top of the wreath.
Step #3
Done and Hung.

  • Hang it.
  • Enjoy it.


I bet if you added up the cost of these supplies it was under $2.00 but I think of it as FREE since all used my stash and didn't have to go buy a thing.  I'm all smiles!

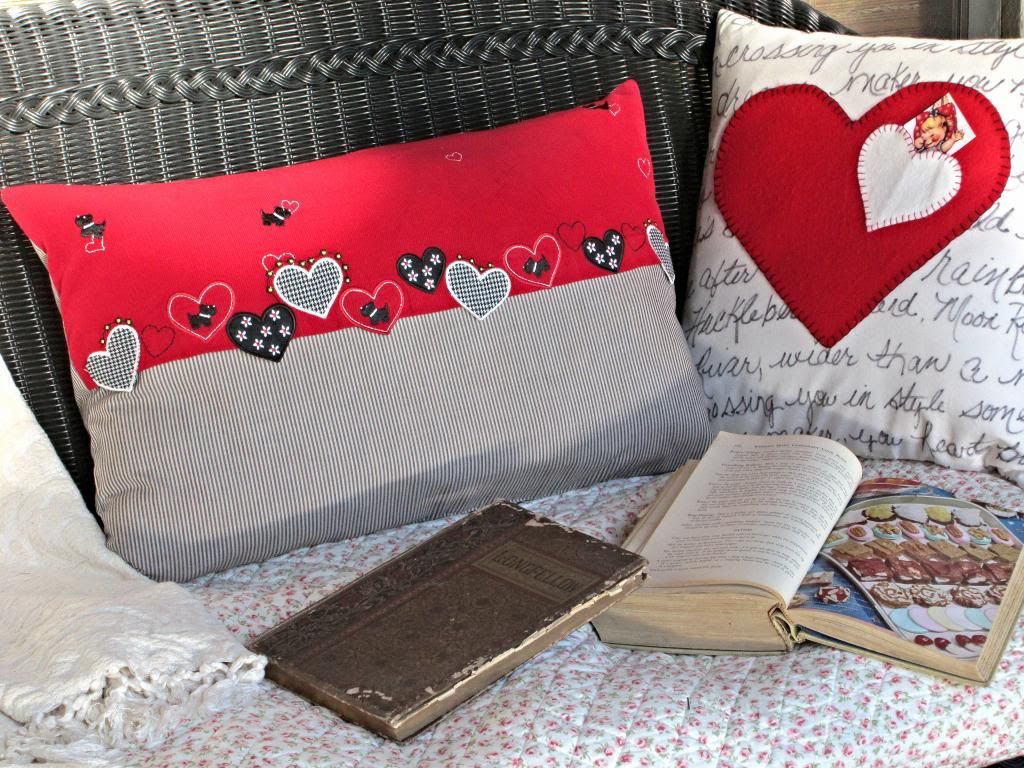
Click HERE and HERE to see my Valentine pillow tutorials.

Okay, I shared, now share with me.  What have you made (or bought) to bring a little love into your home.

Hugs Y'all...
If you remain in me and my words remain in you, ask whatever you wish, and it will be done for you.
                                                                           ~John 15:7