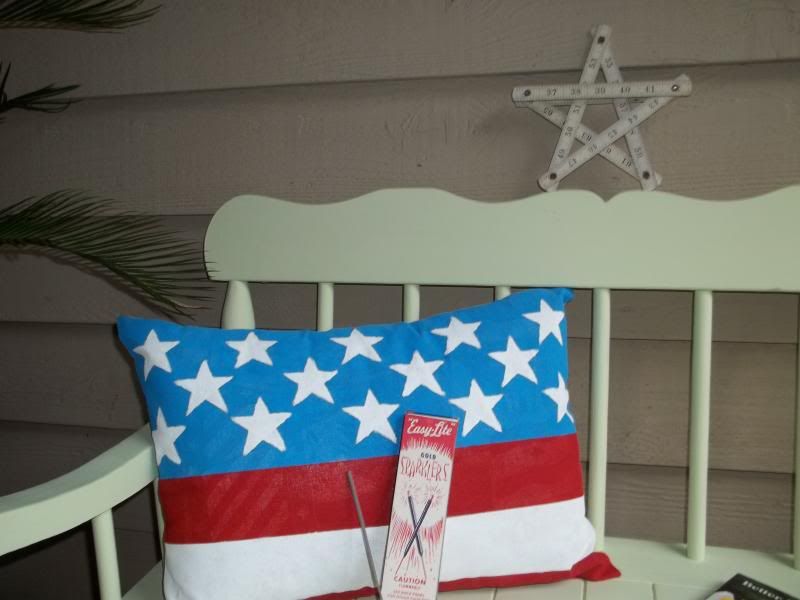
Here's a picture of my inspiration. I think I found it on Pinterest but it was created by Kierste over at Simply Kierste. She is one crafty girl with a great blog. She gave a tutorial and I basically followed her directions with a few variations. Please click here to see her post. I know you'll enjoy her blog as much as I do. I adore her pillow.
I thought I'd show you the basic's on making these. Lets start with this years painted pillow.
- Step 1: Use any old fabric you have on hand like I did. A burlap or muslin works great. Decide how big you want your pillow to be. I wanted mine to be a rectangle since it would be a flag. I decided that I wanted my finished pillow to measure 19" x 14". Before cutting it out I added 1" to each measurement for seam allowances. Fold your fabric in half before cutting. I cut mine 20" x 15".
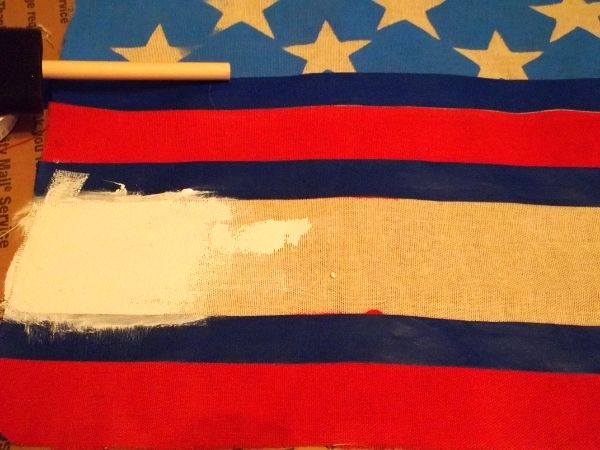
- Step 2: On just one piece of the fabric measure out your placement. I decided to have "3" stripes at 2 1/2" each. That left 6 1/2 on the top for stars. Using painters tape, tape each section being sure to use a spoon or something to really press the tape edge tight so paint doesn't seep under. Don't worry if it does you can touch it up with a art brush. I don't plan on washing these and since they're under a covered porch I didn't use fabric paint. I just used craft paint, you can even use house paint.
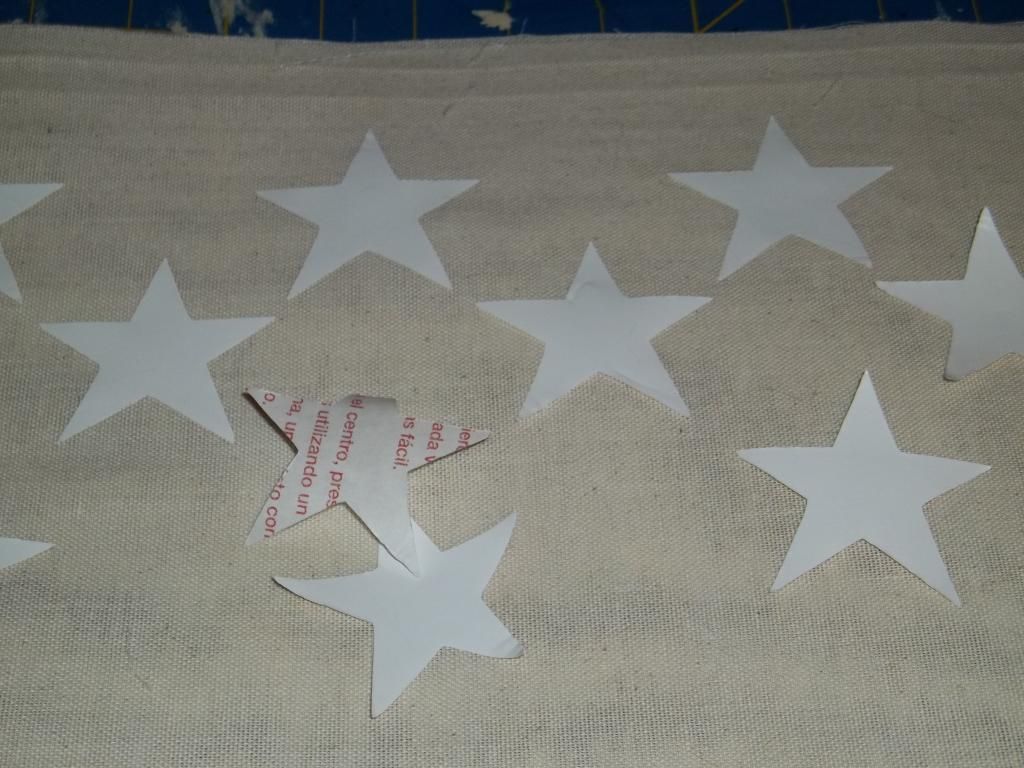
- Step 3: For my stars I used cheap vinyl shelf paper from the dollar store and cut 2 1/4" stars on my cricut. You could also print a star shape from the internet and make a cardboard template and trace your stars but you would have to paint the blue first, unless you want to do a lot of tedious painting around the stars. TIP: Be sure to put cardboard under your fabric before painting because it will seep through.
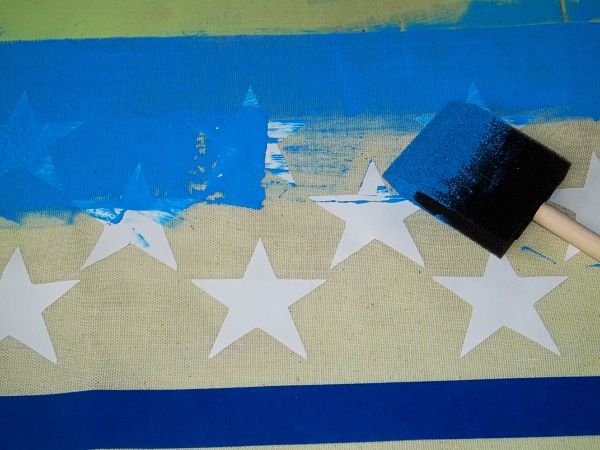
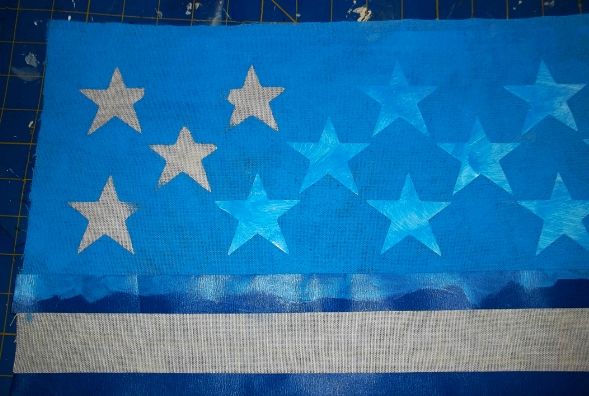
- Step 4: I half measured and half eyeballed my stars placement stuck them to the fabric and then painted the blue right over them. It would have been nice if I would have had a little foam roller but I didn't so I used a foam brush. The brush did cause the edges of the stars to peel up a bit and the paint to get underneath. Because of that I used a small paintbrush to paint the stars white. I had originally planned to just leave them the natural fabric color.
- Step 5: I carefully pulled the vinyl up while the paint was wet. Once dry, I painted the stars white. You can also paint your white stripe now. Once the white dries tape over the white and blue so you can paint your red stripes. Let dry.
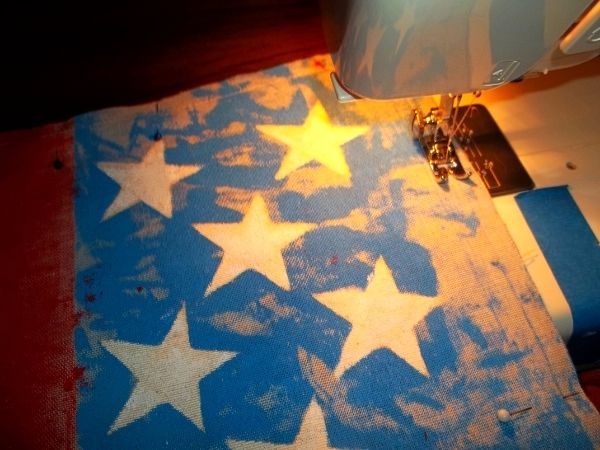
- Step 5: Time to sew. My fabric doesn't really have a right and wrong side but if yours does pin right sides together and stitch 1/2" seams. It doesn't get much easier than stitching straight seams. Be sure to leave an opening in the bottom big enough to add your pillow. *NOTE: You can use double sided hem tape or even fabric glue or a glue gun if you don't want to try sewing.
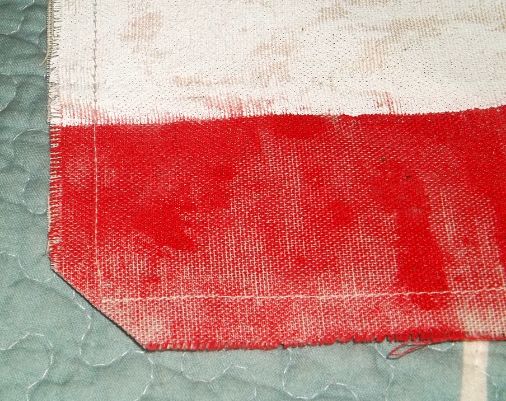
- Step 6: Turn your pillow right side out. Trim corners like I've done below being careful not to cut through stitching. Use the end of a spoon or fountain pen to push the corners out completely.
- Step 7: Press you hem opening so it will be ready to sew after stuffing.
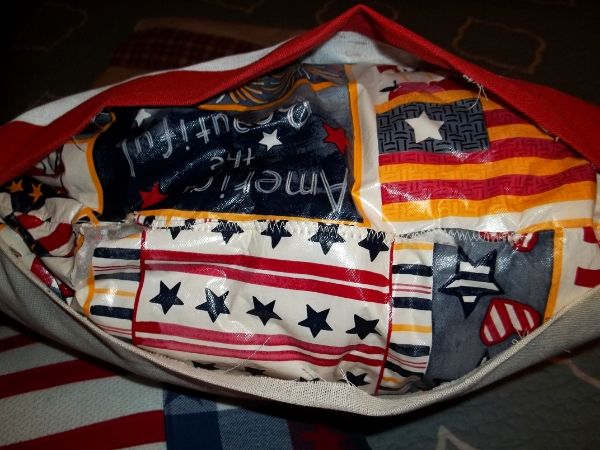
- Step 8: You can do like I did and use an old bed pillow. I just cut one 14" down from one end and most pillows are 15-18" wide. Sew up the end of the pillow (the other 3 sides are already sewn). To water proof my stuffing I used an old vinyl table cloth. Yea, I never throw anything away. You could also use 2 plastic grocery bags putting then on in opposite directions. Bags don't need to be sewn but I did sew the table cloth around the pillow. The just stuff it in there. Pin your seam closed and then simply hand stitch or machine stitch closed.
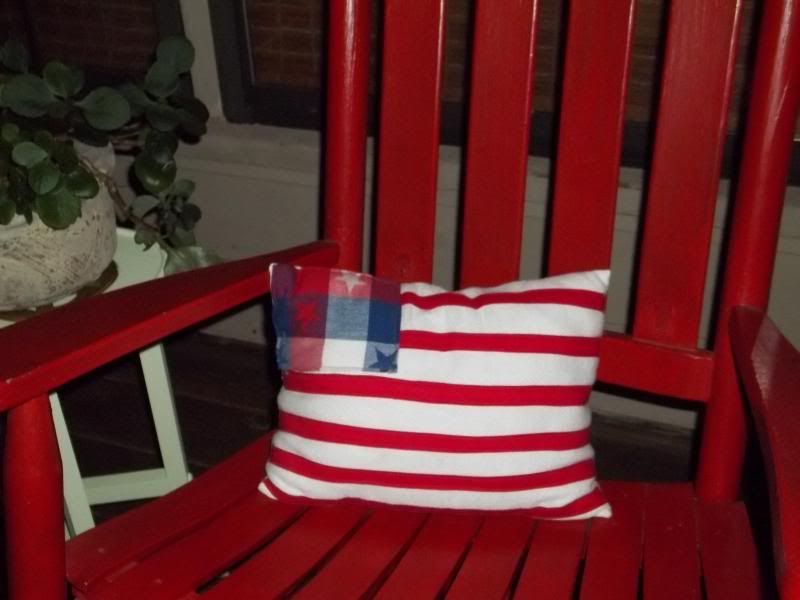
The smaller flag pillow was basically the same steps but instead of using paint I sewed a bit of patriotic plaid fabric that had stars and red seam binding for the strips. It was stuffed with loose batting.
I hope you decide to make your own pillow. It really is easy. If you make one please come back and let me know because I'd love to see it too.
Stop back by tomorrow to see another before and after project.
Hugs Y'all...
♥ Tracy



I love easy DIY projects. This turned out great and is perfect for this time of the year.
ReplyDeleteI love this project. I think that I would really like a porch chair pillow with butterflies on it. I also happen to have some burlap already in my storage shed. :) Thanks for the idea!
ReplyDeleteim really not that great at sewing, but ou are right, this does look super easy!
ReplyDeleteHi Tracy-
ReplyDeleteCute project!
Thanks for stopping by my blog, loved your comment about the loose screws, I guess we all have some of them In our families!!